|
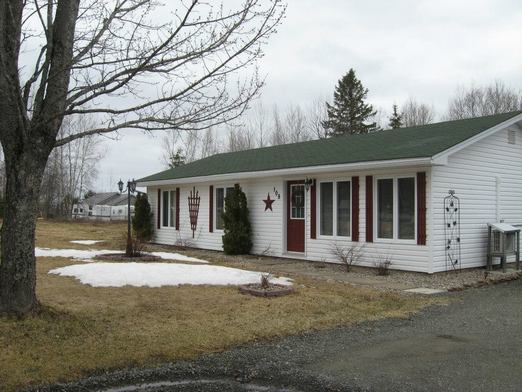
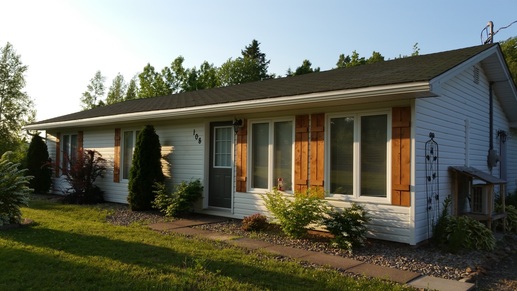
First, the fun stuff . . . before & after pictures!
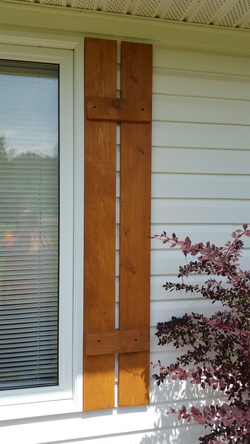
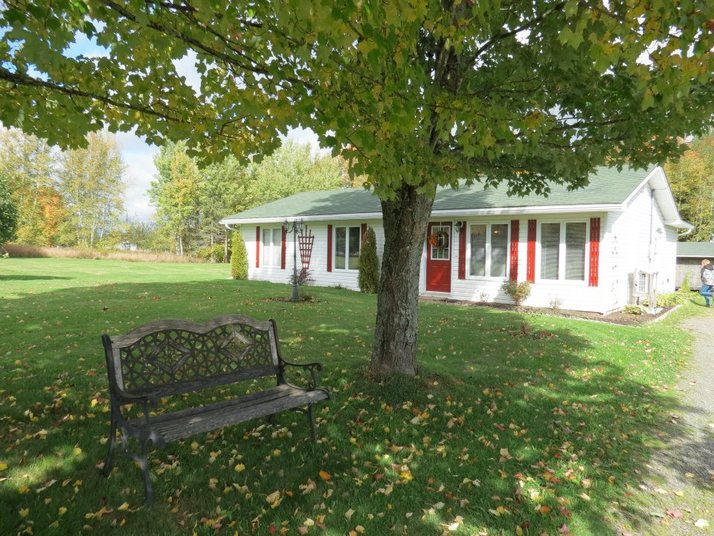
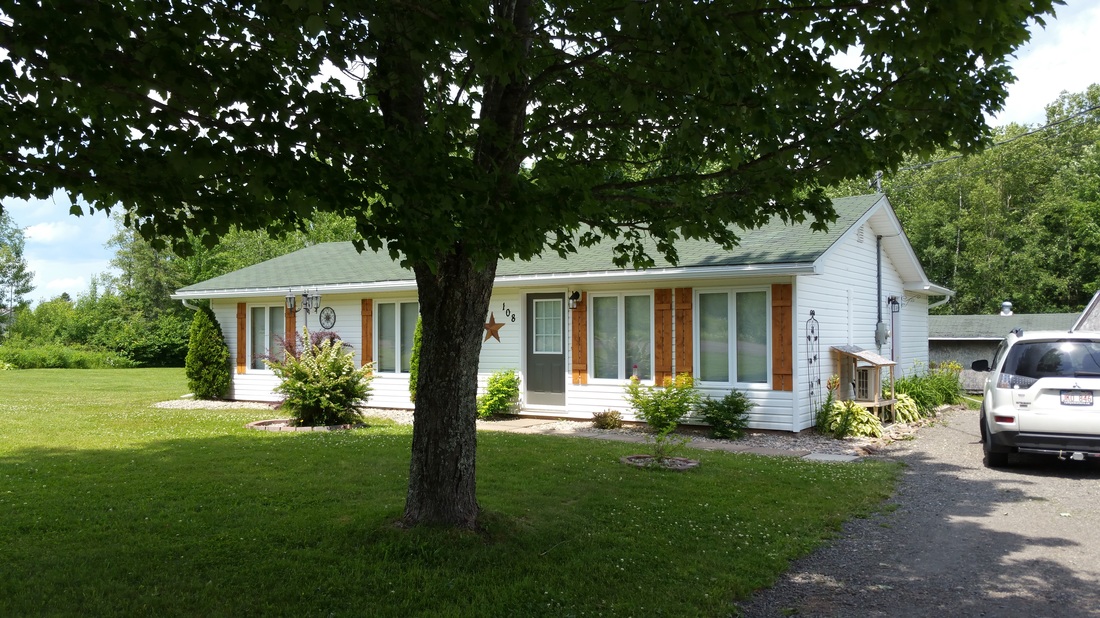
Before . . .. . . after!
This is my new-to-me home as of February of this year. This used to be my parents' house and they downsized, moving 10 minutes away to a smaller house with a much smaller yard. My family & I happily moved into this gem!
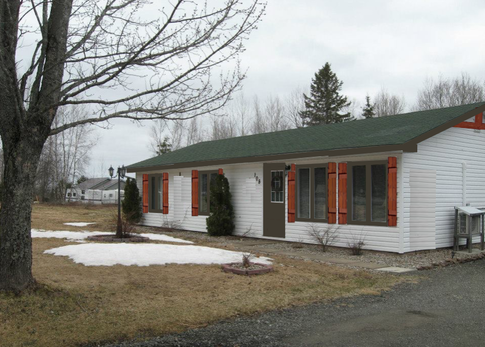
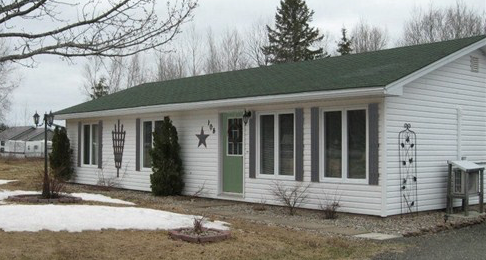
The "before" was cute, of course, because my mom styled it and she is good at this stuff. (Yup, I got my talents from my mom.) However, the style wasn't my own personal taste and I really wanted to make this house "my own". The home we sold in Moncton, I styled it more towards what I knew buyers would be looking for as we went into it with a 5 year plan in mind. This house, we hope to never have to move out of! I'll show you the 'vision' I had for this. I usually plan more detailed things out using a program on my laptop. This was no exception. Although the colors didn't portray accurately in my computerized rendering, it still pretty much summed up the look I wanted.
As I've heard most designers/decorators do, I second guessed myself countless times. I worried that it might not turn out as pretty as I envisioned it. Also, because I'm extremely budget minded, I played around with the idea of just painting the existing shutters. I knew it would be pretty and provide a change in look, however, it just wasn't what I really wanted. I toyed back and forth right up until the night before we went for supplies. I'll show you the 'painting plan' just so you can see the difference.
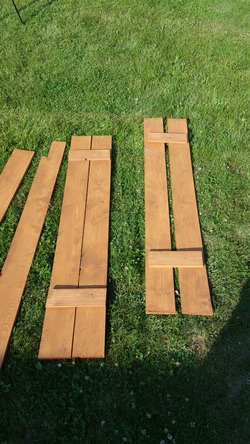
When Dad had built the original brick red shutters, he used 1x3 strapping. Each shutter had 3 'slats'. When we went to the local lumberyard, I fully planned to buy enough strapping to have 4-slat shutters. The problem was that they were not willing to let us pick through the rough lumber to choose the best pieces (like Dad was able to do when he had built the original ones). They would only allow picking the best 10 pack bundles. That would have meant a fair amount of wastage. On a desperate whim, I asked the price of wider width cheap lumber and shockingly enough, I was able to get all the lumber I needed AT THE SAME COST as simply buying just enough strapping (without wastage)! I got 1x5 straight edge cheap lumber that was in much better shape than the strapping. I used 1x4 rougher lumber for the 'cross bars' of the shutters.
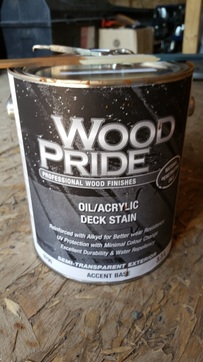
The "how-to": Measure from the top of your window trim to the bottom of your window trim to gain the correct measurement for the height of your shutters. You determine how wide you want them to be. Keep in mind how they will fit and look when you make that decision. For these, I chose them to be nearly 11" wide in their installed full width. I bought the stain at Dulux. They have a sale on right now until July 9th, buy one and get one free. So, Dad & I went halvers and each got a gallon of stain, a quart of exterior paint, and some supplies. I chose semi-transparent stain. Only one coat is needed and only one coat is recommended. I brushed the stain on, taking care to not apply too thickly so as not to have drips.
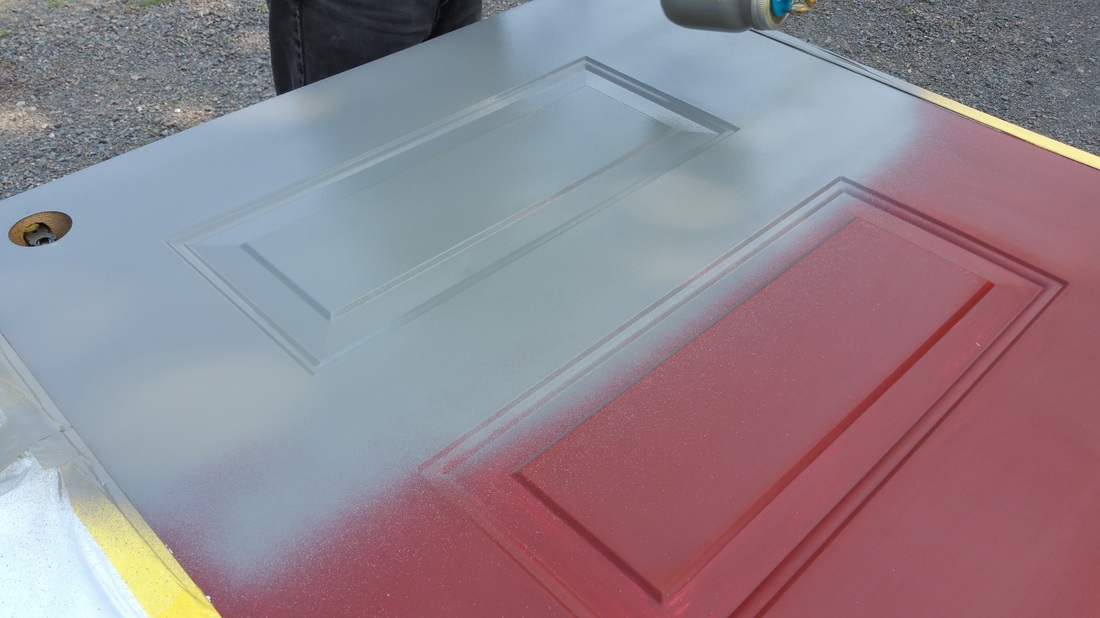
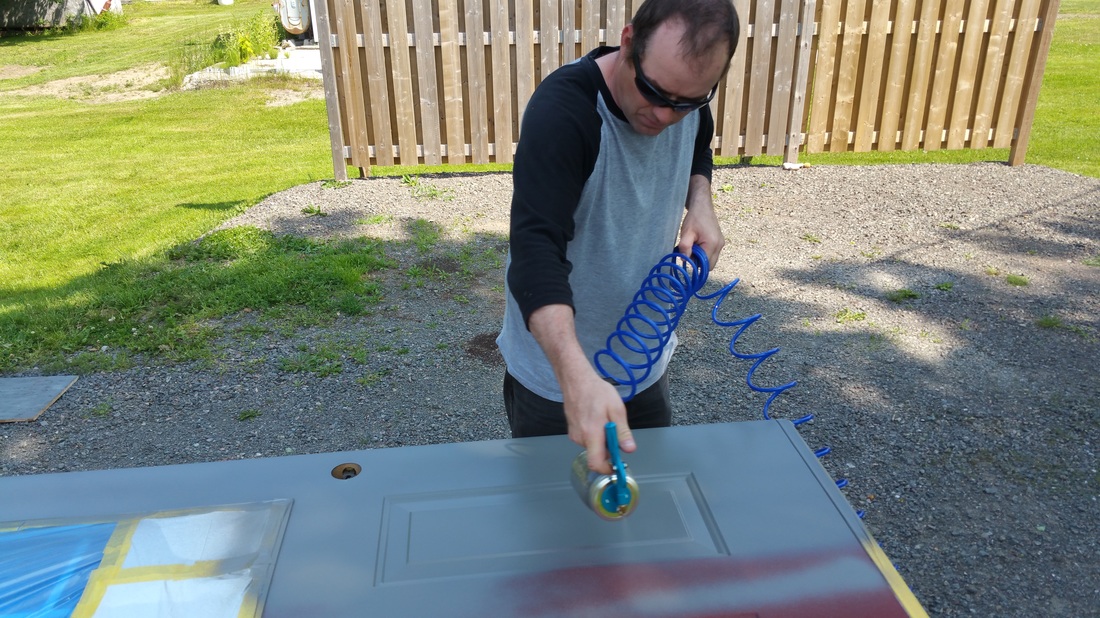
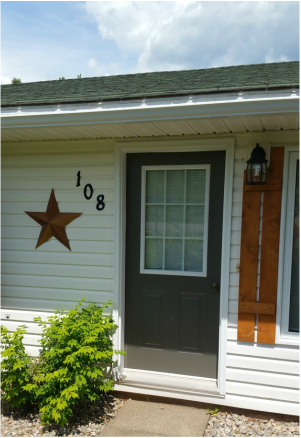
I do have to tell you about the newly spray painted front door. I had bought a Critter Spray Gun a month or two ago for when I spray paint my kitchen cupboards. It came highly recommended by one of my favourite DIY bloggers, Addicted2Decorating. This was the very first time Ryan & I had tried it and we are both in love with how easy it is to use and the beautiful finish! We literally just poured the paint straight from the quart into the paint jar and began spraying! Ryan was enjoying it so much he really didn't want to even let me do a few sprays to try it out! LOL
The "how-to": Prep your door by washing it down thoroughly (I used TSP) and sanding any rough places. Of course, carefully tape off any areas you don't want painted. If you are not using a sprayer, I highly recommend a Wooster Feather roller. That is what I have been using up until now to achieve the best finish.
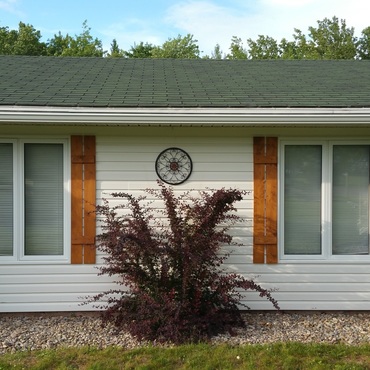
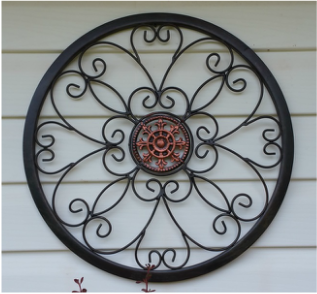
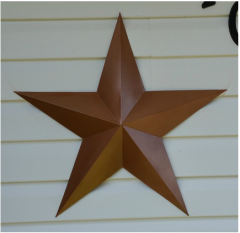
It will be two weeks ago this coming Saturday that Ryan & I made/stained/hung the shutters and painted & rehung the front door. Last week I sprayed painted the brick red star with Rustoleum hammered finish spray paint in Copper and rehung that. Ryan hung a metal medallion in between the two bedroom windows that I had bought from a friend. Lastly, Dad installed new black exterior light fixtures to replace the broken & ugly old ones.
The medallion
The star
The future plans for the exterior include: painting the eaves edges the same color as the front door, building/staining/installing king trusses in the gables, putting shingles on the little roof over the a/c unit, staining/installing mini landscape ties around the rock/shrub beds, and staining the fences and gazebo floor. Also, we need to give the baby barn and back storage shed a facelift. I am strongly considering replacing some of the shrubs with more uniform looking ones. I do love boxwoods.
And one last before & after . . .
6 Comments
Paulette
6/29/2017 09:54:34 am
Reply
2/27/2023 08:59:03 am
Dude, this is one of the most exciting blogs about exterior makeovers. I never thought I'd be interested in it.
Reply
Joanne @ A Fresh Perspective
2/27/2023 08:49:53 pm
Thank you! I'm glad you enjoyed it.
Reply
1/29/2024 07:22:58 am
I appreciate the transparency in documenting the process – it provides valuable insight into what one can expect when selecting such a service. It's reassuring to see a service provider that takes pride in showcasing their work and letting the results speak for themselves.
Reply
Leave a Reply. |
Follow me!
Categories
All
Archives
April 2020
|


 RSS Feed


