|
If you are one who doesn't like details, I will start with a summary of the products used to get the final result. The details are listed after.
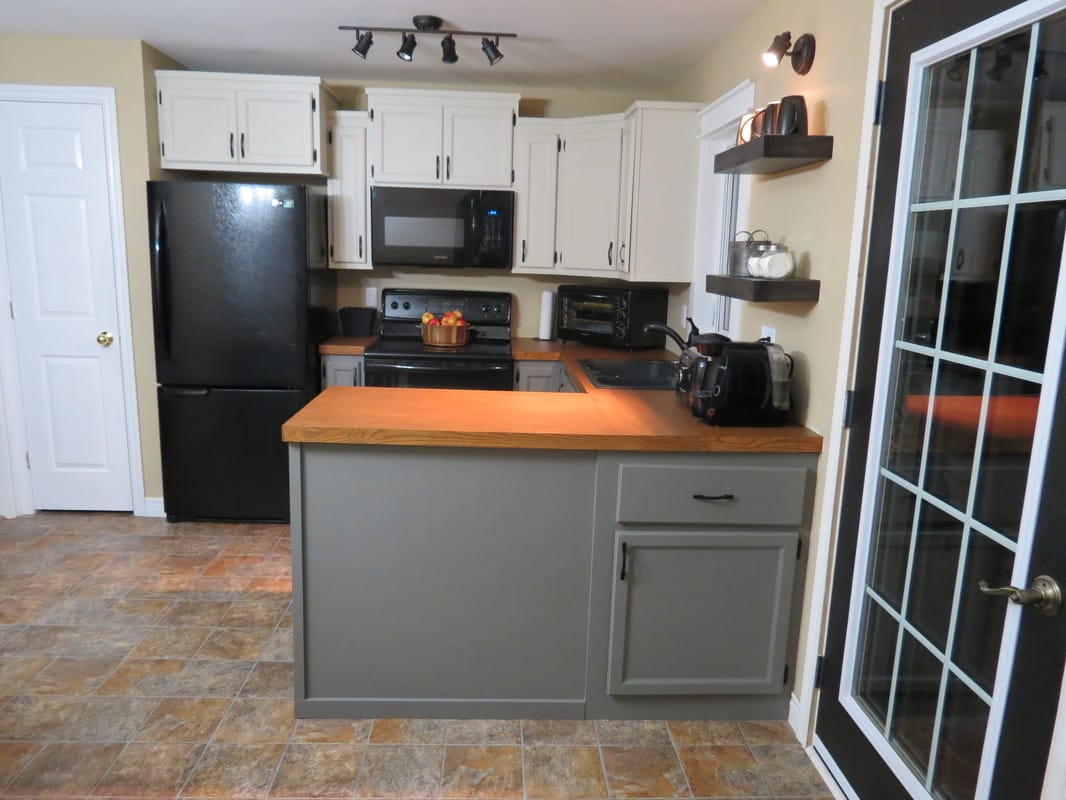
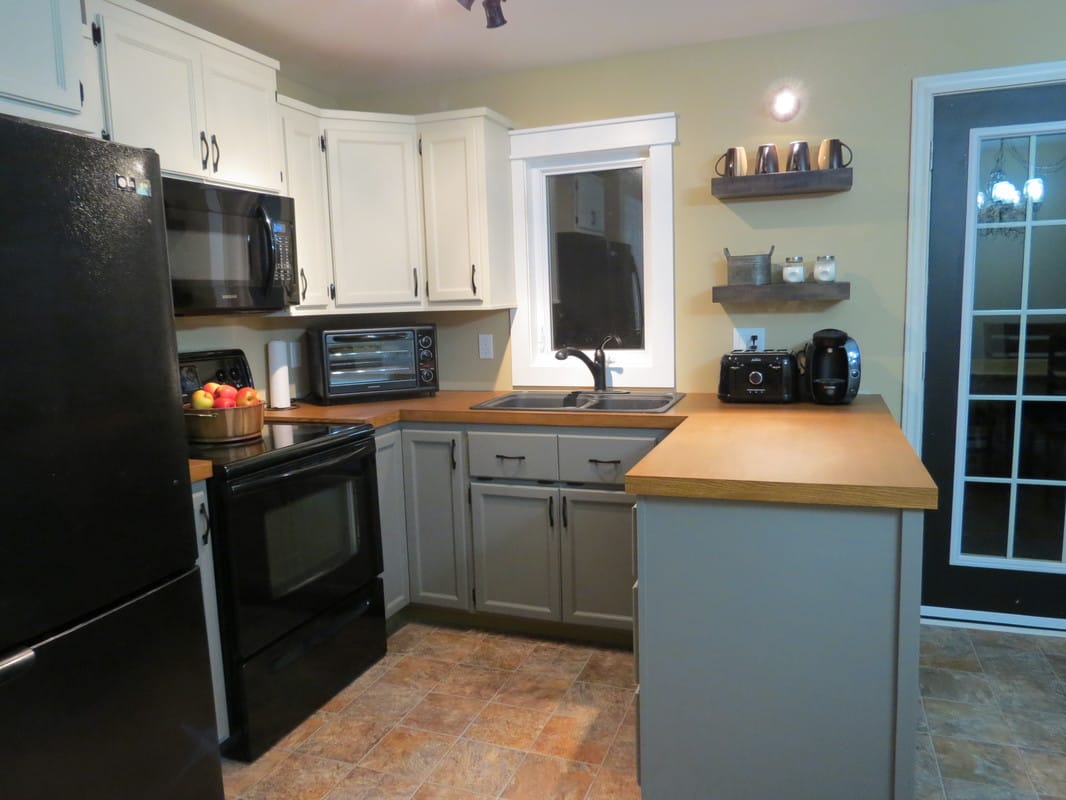
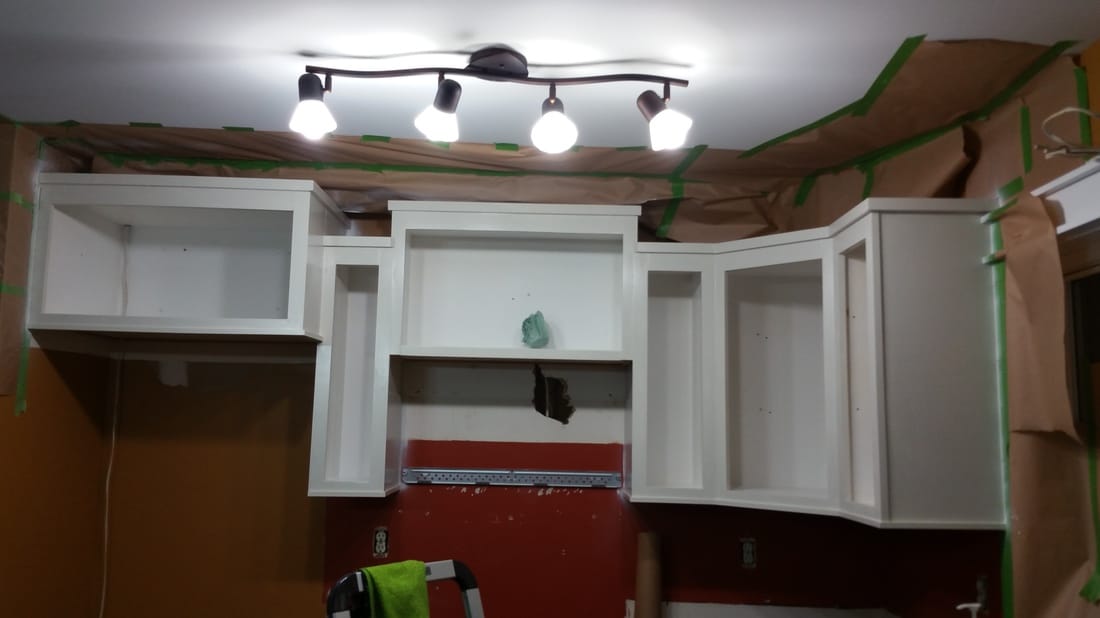
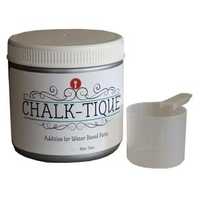
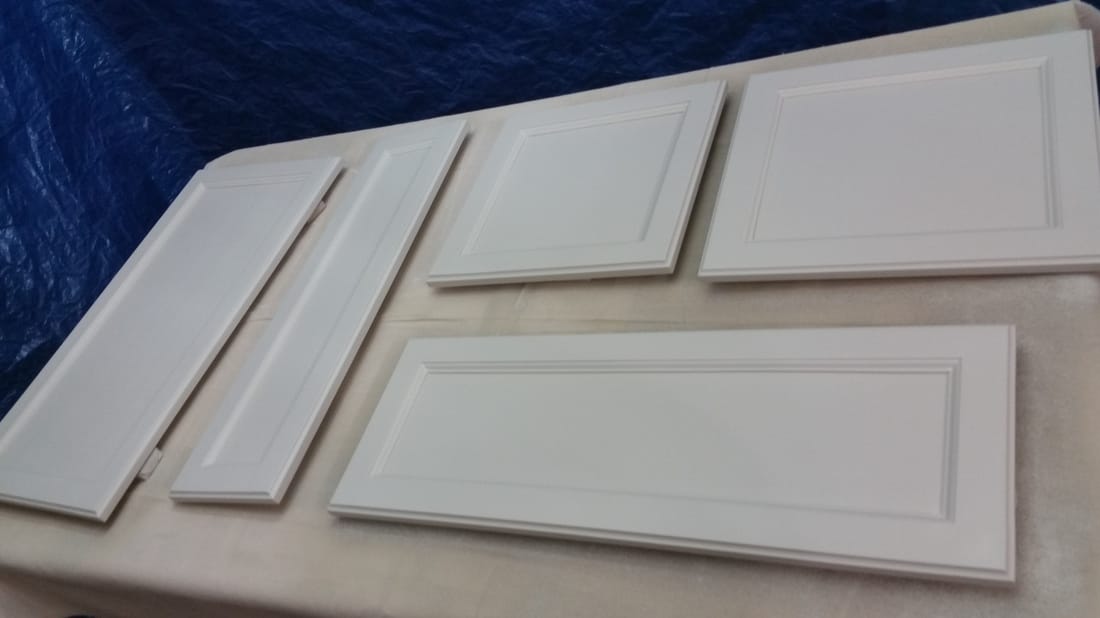
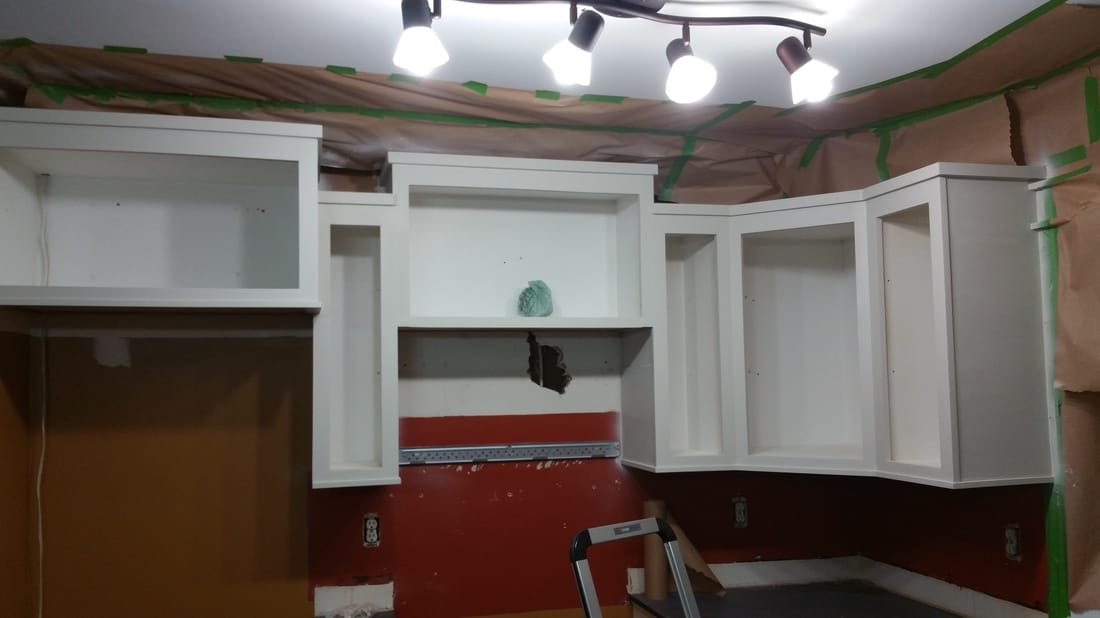
SUMMARY: 1. After properly prepping the cabinets and doors, I primed with Bull's Eye 123 primer. I used a mix of sponge roller and sponge brush. After they dried, I gave a light sanding to make sure my surface was smooth and then made sure the surfaces were clean again. 2. Following directions on the Chalk-tique powder can, I mixed up my paint. I used Benjamin Moore Aura Matte paint. 3. I painted the frames and doors, leaving a minimum of one hour between coats. I did 2 coats. I used a Wooster Red Feather roller, sponge brush, and Wooster Short Cut brush. 4. I had to leave everything to cure for 72 hours before applying my clear coat. 5. I used General Finishes Flat Out Flat clear coat, giving 3 coats. I applied with a sponge brush and alternated directions with each coat. (going up and down the first coat and then sideways in the second, etc.) The completed cabinets
THE DETAILS:
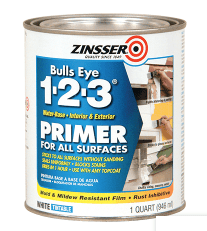
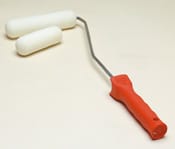
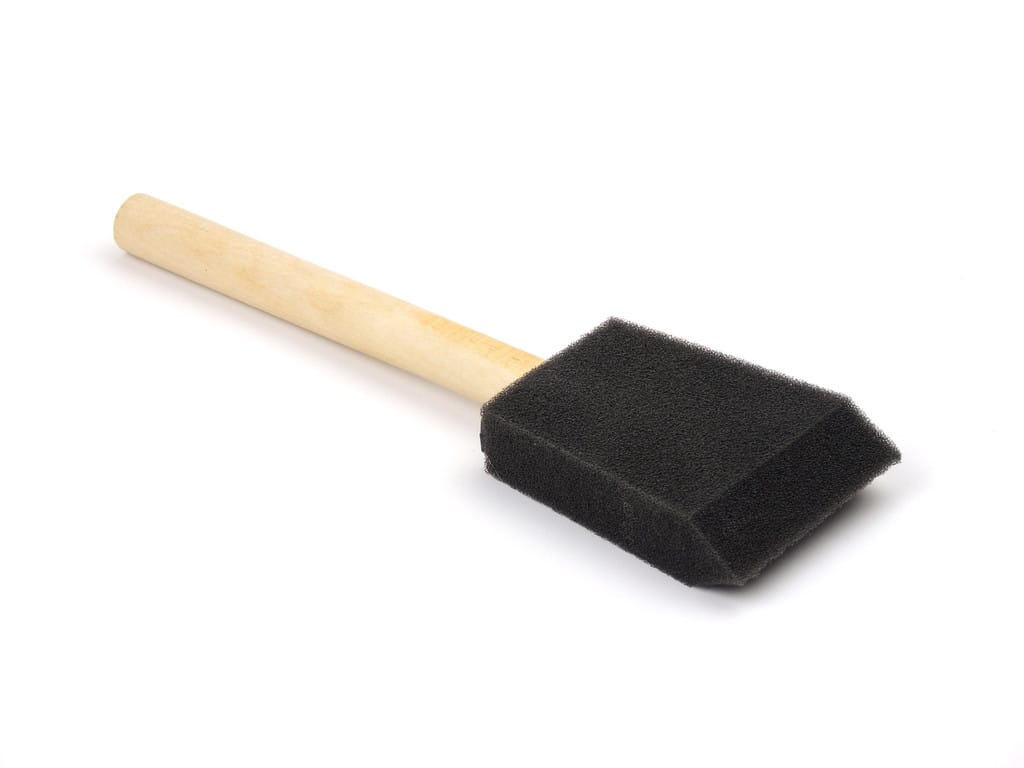
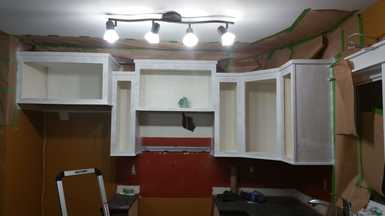
After stripping the cabinets (read about this here), and installing the mouldings (read about that here), it was time for the crackfilling. Now had I been dealing with new cabinetry or at least cabinetry that had been properly installed, I would have had no issues. These cabinets were not only NOT installed properly, the wood had done some shrinking and expanding and moving. There was one particular vertical seam between two cabinets that varied greatly and I did my best to try to level it out. Due to its location, using my mouse sander was difficult but my only option (any bigger sanders were too big for the area and hand sanding was accomplishing nothing here) and afterwards discovered that its vibration undid a lot of the other areas I had just nicely got finished. It was a super frustrating process and regardless of what I did, I could not completely hide it. Surprisingly enough, after several attempts with the wood filler and not getting a nice job, I finished off using regular drywall fill and it worked like a charm comparably. After that frustration was dealt with to the best of my ability, I then primed the cabinets and doors with one coat of Zinsser Bull's Eye 123 primer. I decided to use a foam paint roller from the dollar store and a foam brush for the corners and hard-to-reach areas when I primed.
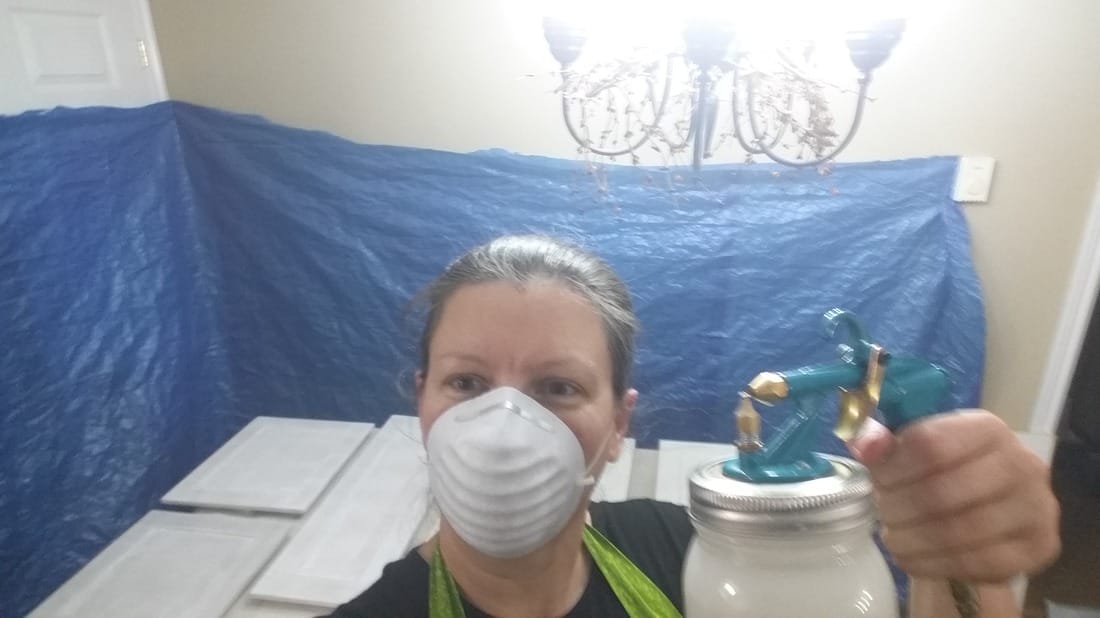
After priming, I sprayed on a coat of Benjamin Moore Advance paint in a Satin finish in a custom color that is basically just a much lighter version of Natural Cream. This was my first time using this paint in my Critter Spray Gun. I have refinished quite a few pieces of furniture with this paint (in other colors) but I had done it by hand.
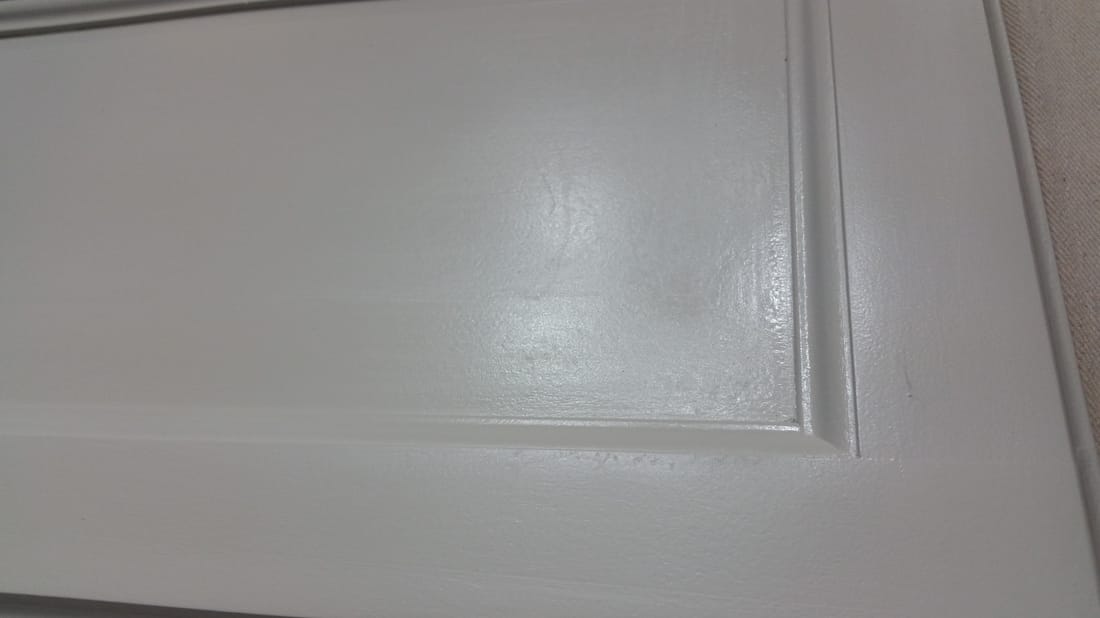
Again, had I had cabinets & doors to work with that were in better shape, this process would have been pretty seamless. At first, having started with the backs of the doors first, it seemed like it was going to be good. But once I got to doing the fronts, it became glaringly obvious we had a major problem. Every single blemish showed up like it had a spot light on it! Yes, I had crackfilled and sanded everything until it felt smooth as butter to the touch.
So, I decided that maybe more coats would help. It did not. Advance paint is designed to self-level and goes on rather thick when applying by hand. The Critter Spray guns applies it very thinly so those self-leveling properties were not able to do their thing. So, I sanded off the shine and painted by hand (using the Wooster Red Feather roller like I did on the furniture pieces) and although that was better, it still was not perfect. This paint requiring leaving 24 hours between coats and needing to do backs and fronts of each door as well, at this point I was 2 weeks into painting and no closer to being finished. Yes, I am a perfectionist.
So, I decided to take the leap and I bought Benjamin Moore Aura Matte paint and mixed Chalk-tique powder into it and tried spraying that. However, due to the air pressure while using the spray gun, it was drying the paint right in the nozzle! I put away the spray gun and decided to finish by hand. I used the Wooster Red Feather roller and the Wooster Shortcut brush and a foam brush and finished the entire job that way. It went on beautifully, hid the blemishes as much as was possible, and overall looked very nice. Why I like to use Chalk-tique in with my paint is that it gives a silky smooth finish . . . to the eye AND to the touch.
Due to space restraints, I did the uppers completely before even beginning the lowers. Therefore by the time I got to doing the lowers, all the learning curves were taken care of and it was pretty much smooth sailing. Simply priming with the Bull's Eye 123, and then 2 coats of the Aura Matte paint with Chalk-tique powder mixed in. Done by hand, with only an hour between coats, it went pretty quickly.
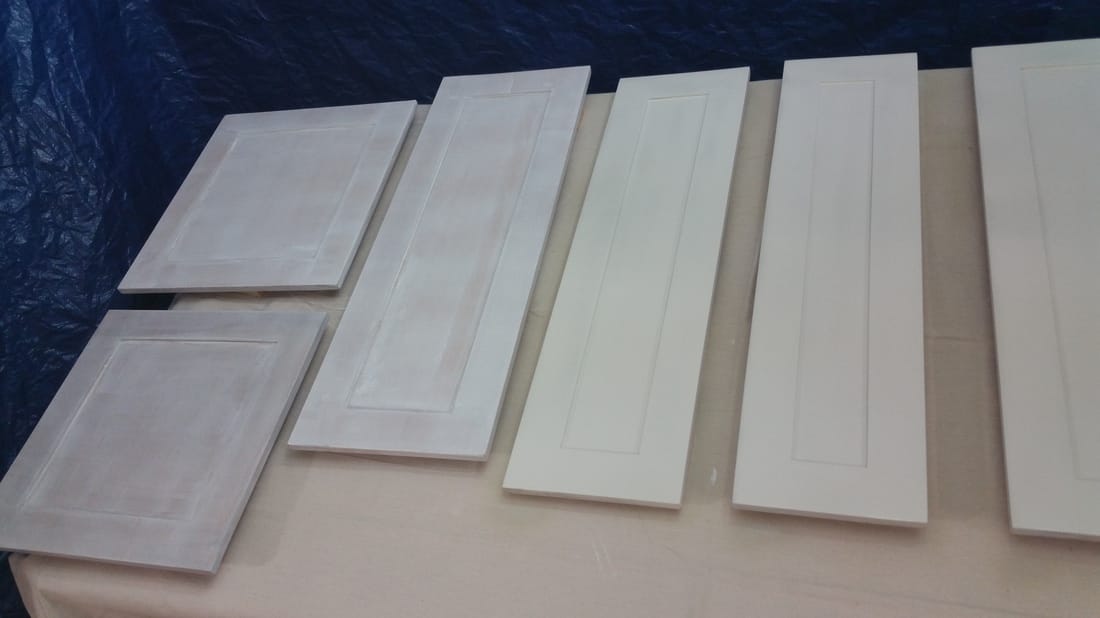
I used Benjamin Moore's Natural Cream on the uppers and Benjamin Moore's Chelsea Gray on the lowers.
The next step in this process was to varnish or clear coat the cabinets to give durability. Before I could even start on this, I had to leave the doors & frames to 'cure' for 72 hours minimum to eliminate risk of the two different companies' products reacting.
Yes, there were learning curves to this as well. I was advised by General Finishes (the company I purchased my clear coats from) to use High Performance Flat for the first 2 coats minimum before following up with a minimum of 2 coats of the Flat Out Flat. They did not recommend using Flat Out Flat on kitchen cabinets. However, here are some public facts on these products: * Their High Performance clear coats are one of the most durable products on the market and have won awards. * Their public claims for the Flat Out Flat is that it is 'slightly less durable' than High Performance Flat. * Their High Performance is durable enough for floors. The reason I didn't simply use the High Performance Flat only is that it is not completely flat. There is a slight sheen. I knew I could not have any sheen on my cabinets or I would end up back in the same issue I had with the Advance paint! So, I gave the upper doors and upper frames 2 coats of the HPF and was so not happy with the shine and the fact it looked streaky. I then followed up with 3 coats of the Flat Out Flat. The reason for 3 coats is that I couldn't get rid of the shiny streaks from the HPF shining through. I applied the product with a sponge brush. My final coat DOES have some slight streaks of shiny when you look at it a certain way but I left it for now. (I will explain about that in my upcoming post about my countertops.) I found a fellow blogger, The Painted Drawer, who had used the Flat Out Flat on her cabinets and is completely satisfied with the durability and she only used 1 coat on the frames and 2 coats on the doors and that was the only product she used!!! So, for the lower frames & cabinets I simply went with the Flat Out Flat product only and was so much happier with the results. I did do 3 coats, however, just to be on the safe side. These are the hardware I chose for my cabinets
The next post will be about the countertops. Keep watching! If you haven't yet 'liked' my Facebook page, there is a link at the top right of this blog. Thank you!
These hardware are available at Home Depot.
0 Comments
|
Follow me!
Categories
All
Archives
April 2020
|

 RSS Feed


