|
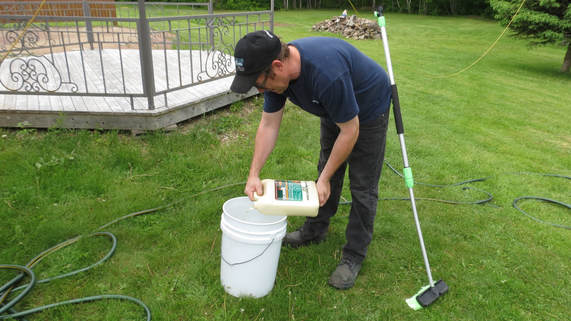
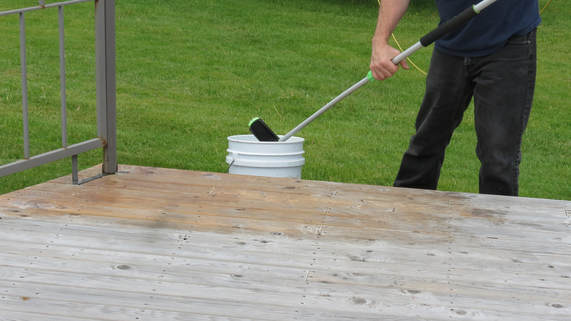
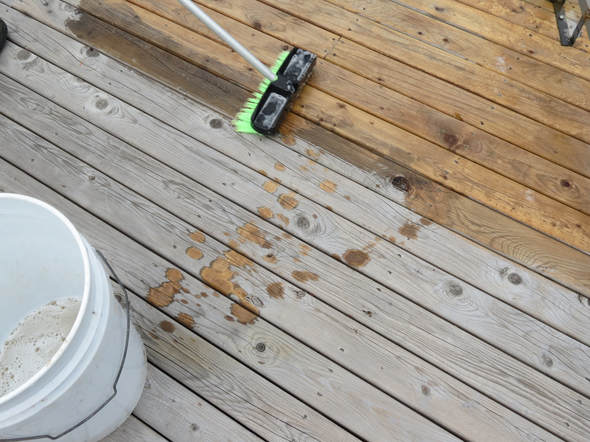
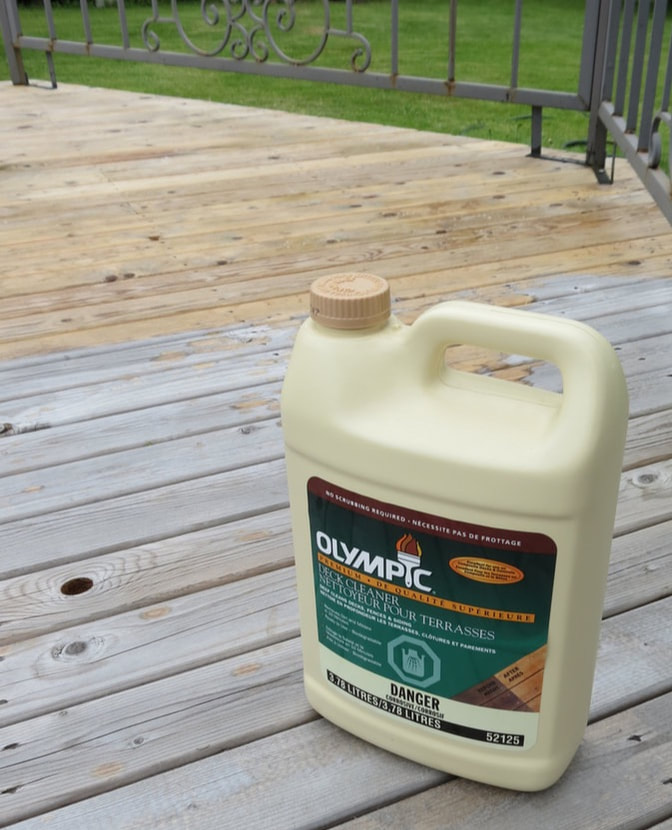
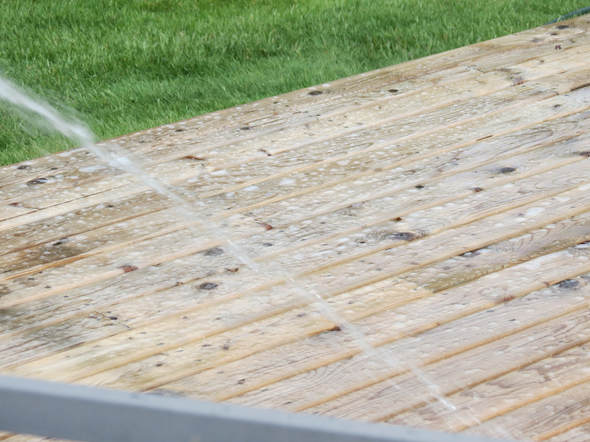
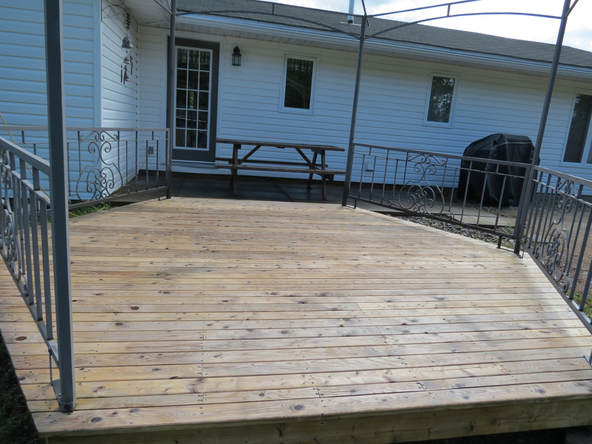
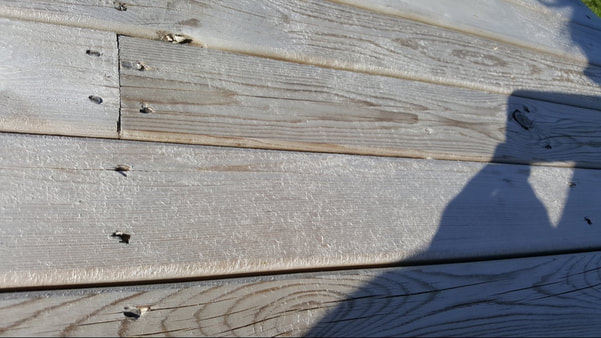
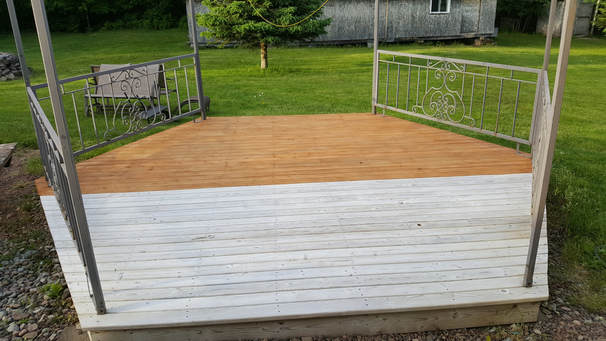
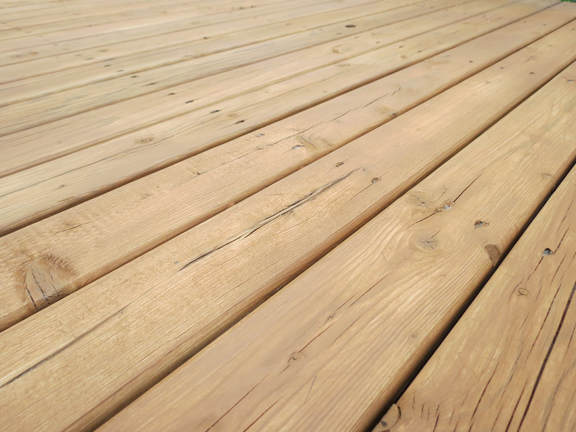
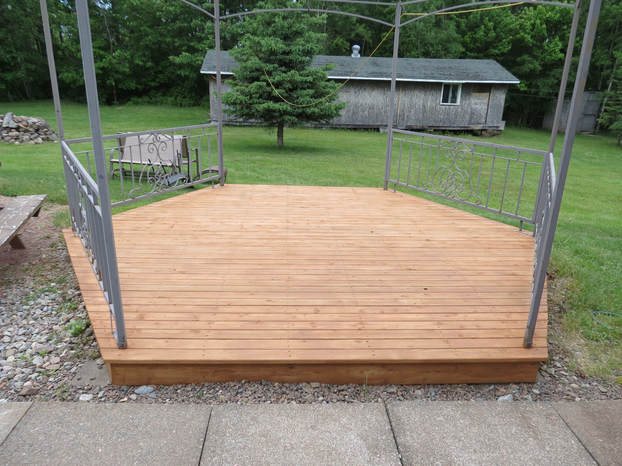
Having a full-time job, I no longer have the time to do projects to blog about. Thus, why you don't hear from me as often. However, DIY'ing and blogging about it . . . well, I really do love it. So, I will continue DIY blogging as long as I am physically able! Now lets get right to the fun stuff! During a 3 day training seminar that I attended through Kent Building Supplies (my full-time employer), I discovered this amazing deck cleaner. I just HAD to get some to try for myself . . . wellllll, watch Ryan use it! LOL. PPG gave me a jug to use and blog my (our) experience. The pictures & videos will speak for themselves! And yes, I was too cheap to buy a deck sprayer so we just poured the solution into a bucket and sloshed it on the deck with a soft brush intended to clean vehicles with. Hey, don't roll your eyes! It worked! LOL. P.S. You can slosh/roll it on with a paint roller, also. The solution works INSTANTLY! Did you know that grey wood (weathered wood) is actually dead wood fibres caused by the sun? If you don't properly clean a weathered deck first, the stain is going to seem to fail (peel off, etc), because the stain will have been actually applied to partially loose (dead) wood fibers! What about a brand new deck? Yes, you still must clean it first. Why? To clean off the mill glaze left behind from the lumber mill! Again, mill glaze prevents proper penetration of stain and you will not see a lasting stain job. It is important to not let the solution dry on your deck. So once he finished getting the product all over the deck, he went back to where he originally started and immediately began hosing it back off. It is recommended to use a garden hose instead of a pressure washer. Why? A pressure washer can not only damage your wood, but it also pushes the water deeper into the wood and it will then take your wood much longer to dry enough to be able to stain properly. Spray, spray the suds away! Here is the deck after it was washed-til-no-more-suds and left to dry a bit. It looks like a brand new deck again! We did this on a Monday and I didn't get a chance to do the staining until the next Sunday. By then, the deck kind of looked greyish white and there was a little hairy fuzz all over it. It easily rubbed off so we quickly sanded the whole deck to remove the fuzz. It wasn't a lot of effort, just a little extra time. I'm not sure, but it may have happened because my ADHD husband didn't stay focused in one section long enough when he was spraying the solution off? Or, maybe its just a normal thing because in that training I went to, they did stress that sanding was a necessary step in deck prep after the cleaning. I guess I found out why they say to sand, eh! LOL Here's a close-up of the fuzz I am referring to: So. The steps to stained deck lasting as long as possible: 1. Clean (with PPG Deck Cleaner, of course! *insert smiley face*) whether your deck is weathered grey or brand new (lumber has a mill glaze on it that prevents full and even stain penetration) or pressure treated or even if a previous stain job is failing or wearing off. Clean, clean, clean! 2. Lightly sand . . . to remove the fuzzies! LOL 3. Choose the right stain for your project and area. Most stains require the weather to not dip below 10 degrees Celsius at night for three nights prior and 3 nights after staining. As well, they require no rain for the same period as it requires a completely dry deck. If you live in Eastern Canada like I do, or have similar weather, there is good news. There is one particular stain line that is much friendlier . . . Olympic Maximum! This stain line allows for temperatures to drop to as low as 2 degrees Celsius at night and allows rain the same day! You can literally clean your deck in the morning and stain in the afternoon if the deck is dry enough! How do you know if it is dry enough? Drop a little water on the deck. If it soaks in right away, the deck is ready to stain. If it lays on top, its not ready and needs to dry longer. 4. For stains other than solid, you need to work in manageble sections . . . taking care to keep a wet edge so that you don't get overlap marks. I stained 3 or 4 boards at a time, taking care to not get stain on the board next to my current chosen 3 or 4 boards. I ran out of stain halfway through so here's a picture showing half done and half not. The last thing I want to mention is type of stain application, as that is a question I get asked a lot. Yes, you CAN apply stain with a sprayer or a roller . . . BUT you must have a helper coming immediately behind you with a brush to "back brush". I personally tried the spraying method so I can vouch for this. Spraying or rolling puts the stain on too thickly (if thats even the right descriptive word when stain is actually very watery in consistency) and therefore runs everywhere and/or pools. If you don't have someone right behind you immediately back brushing, you will have a sloppy looking job with overlapping marks, etc. I personally found it was just much less hassle and quicker to brush it on from the start. Brushing drives the stain into the wood, where you want it to be. And if you have a helper? Then give him/her an extra brush and get the job done that much faster! :) Here's a close-up of my stained boards: And my finished deck (looking into my back yard)! If you enjoy my posts and find them helpful, please leave a comment below or comment on my Facebook post. Your feedback is important to me. Thanks!
1 Comment
|
Follow me!
Categories
All
Archives
April 2020
|

 RSS Feed


