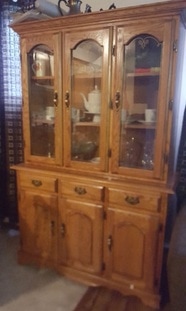
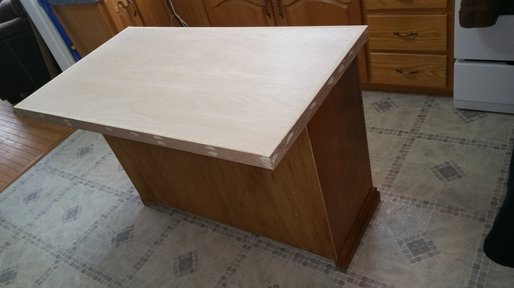
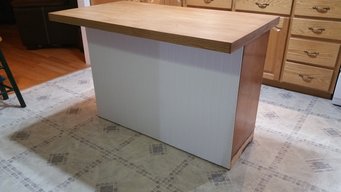
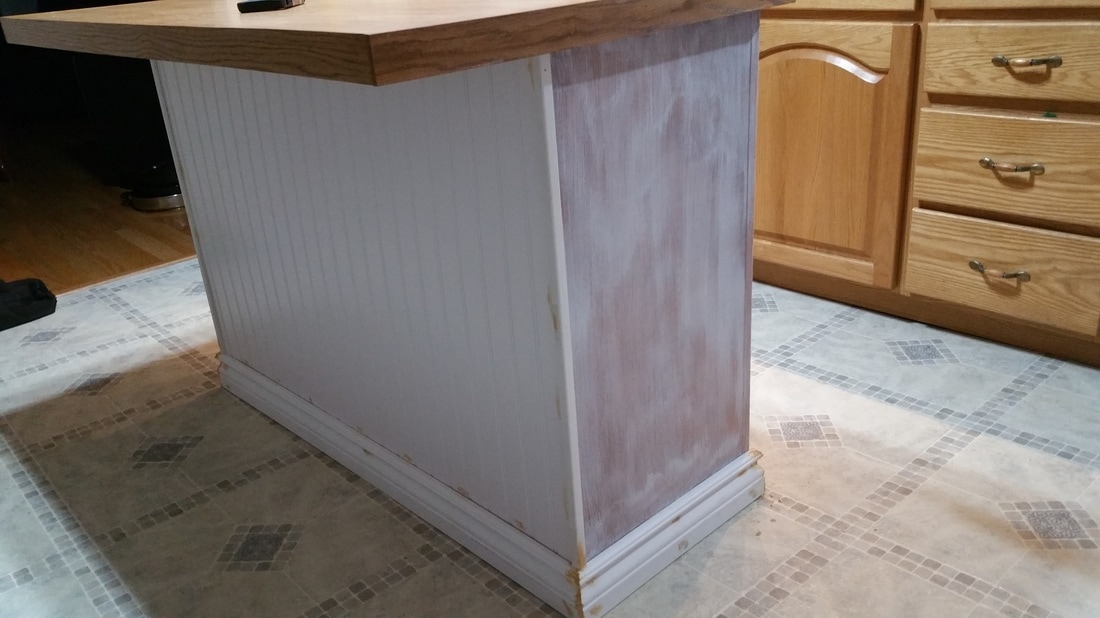
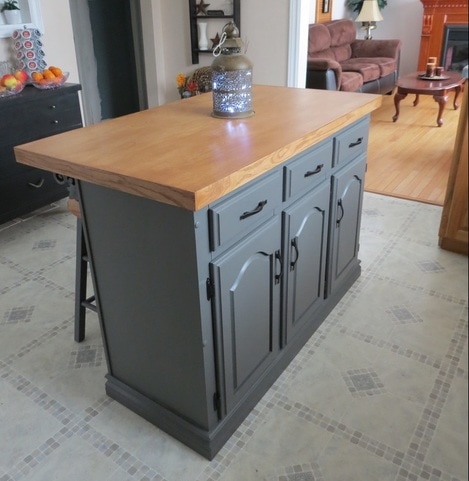
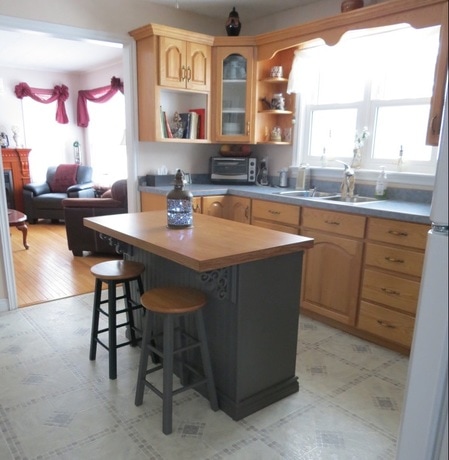
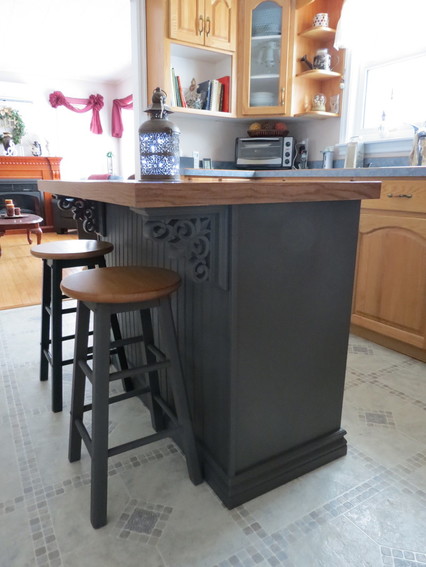
The next step, after the countertop portion was complete, was to complete the transformation of the island itself . . . taking it from half of a china cabinet to an actual island. I pulled off the bottom moulding, as it only encompassed three sides and being solid oak, wasn't able to be easily matched up to finish out. It was glued and nailed and screwed on so it was interesting getting it off. Yes, it left some 'blemishes' that I had to fix . . . glue down the splinters of oak that it peeled up, sand it smooth, crackfill and sand some more! Then, using leftover beadboard from the wainscotting project at my previous house, we (Dad, Mom, & I) glued and air-nailed it to the back. Then, we air-nailed on new baseboard on all 4 sides. Due to Dad's mitre saw being off kilter, I spent a long time with the wood filler, palm sander, etc, perfecting the corners as best I could. The last piece to this 'construction' was to put wood corner trim to the back two corners to hide the edge of the beadboard. I measured the top narrow part of the baseboard and purchased corner moulding of the same width so that it would blend together good.
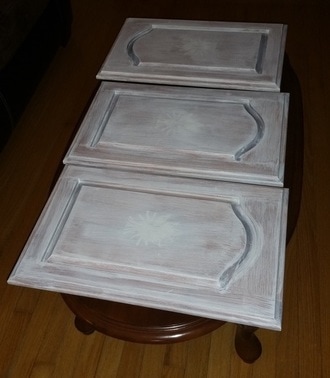
Then, I painted the island with Benjamin Moore's color, Kendall Charcoal. Mom had bought a pint of Aura eggshell and I mixed it with Chalk-tique chalk powder. I used the same method as I did with my own kitchen cabinets. One thing I will mention here is that I have since learned that the key seems to be to use a matte paint when mixing with the chalk powder. One wouldn't think it would make much difference from Aura's eggshell to their matte but it does when mixing with chalk powder. I can't explain it. It just really does. After the minimum wait of 72 hours after painting, I applied 2 coats of General Finishes Flat Out Flat for a protective topcoat. It applied shiny and streaky for some weird reason. I was super frustrated as I am such a perfectionist so went back over the drawers and doors with a coat of Varathane Nano Defense Matte, the same stuff I used on the countertops. That went much better. The old outdated hardware was removed and we installed new black hardware. You may notice that these are both Mom & my favourites now. I got these exact same ones for my kitchen cabinets and Mom chose them for her bathroom vanity and now her island. They simply are beautiful. What can I say? LOL The corbels. Can't forget those beauties!! Mom & I were browsing at Home Sense in December and she came across these corbels. They were in the decorative section as bookends. I was so excited when she found them! I knew right away they would make perfect corbels for her island! And at only $24.99 each, they were sooooo much cheaper than even the plainer ones in the actual corbels section at building supply stores!! Mom is happy with her finished island and that makes me happy! * You may have noticed . . . one stool is grey and the other is green. LOL. We had enough paint to do one coat on one stool but not enough to do the other stool. So we have pick up a little more paint to finish both stools.
Stayed tuned for more projects in this kitchen this year! Mom has more plans up her sleeve. Mom & I make quite a team!
8 Comments
2/16/2017 08:59:54 am
Hi Joanne.. I love your Mom's island.. What an inventive idea to repurpose the china cabinet.. It all looks wonderful! xo
Reply
Catherine Harker
8/13/2018 08:36:29 pm
What are the demensions of your island? My daughter loves it & I found a buffer like your hutch
Reply
Joanne @AFreshPerspectiveDIY
9/6/2023 01:44:17 pm
I am sorry, Catherine. I did not see this question until now and I cannot obtain the measurements for you as the home this is in is now sold and I do not know the new owners personally.
Reply
Deb Dorman
9/5/2023 11:52:40 pm
I am doing this exact project! Where did you get the cap piece from?
Reply
Joanne @AFreshPerspectiveDIY
9/6/2023 01:46:03 pm
I don't know what you mean by a 'cap piece'. If you mean the sides of the countertop, those are 1/4" oak hobby boards from Home Depot.
Reply
Leave a Reply. |
Follow me!
Categories
All
Archives
April 2020
|

 RSS Feed


