|
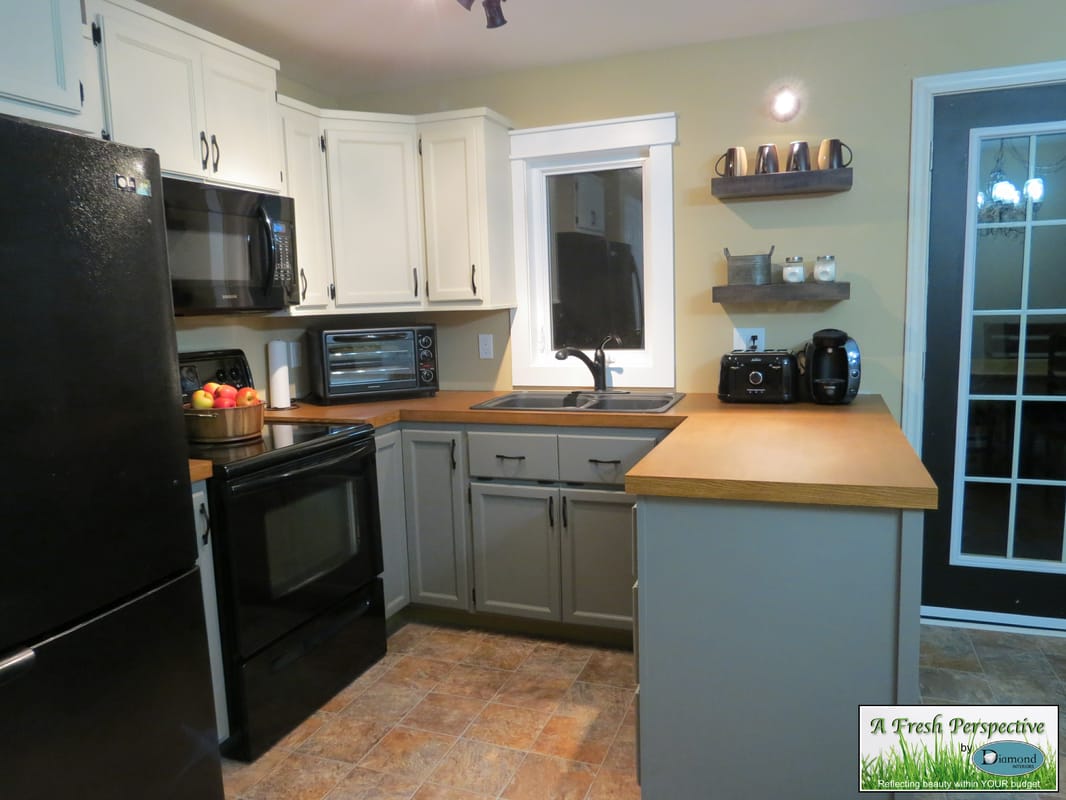
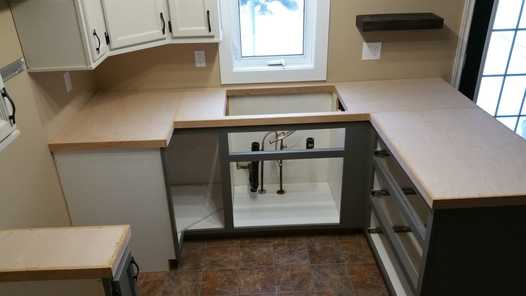
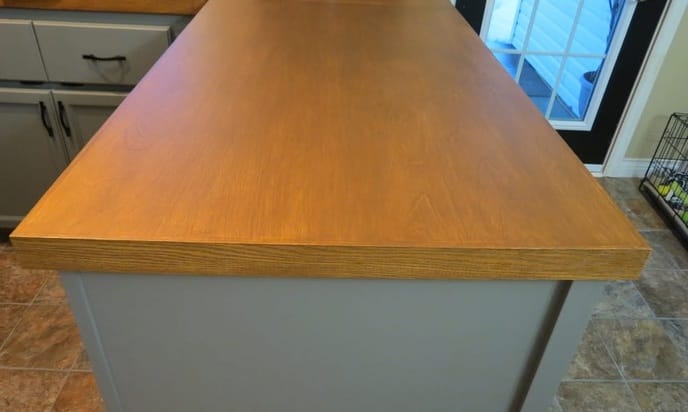
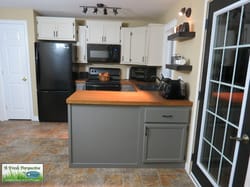
Yes, you read it right! Our new kitchen countertops are made out of solid core wood doors!
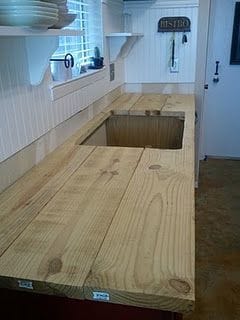
I knew I wanted wood countertops right from the beginning stages of my kitchen planning. However, upon my initial shopping around, I discovered that wood countertops are not only not readily available locally like it seems they are in some areas of North America, but the ones that ARE available are extremely expensive. The closest option I had for 'ready made' wood countertops that was even remotely close to affordable was to order from IKEA and have it shipped. Just the product alone would have been close to $1000 for my kitchen. Then, I would either have to DIY the cutting and installation or hire a professional to the tune of more costs. So, I began searching online for DIY wood countertops. Here are some of the ideas I was considering, (click on the pictures and they will take you right to the website):
If you want to build these, for the most part just follow the tutorial above. Just click on the picture and it will take you to the tutorial. There are only 2 things different that I had to do differently than what is shown in that tutorial. I will explain as I go along here.
We used a table saw for cutting the doors. This was extremely tense as the doors were huge and heavy and therefore hard to guide through the saw while trying to maintain as straight of a cut as possible. I don't have pictures of this process because it was all hands on deck for this process.
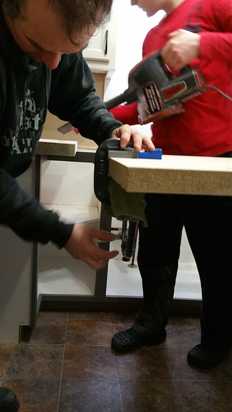
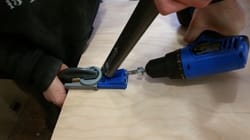
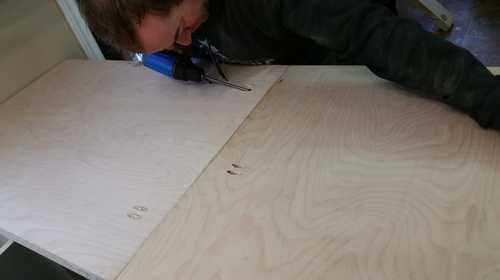
Setting up the Kreg Jig. The holes are to be drilled on the underside so we have the countertops flipped over. Yes, that was a challenge in my small kitchen. Ryan used a dry dishcloth under the clamp to protect the face. The vacuum cleaner set at the site of drilling kept things neat and running smoothly.
We put a bead of No More Nails along the edge before screwing them together, to give an added strength.
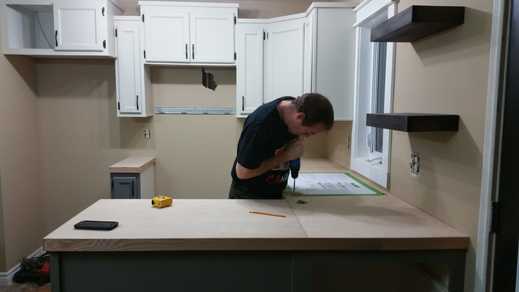
I may be the brains behind this whole operation but I could NOT have done any of this kitchen renovation without the brawn . . . my husband, Ryan and my son, Logan.
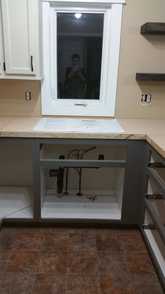
Decision time. Whoever built this house about 12 years ago, I'm afraid were not thinking things through. They put the window kinda random. Its not centered over the sink cabinet and they even had to cut the trim on one side to accomodate the cupboards. Crazy frustrating to a perfectionist like me. LOL. So. I had to decide whether to center the sink in the sink cabinet or center it under the window.
We chose to center the sink in the cabinet.
In the tutorial linked above, they used edgebanding on their countertops. Our doors are 1 3/4" thick so edgebanding would have had to be ordered direct from the wholesaler (I do have an account with one), however, I would have had to get 250' of it and it cost over $100. So. I chose to use oak hobby board. I got this at my local Home Depot. I bought the 1/4" thick boards and the longest they come in is 4'. In the long run, I am much more pleased with this look than the traditional edgebanding. And, to make things more simple, I chose to go with straight edges and not mitre.
We attached the boards to the sides with a hammer and finishing nails, applying a bead of No More Nails first. Afterwards, I used a nail set and tapped the heads in and woodfilled over the slight dents.
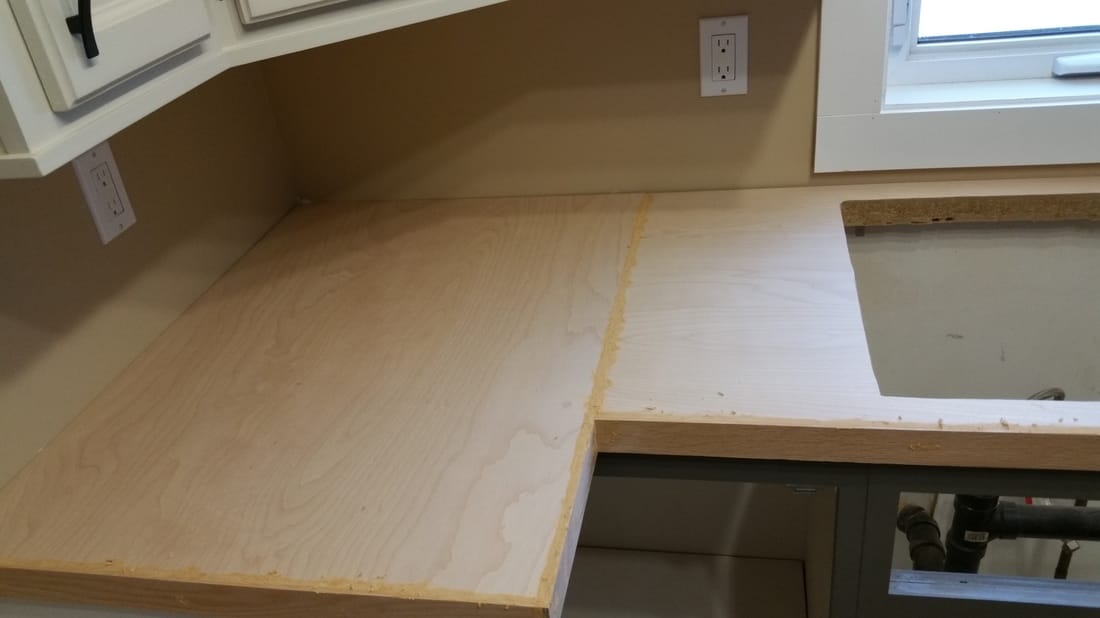
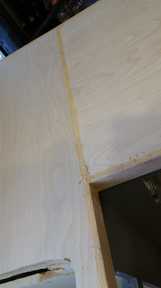
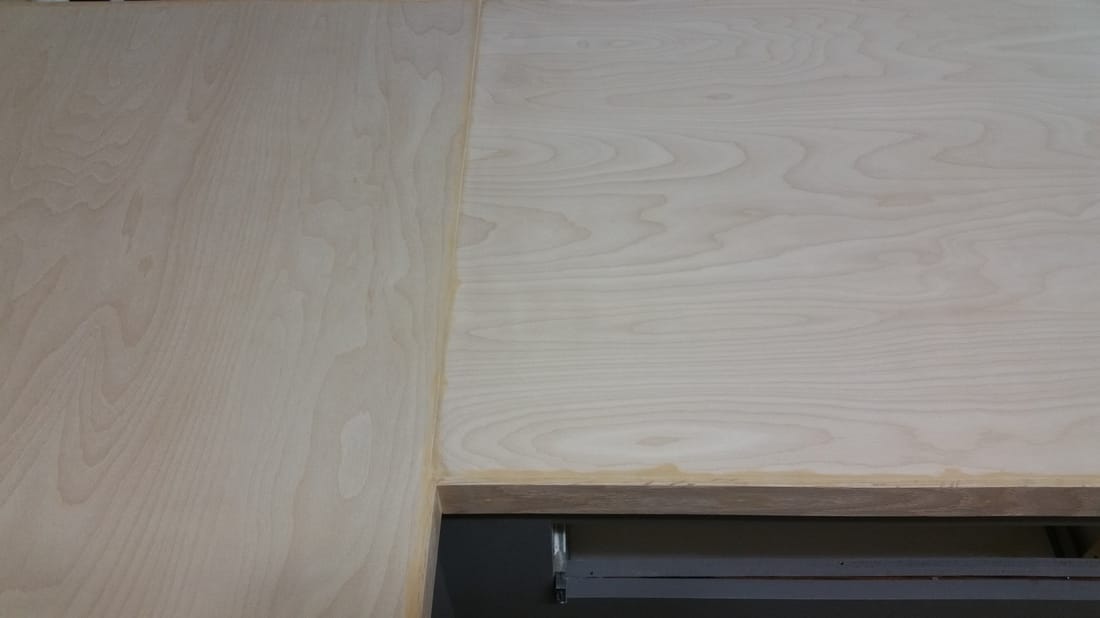
To wood fill the cracks, I used Minwax brand. It had a colored watery substance in it but felt like fine wet sand. The issue that resulted from using this brand is that the watery substance stained the wood around the cracks and could not be sanded off. It was very difficult to try to hide when using the actual stain. A nightmare, to be truthful.
Ryan & I had built/installed/stained my mom's kitchen island countertop using these doors before we started ours. On my mom's I used Elmer's woodfill. I discovered that it could be pretty much sanded off the surface leaving it only in the cracks. It hid pretty well on hers. The reason I purchased a different woodfill to use on my own was that I thought the Elmer's had something wrong with it because it was very dry and seemed to crack within itself. I don't have an answer on how to avoid this issue with woodfill on your own but I do have a suggestion. You could use painter's tape and tape off the edges before woodfilling and maybe that would eliminate the stain leaks.
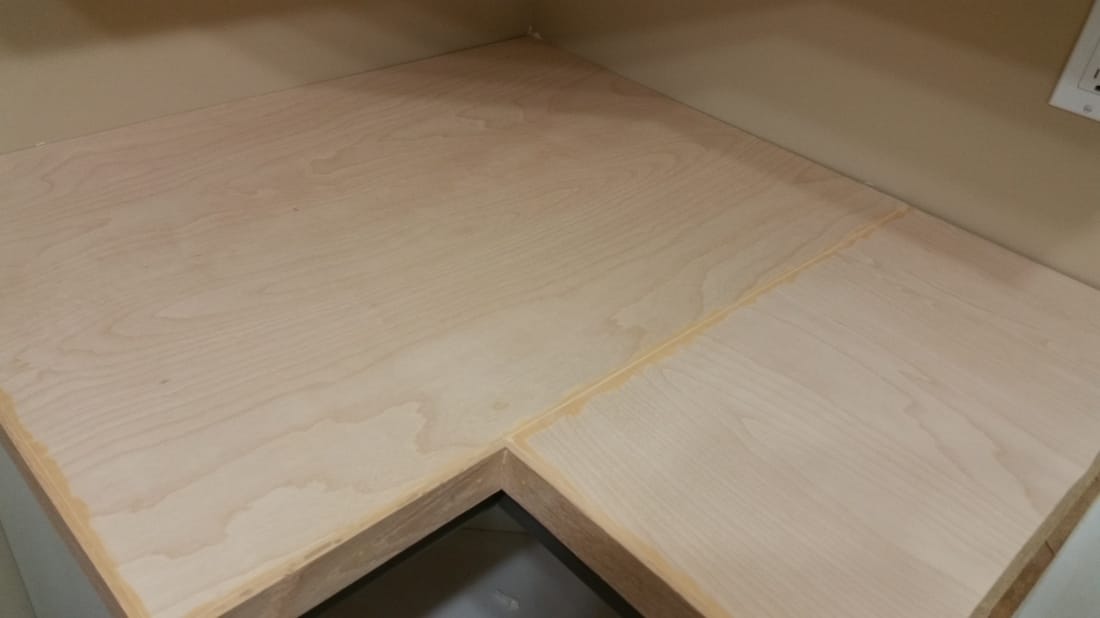
Sanded smooth and waiting for stain
(See what I mean about the woodfill staining?)
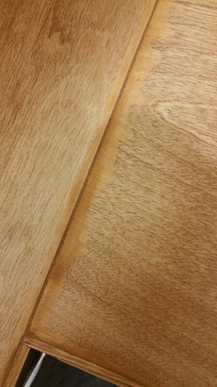
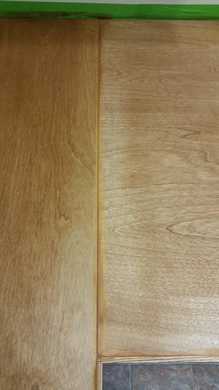
After the first coat of stain . . . eeeks!!!
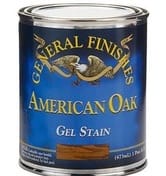
For the stain, I chose General Finishes Gel Stain in the color American Oak.
The reason I chose to go with this product is due to the success I had using it in the java color on my china cabinet, kitchen table, and bar stools back in 2014. Other than using gel stains on prefinished woods, I have only used it on unfinished pine. I was not expecting any issues using it on these countertops. However, it gave me lots of headache and going forward, I will only be using gel stains on the types of surfaces I previously had success with. All other unfinished woods, I will use regular wood stain. The reason for the color choice was twofold. I LOVE the look of butterscotch coloured stains against greys. Secondly, I need to tie in the existing kitchen flooring and the predominant color in the flooring was orange. This shade, American Oak, turned out to be the exact thing this kitchen needed to pull everything together nicely. I bought a quart of stain and after doing my own countertops and my mom's island countertop, I still have nearly half of a quart left. 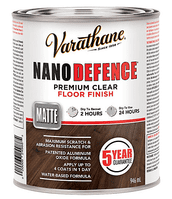
There was lots of trial and error to get this countertop stain looking right. I'll save you the sad details and just say, if you plan to use the same stain, make sure to wait 24 hours between coats!!
For the varnish or clear coat, I researched some more to try to find something that I would have to wait so long for it to cure before being able to use my countertops. If I was to have this kitchen functional for Christmas, I HAD to find something with a faster cure time. I went to Home Depot and the guy there happened to be knowledgable about varnishes for flooring, not only from customer experiences but from his own personal experiences. I ended up buying the product he recommended, Varathane NanoDefense Matte. Recoat every 2 hours, return to light use in 24 hours, and full use in 72 hours!! Where this is for floors and their heavy traffic, the guy said I would only need to use 2 coats for my countertops. I went with 3 coats, just to be on the safe side.
I applied the first coat with a sponge brush. It left lots of bubbles or residue in the finish. So, I soaked 600 grit sandpaper in water for 15 minutes (this is what the Home Depot guy had recommended), patted it partially dry, then lightly sanded the surface. It removed the blemishes.
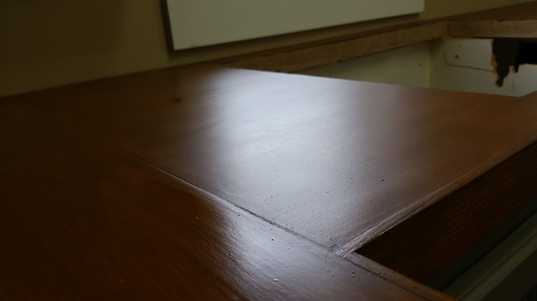
For the second and third coats, I used my Wooster Shortcut brush for application. Do not overbrush and keep a wet edge. You have to work quickly. I had a bit of bubbles in the second coat after it dried so I soaked another sheet of 600 grit sandpaper for 15 minutes but this time I left it more wet. It did a great job! The third and final coat is smooth but if you look at it in certain light, there are some tiny streaks. The guy warned me this would probably happen. Upon more internet research, I discovered that it was best to wait until the final coat fully cured before wet sanding and to use it very wet and some even use dishsoap in their water. I haven't done this yet.
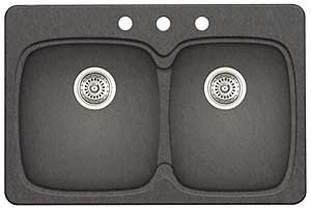
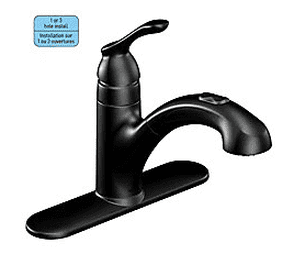
By the time the countertops had set a minimum 24 hours, it was Christmas Eve! Ryan put all the appliances back in place and installed the sink & faucet. He ran into difficulty (the old plumbing not lining up, etc) but luckily for us, our nephew is a plumber and he came right over and had it all fixed and together in mere minutes! Yay!
This is my youngest daughter watching my husband check things out while waiting for our nephew to arrive.
And one last parting shot . . .
28 Comments
|
Follow me!
Categories
All
Archives
April 2020
|






 RSS Feed


