|
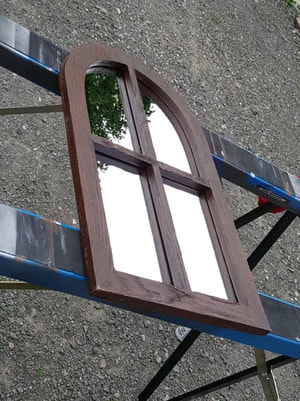
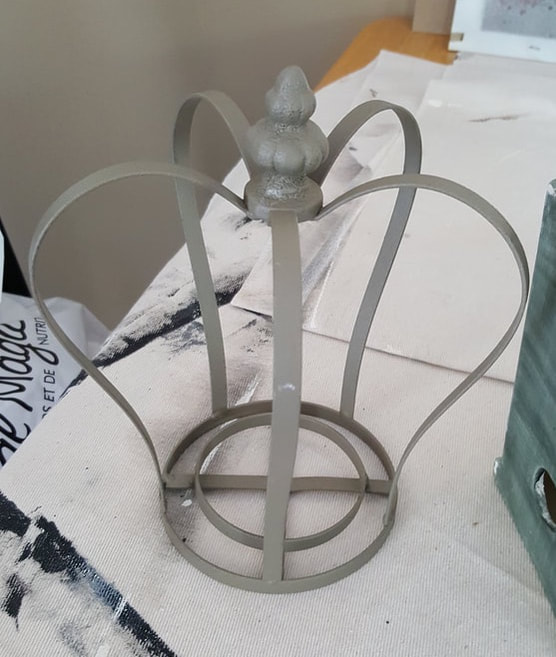
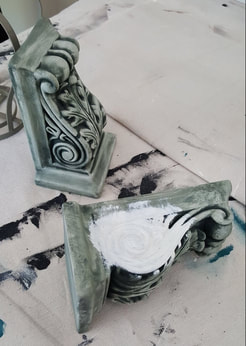
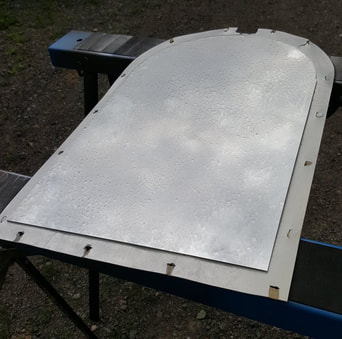
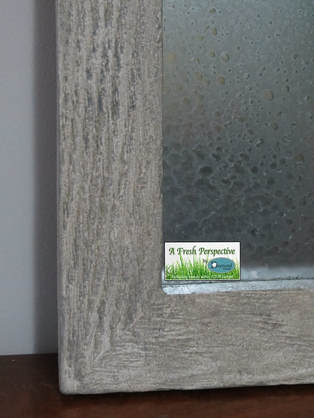
Last post told the tale about the mirror that had the last laugh. Well, I won THIS mirror battle! LOL. I succeeded in antiquing a mirror and I'm very happy how it turned out! I decided to do a few other projects all up all at the same time as I planned to use all the same colors & products on them. I did a church window style mirror, a crown planter, and a pair of bookends. Here's the 'before' shots: I'll start with the mirror. I removed the backing and took the mirror out first thing . . . this time. LOL. As I do with everything I'm about to paint, I first cleaned it with vinegar and water. Using the Heirloom Traditions Paint oval brush, I brushed on generous amounts of paint and immediately stippled. While the first coat was drying, I worked on the mirror. I took it outside and after cleaning the surface quickly, I spritzed on a half/half mix of vinegar & water and then immediately (after thoroughly shaking the can first, of course) sprayed Krylon Looking Glass spray. I went in steady even side to side motions side to side and then up and down to make sure I didn't miss any spots. Within a few short seconds, I began blotting the surface carefully with a dry rag. This is to soak up any remaining water/vinegar. Then I left it in the sun to cure while I worked on other things (that "mirror that had the last laugh" LOL). I followed this tutorial by The Seasoned Homemaker.
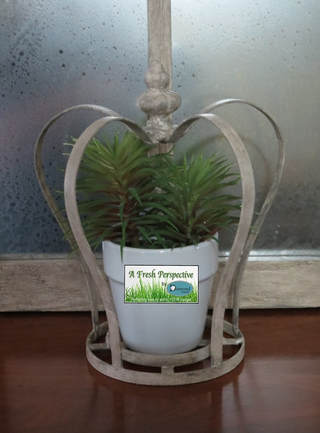
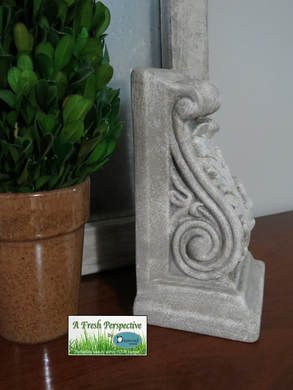
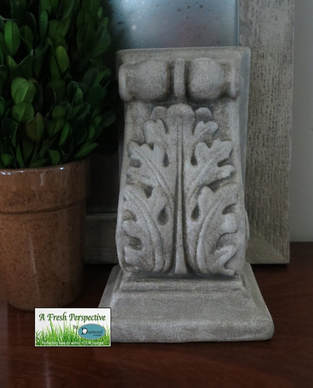
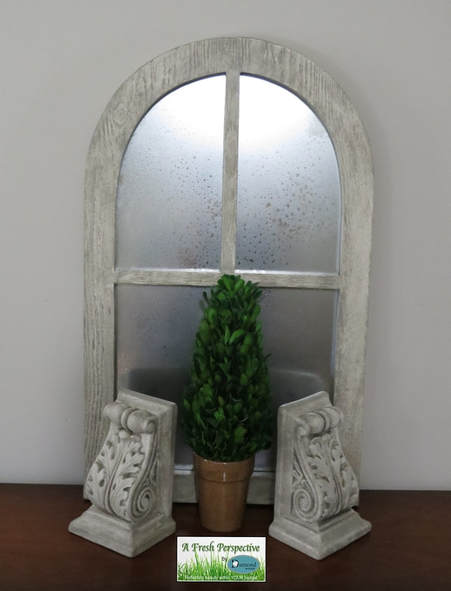
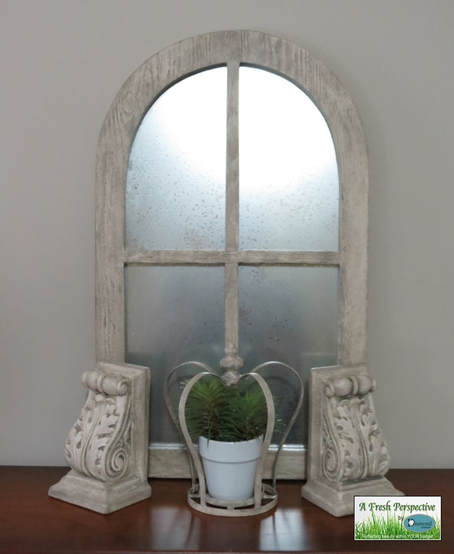
Back to the frame. I did a second coat of paint (Heirloom Traditions Paint in French Vanilla), following the same method of brushing on and then stippling it while still wet. I let it set in the sun for a day and then it actually set here in the house for a couple days before I had the chance to do the aging technique. To age it, I mixed a little bit of leftover grey paint that I had in a little jar with some Saman Waterbased Dead Flat Varnish, stirred it up real well and then brushed it on. I had to work in sections because it would dry quick. I brushed on and then using a damp clean microfibre cloth, I wiped the access off. In the places where too much got wiped back off, I would use a sponge brush and stipple more of this custom glaze back on until it all looked the way I wanted it to. I left it to dry for a couple of hours and then brushed on one more coat of the Saman varnish only. Love, love, love the outcome!! The crown. I bought that from a shop that was closing out. I had no idea what I was going to do with it, but it was a good price and oh so cute! It came with a clear glass votive cup. The crown sat in storage and went through a move to a new home and still, I had no place for it. A few months ago, I decided to paint it and make a planter out of it but never got around to actually following through with the plan until this past week. I did the same thing as with the mirror. I painted them with Heirloom Traditions Paint in French Vanilla . . . two coats, stippling each coat. Then, aged them with the same paint/varnish mixture as I used on the mirror, following up with one last coat of Saman Waterbased Dead Flat Varnish. For the crown, I just a used a sponge brush for the whole thing. It was really too small of areas to use a brush on when doing the glaze and varnish. For staging purposes, I used a faux succulent plant that I had on hand, but it really wouldn't be my choice of size/color of pot for this crown. The bookends . . . again, I did exactly the same thing to them. I painted them with Heirloom Traditions Paint in French Vanilla . . . two coats, stippling each coat. Then, aged them with the same paint/varnish mixture as I used on the mirror, following up with one last coat of Saman Waterbased Dead Flat Varnish. They be gorgeous, folks! They can be used as their original intended purpose . . . bookends. Or, they can be used like decorative corbels! They would have to be either hung from the two built-in holes in the backs of them or hung AND glued with something like No More Nails or PL Premium. Just think of the possibilities!! Under a bookshelf or under a kitchen island (like I did on my Mom's island here) or in the upper corners of a doorway. The one drawback to these is they are ceramic so you can't screw through them like you can with wood or other such materials. I tried, but the pictures really don't do them justice. They are really beautiful!
1 Comment
Susan
7/18/2017 08:33:46 pm
Those turned out gorgeous!
Reply
Leave a Reply. |
Follow me!
Categories
All
Archives
April 2020
|

 RSS Feed


