|
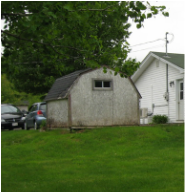
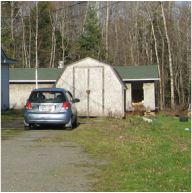
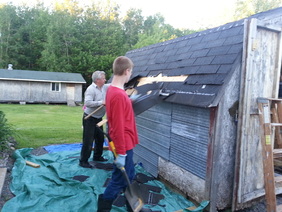
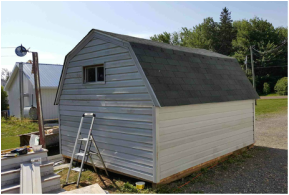
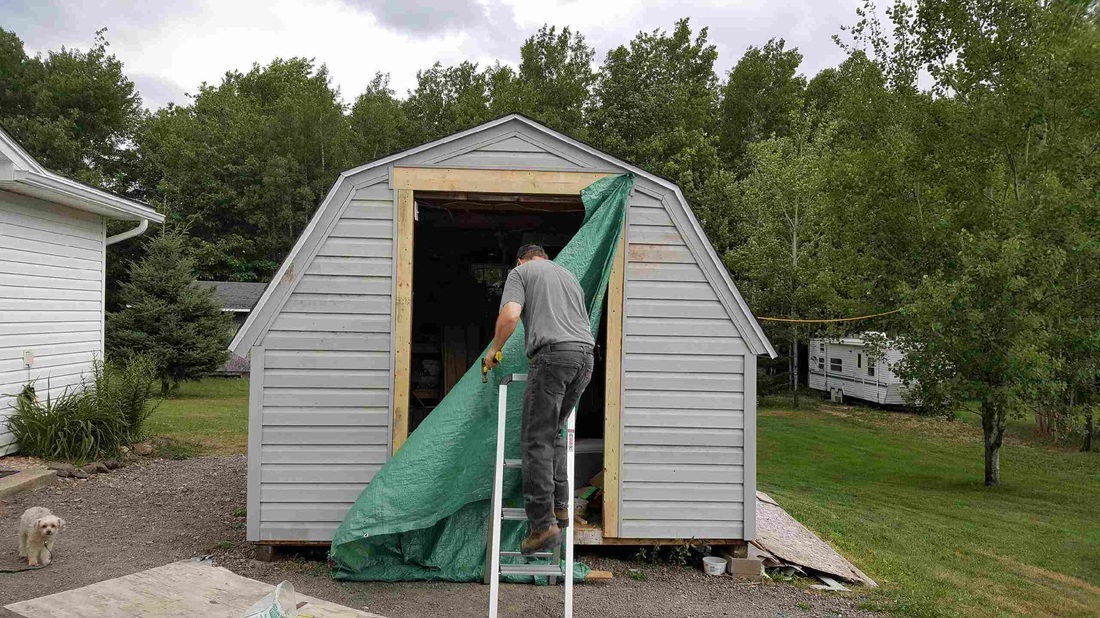
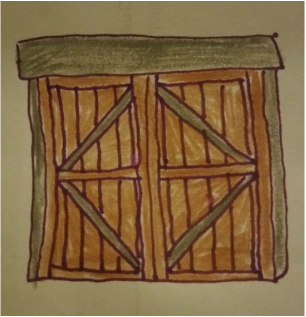
I was going to wait until it was totally finished to do this post (the perfectionism in me). BUT. It will be another couple of weeks and I'm anxious to show/tell what has been accomplished and where it will be when its done. First, let me show you some 'before' pictures: I had been looking on Kijiji off and on for months hoping to find free vinyl siding without luck. We simply didn't have the few hundred dollars it would take to purchase siding and the barn needed done. On Friday, July 22nd, I looked again and there was the ad I'd been waiting to find! We drove to Port Elgin the next day and picked up the load of free siding. It was a VERY windy day and it was close to the Bay of Fundy so it was quite a chore to load it. It took the 2 kids, myself, and Ryan all working together to hold it down and load it. It was covered in dirt and mouse droppings and a little family of mice scurried around trying to hide in the grass when we uncovered them. The siding itself didn't look too good and I was quite disappointed but Ryan was optimistic (its usually the other way around, LOL). The next week when Ryan was off work, he began replacing the aspenite that had rotted. The siding installation got 3/4 done before the last weekend in July. It got it completely finished last week. Dad, Logan, and I helped him, but he did the majority of it. He has not done anything like this before so I'm very proud of him. Ryan & I were able to begin building the doors last Friday night. I had hand drawn up the plans when we first began working on the barn so I was pretty anxious to get started on them! This is how it looks so far! I'm pleased with the progress! First let me put in this little disclaimer. We discovered that the barn was built very crooked by whoever at its very beginning. We had to work around all of its idiocracies. (Even more of a reason for me to be proud of how well my husband did on the vinyl siding installation.) The original door frame (that we had to keep) was not only not centered in the barn but it was also not plumb AT ALL. You may notice that one eave goes further down on one side than the other. And the window at the back was also not centered. We only noticed these things when working so closely on it, though, so no big deal really. Make do with what you have, right! At least its a sturdy and large storage barn. No one is perfect . . . I guess baby barns are no exception. LOL
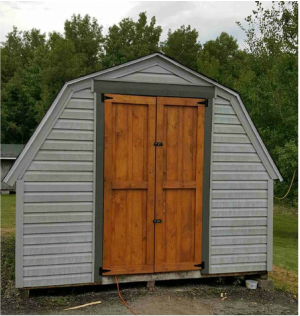
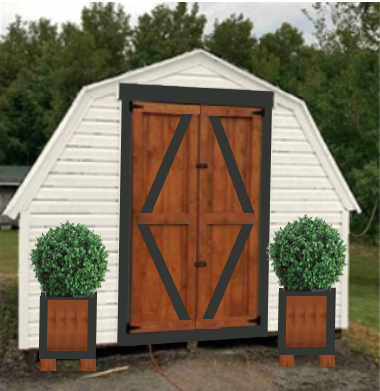
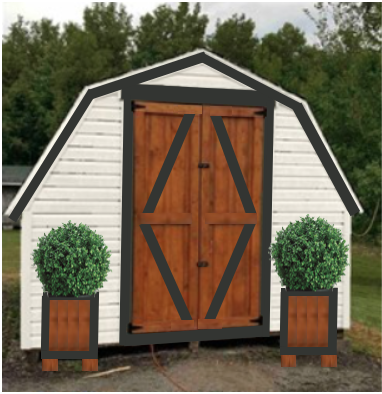
Now for the details so you can replicate these doors if you wish. I purchased cheap framing lumber. This door is 48" wide by 81.5" tall. So for these doors, I used nine 1x6x8 and six 1x4x8. One of the 1x6 we had to rip down to size and we put those smaller strips in the centres of the doors, one on each door. To hold the lumber together as tightly as possible so as to take out the 'warblies' and eliminate as much of the cracks between each plank as possible, we used the Kreg Jig Jr and put pocket holes along the backs of the lumber. We put a set of 2 holes on each plank (except the last board of each door) near the top, at the middle, and near the bottom. Then, we screwed a 1x4 cut to length along the four vertical edges, finishing the 'frame' off by screwing in 1x4 cut to length to fill in the horizontal sections between at top and bottom. Lastly, we cut and screwed in 1x4 to fit in the middle horizontally on each door. A coat of the same stain I used on the shutters on the house, nicely finished the doors off. I painted the exterior door trim with the same paint that I used on the house's exterior doors. The trim was built with a 1x6 at the top and 1x4's at the two sides. Due to the 'warbly' door frame and newly built doors, we had to shave some of the edges of the frame using my Dremel. When that wasn't enough, we had to take part of one door's frame off and rip some off of one side. Doing this stuff after a long day in the sun was certainly not the fun part of things but it now fits and functions correctly. The Kent store I bought the hinges from only had those 2 sets left so I do have to pick one more set up to put in the middles. Ryan & Dad pointed out to me that I will also need to install some sort of latch in the centre to enable a lock to be added. I haven't figured out that one yet from a cosmetic point of view. Also, I need to add some sort of mechanism to be able to tie back the doors when we need them kept open. That, too, needs to be visually appealing so I have yet to figure that out, as well. After the correct hardware is chosen and installed, the only thing left to do to the doors is to add the cross pieces to form the 'diamond', which will be painted grey to make them pop visually. Lastly, I will be painting the vinyl siding white to match the house. I plan to eventually add some landscaping around it. Having either boxwoods or global cedars on either side of the door would look so nice. I could even build a tall wooden planter for either side for the global cedar. Then, along the sides I would like to add maybe some hosta. I like nice clean lines and simplicity with greenery and rock beds so it will definitely be something like that. Here's a quick mock-up of what it may look like finished. I have to decide whether to add the color to the eaves or not.
2 Comments
mom
8/10/2016 01:27:18 pm
I think it would look more (I guess the word that keeps coming to my mind) grounded or pulled together if you painted the trim too. It would complete the look. Just my opinion.
Reply
Ryan
8/10/2016 05:10:22 pm
Lots of work... which I can do. But I can't envision anything finished so my honey bun, Joanne Diamond, has to be with me through all steps until the finished product is complete.
Reply
Leave a Reply. |
Follow me!
Categories
All
Archives
April 2020
|
 RSS Feed


