|
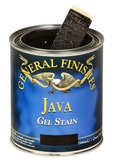
* Using a medium grit sanding block, I sanded all the areas I wanted to stain, using medium pressure. I was basically just looking to remove most of the shine. * I vacuumed and wiped it all down with a dry towel to remove sanding dust. * Using a medium grit sanding block, I sanded all the areas I wanted to stain, using medium pressure. I was basically just looking to remove most of the shine.
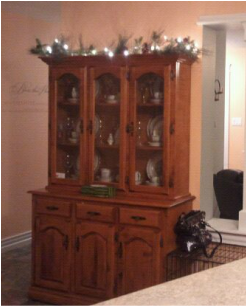
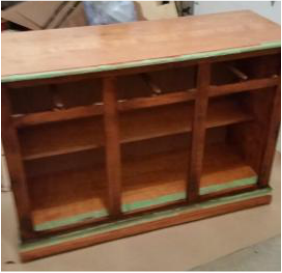
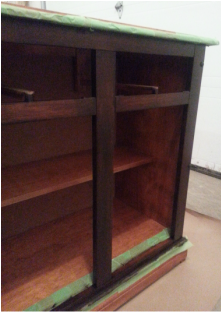
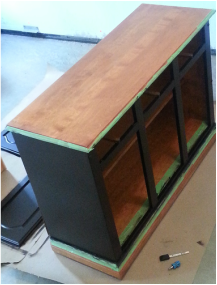
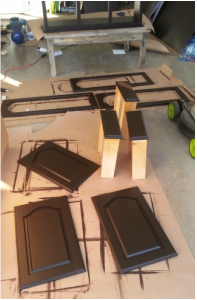
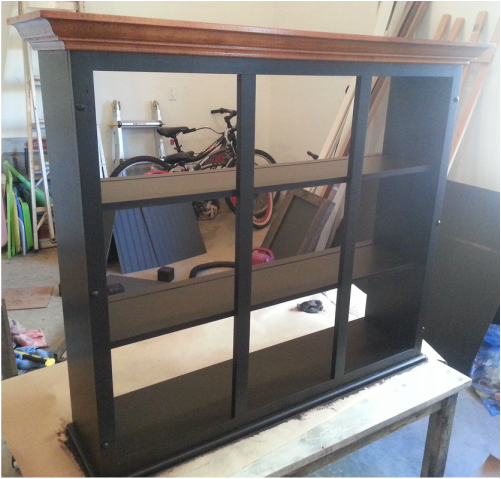
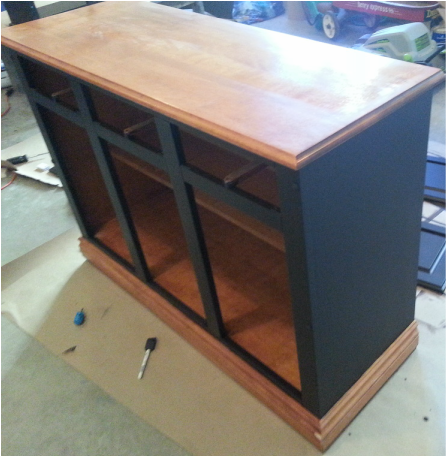
Leaving a minimum of 24 hours between coats, I brushed on another coat. * Now having switched methods partway through, I lost count of whether I did 3, 4, or 5 coats! LOL Whatever, I kept at it till it looked beautiful! Now to be truthful, it looked like a regular paint job instead of a stain job because none of the grain came through with this method of 'painting' it on. Yet, with leaving the crown moulding, bottom moulding, and the top of the base the original orangey oak, the painted-on stain looked espresso and the whole look was very nice. I was very pleased with the results.
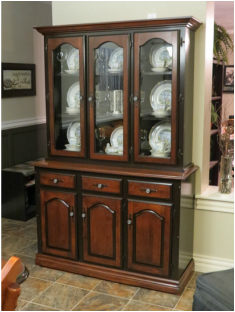
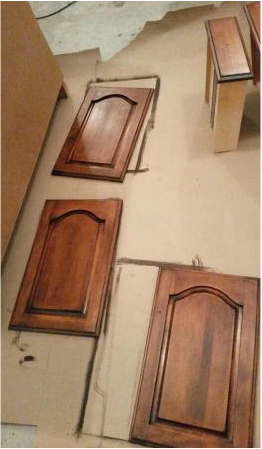
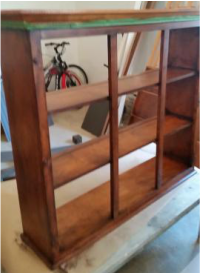
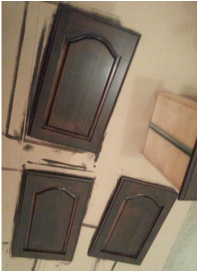
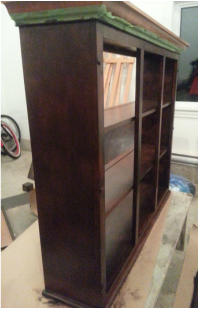
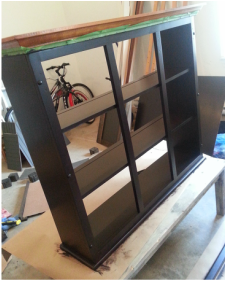
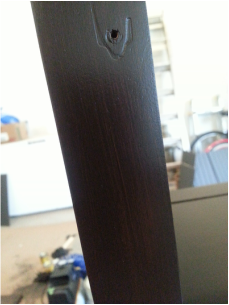
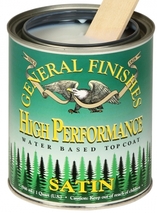
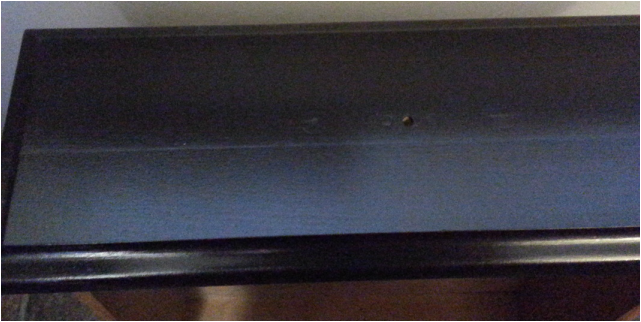
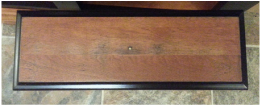
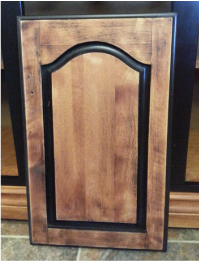
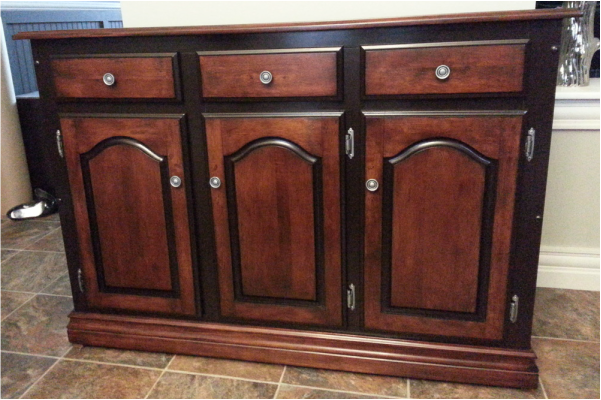
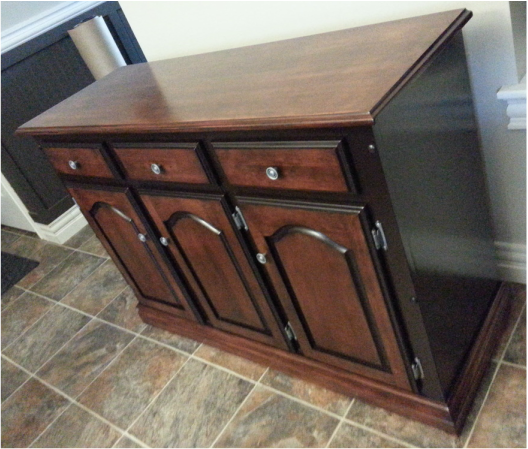
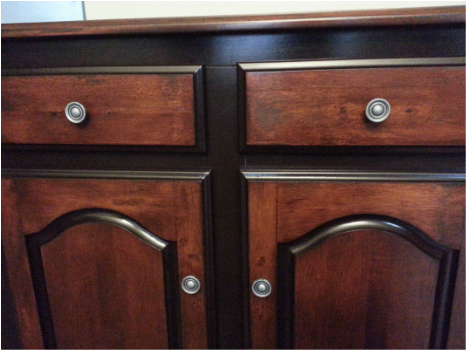
* The next day in full daylight, I was not happy with the results. I could see the brush strokes. And, on the drawer fronts, some wood seams had lifted and the shine emphasized it. I know when I was sanding in the beginning, those seams weren’t showing nor could I feel them. So, either the stain reacted or the colder temperatures in the garage caused it. Imperfections bug me so I decided to ‘try’ something. I played with using some glazes. The white glaze I tried looked really neat but it wasn’t the look I was going for so I ended up using my electric sander and sanded the drawer fronts and the cabinet fronts completely down to the wood. * Then, after vacuuming up the mess and cleaning the surfaces with a damp cloth, I stuck a man’s sock on my bare hand and began rubbing a coat of the stain on. OMW! Gorgeous! (Note: eliminating the glove did mean having lots of stain on my hands, however, it provided much more flexibility in working the stain in the wood. Using a good degreaser and a scratchy sponge, I was able to get most of the stain back off my hands.) * I rubbed on a 2nd coat of stain in 6 hours, followed by the 3rd coat a day later. * In between the coats of new stain on the fronts, I ended up using my sanding sponge and lightly sanding (following the grain) the rest of the ‘painted’ areas to remove the brush strokes. Then, I rubbed more stain on to smooth it out. * I also decided to do the same treatment on the areas I had originally left the oak colour. * Leaving the whole thing to cure the minimum 5 days, I then rubbed on the top coat using a sock on my hand but kinda rubbing in an up and down circular motion, still with the grain, just not straight up and down. I was able to complete 3 full coats of the top coat within a day. I LOVE THE FINISHED PRODUCT! Note: the pictures cast a reddish hue to the look and it reality it is not that red. What would I do differently if I could? I would have sanded it down as much as possible right from the start. This allows for the best possible finish in rubbing on the gel stain. Read my blog on the process I used on my bar stool as I did this after finishing the bottom part of the china cabinet. In the next episode of this china cabinet makeover, I will tell the story of the hardware. In these last pictures, the hardware you see will be replaced.
0 Comments
Leave a Reply. |
Follow me!
Categories
All
Archives
April 2020
|

 RSS Feed


