|
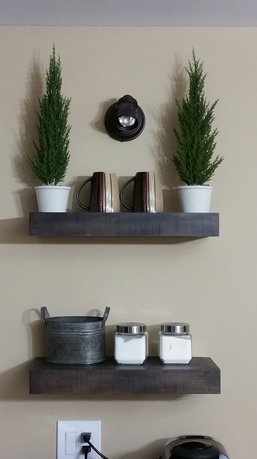
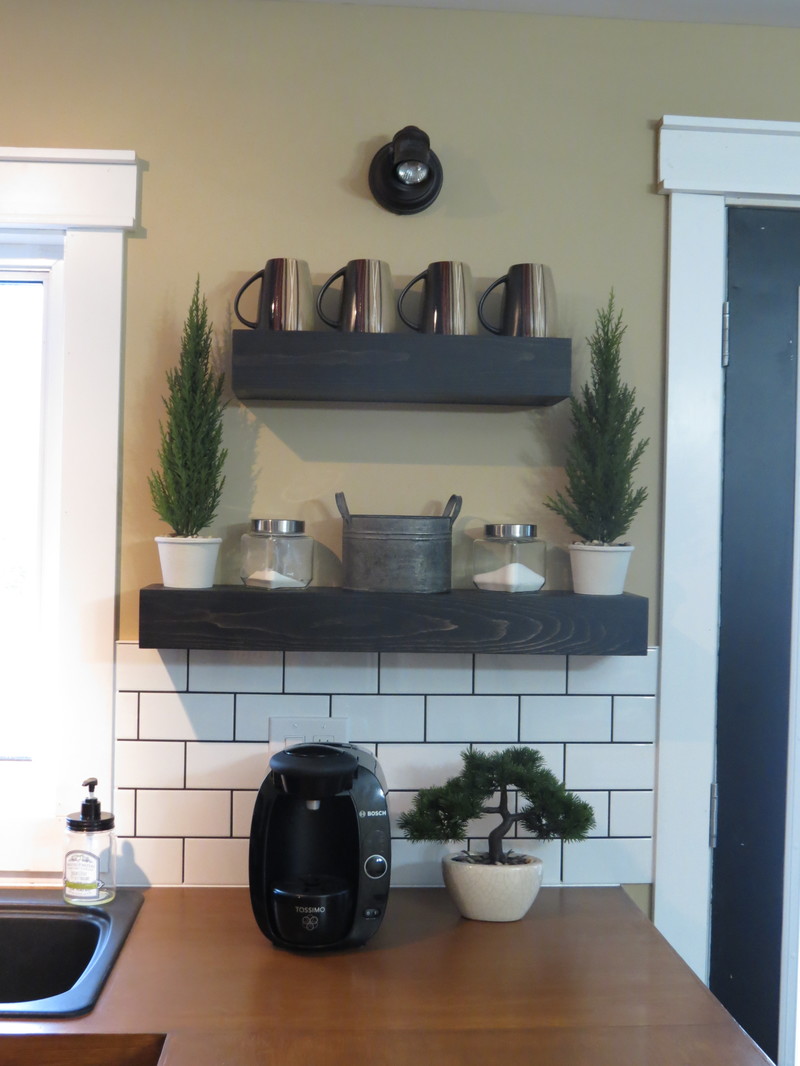
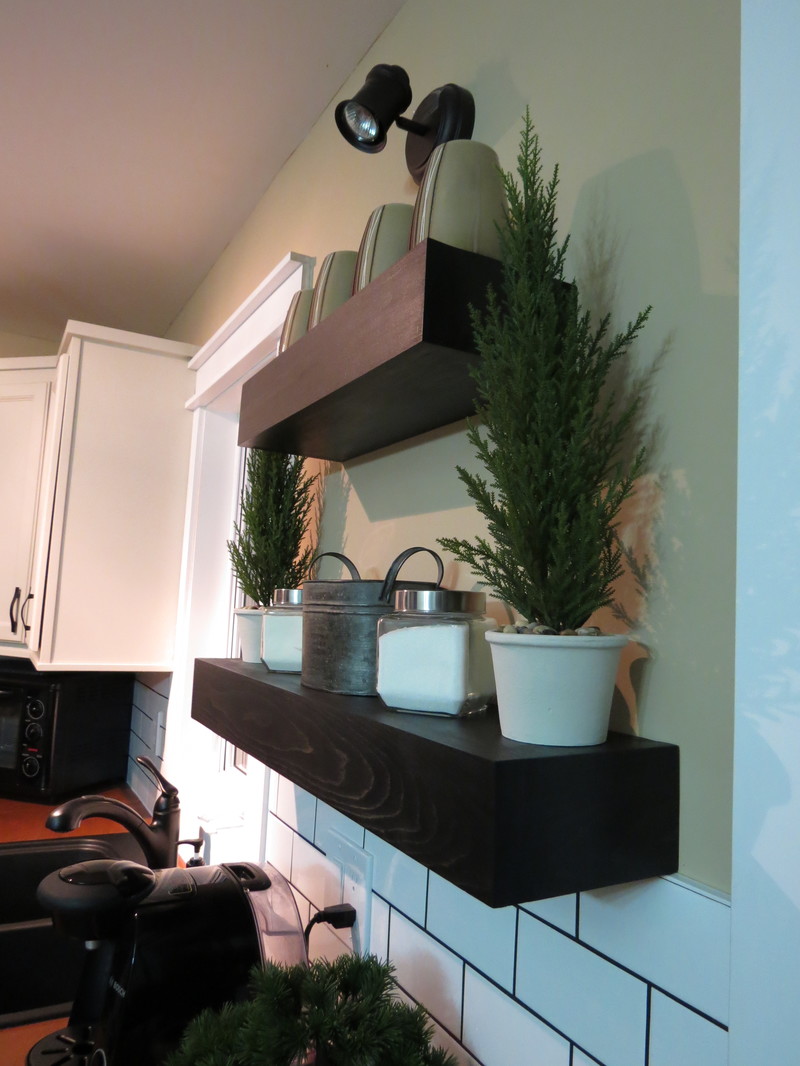
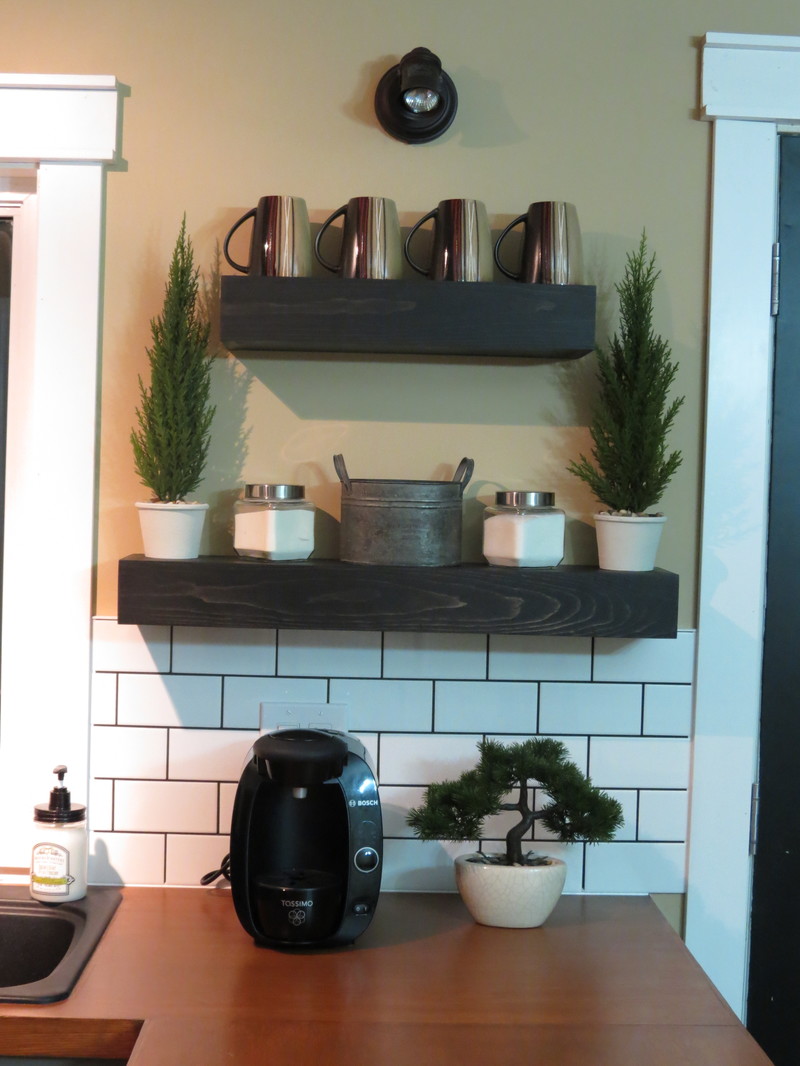
For my first attempt at floating shelves . . . . check here. Trying to build floating shelves too narrow does NOT work, folks. LOL. Even though the first attempt was a fail, I left that post up in hopes I can save someone else going through the same thing. The added benefit to the rebuild is that the new shelves look sooooo much better! Check out the before and after!
Supplies needed to make these 2 shelves:
Tools we used:
Cuts needed:
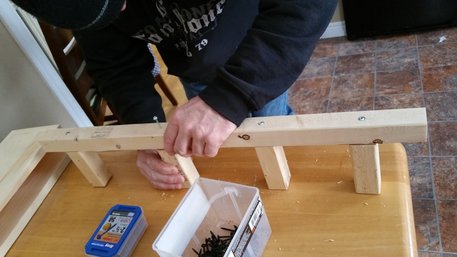
We built the shelf boxes first. The 1x4 was used to make the face and sides of the box and the 1x6's were used to build the tops & bottoms of the shelf boxes. We followed diagram 1 in Shanty2Chic's directions. I put a bead of No More Nails along the edge then air-nailed the pieces together. The biggest thing that had to be addressed this time around was having something to anchor the bases to. There is only one stud in that wall that the shelves needed to go on. A Home Depot employee gave me this idea for creating a 'super anchor'. Here are the steps we took to create this:
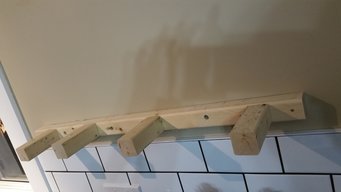
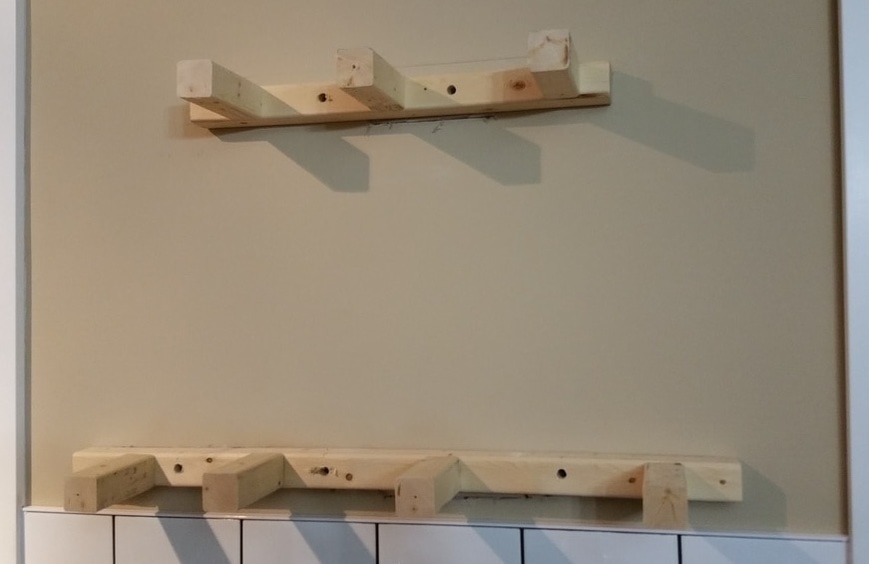
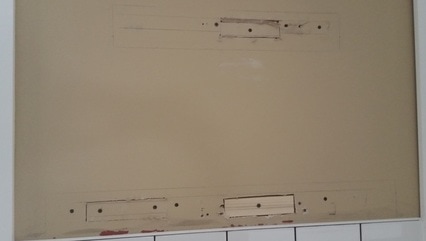 So that we didn't try to screw into the screws that were holding the 'super anchors' in place, I set the frame up against the wall and marked the frame where where all the screws were as well as where we knew the stud to be. That was essential to knowing where to install the 'legs' as well as to know where to screw the frame onto the wall.
We drilled small pilot holes in the frame as well so it wouldn't split when screwing it to the wall. Then, we used a drill bit the size of the head of the screw (the same 2.5" screws we used for the legs), and drilled in a little ways so that the screws could be countersunk. We really only had to do it this way because we didn't have longer screws on hand and wanted to use what we had. By making the frames smaller than the actual hole inside of the boxes, it allows for wiggle room for adjusting from side to side (less errors that way). I haven't yet as of this post but will do it this week, screw a couple black screws down through the tops next to the wall into the frames to secure them snugly. No one will see the screws and it not only keeps them in place but if you do ever have to take them off (like for repainting the wall someday or something like that), they are still easily removable. Speaking of the boxes again, after woodfilling the seams in the boxes and allowing the filler to dry, I used a rotary sander and sanded the whole thing. The rotary sander makes getting all the places where the pieces join together smooth. Also, its VERY important to sand the wood filler stains off the pieces, leaving it ONLY in the actual seams/holes. (Yup, lesson learned the hard way. If you leave the filler stains on the wood, it shows up big time! I took pictures but am too ashamed of myself to post them. It was a chore getting back to the original wood. It sure doesn't pay to get in a hurry.) I used one coat of Old Masters gel stain in Spanish Oak and for the top coat, I used General Finishes Flat Out Flat (one coat). 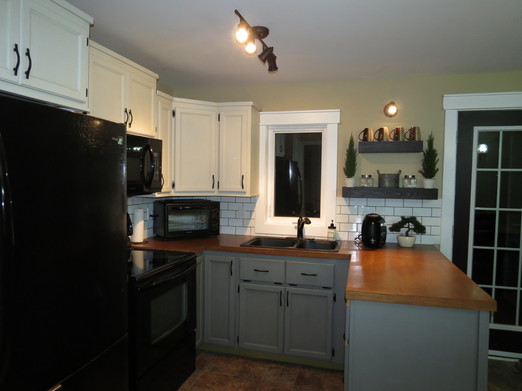
2 Comments
9/28/2017 06:51:42 pm
Thank you for bringing this to my attention, Liz! I can't believe I didn't notice this sooner. LOL. Leave a Reply. |
Follow me!
Categories
All
Archives
April 2020
|

 RSS Feed


