|
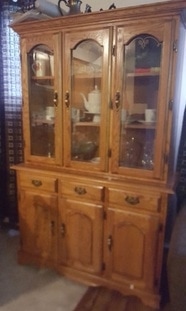
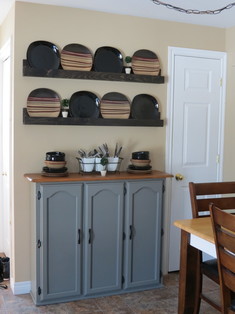
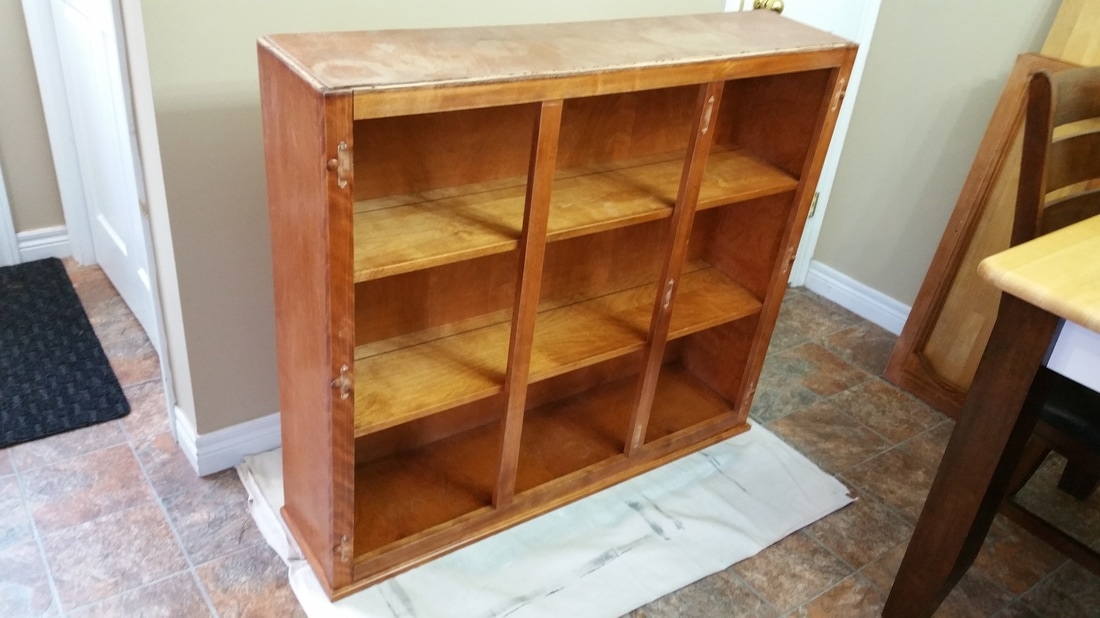
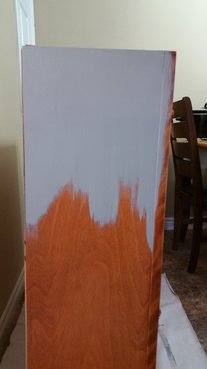
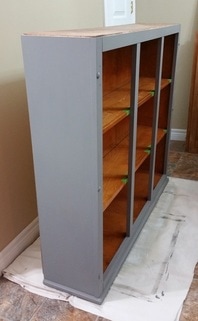
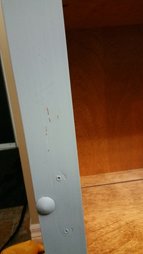
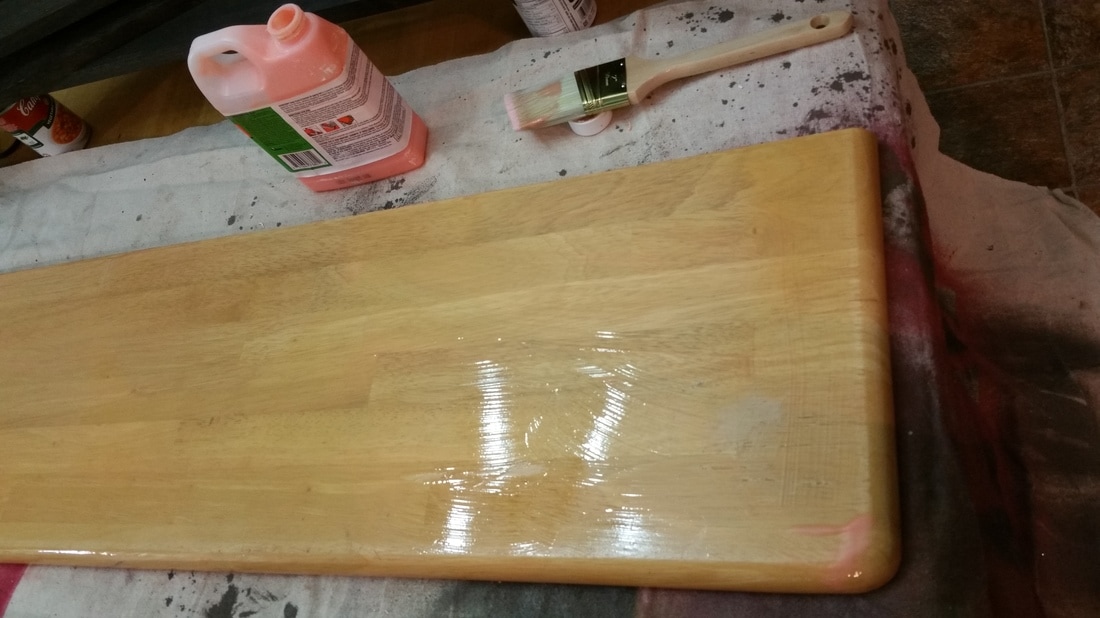
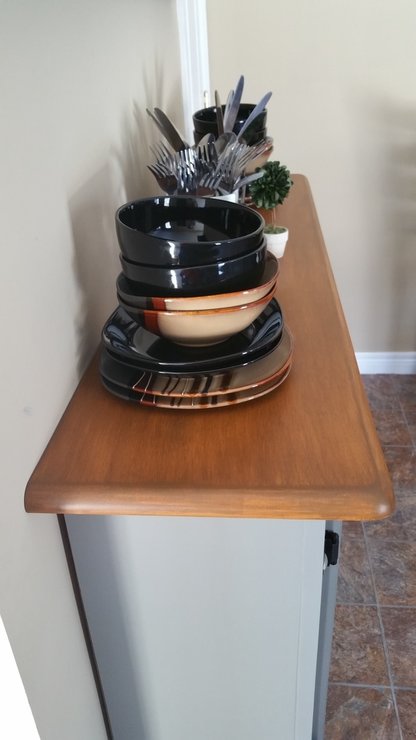
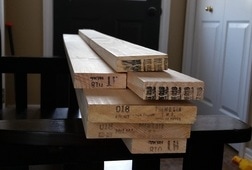
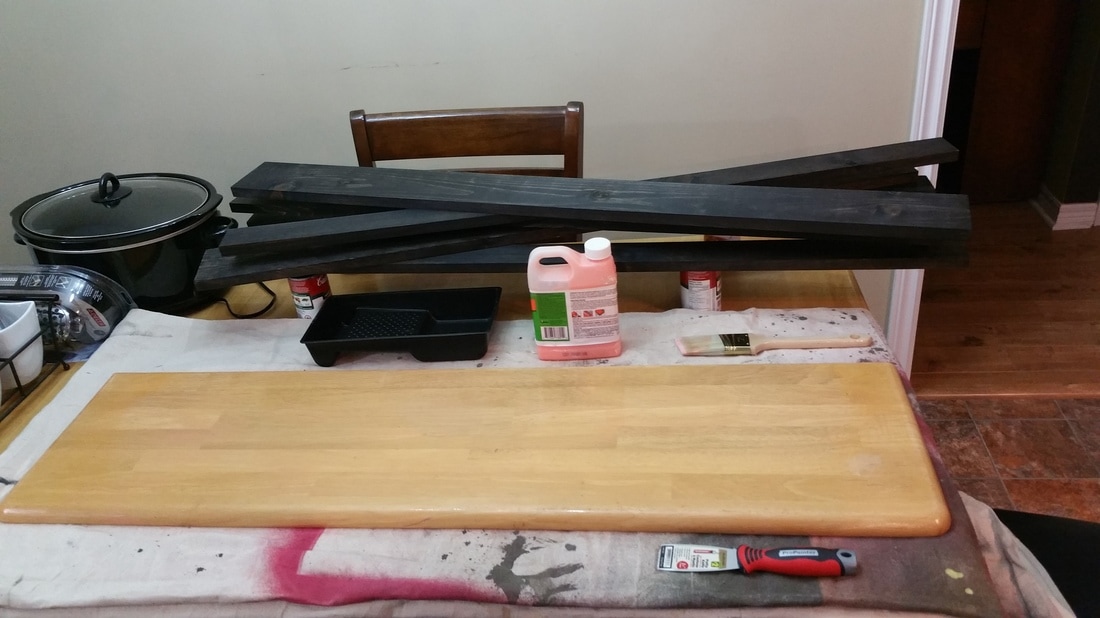
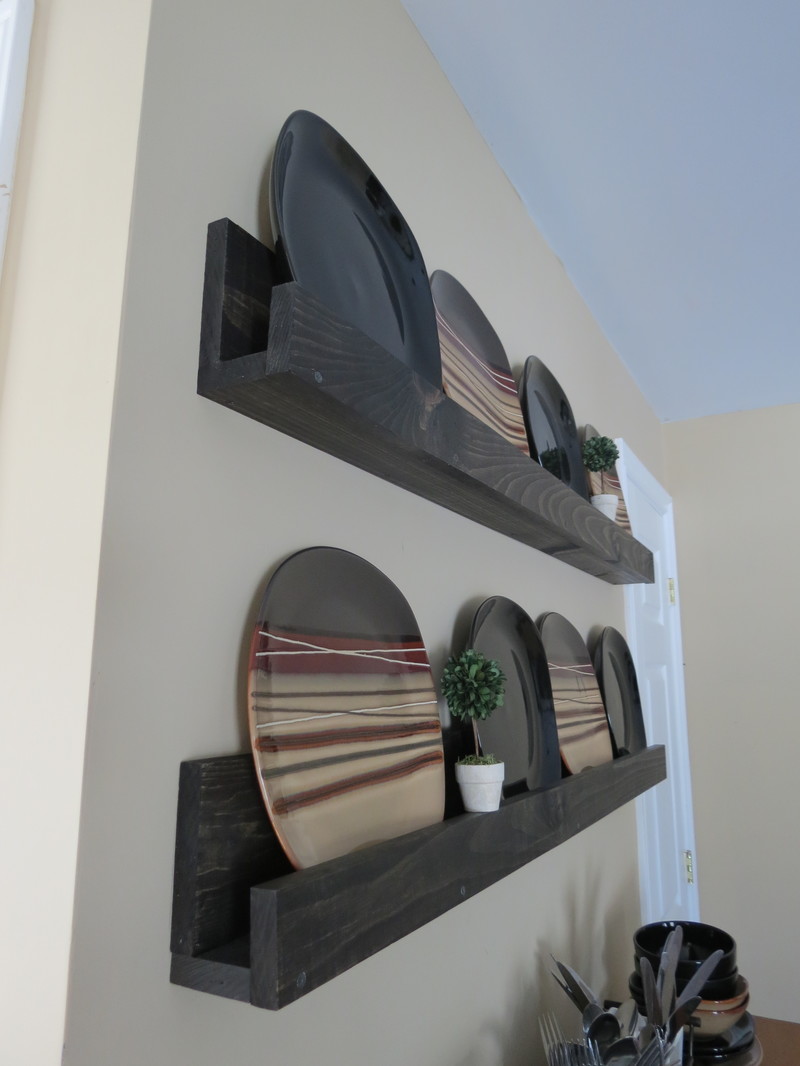
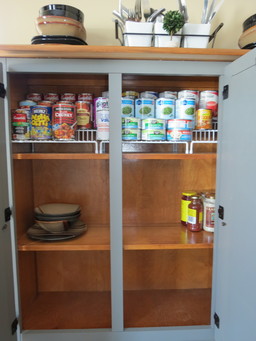
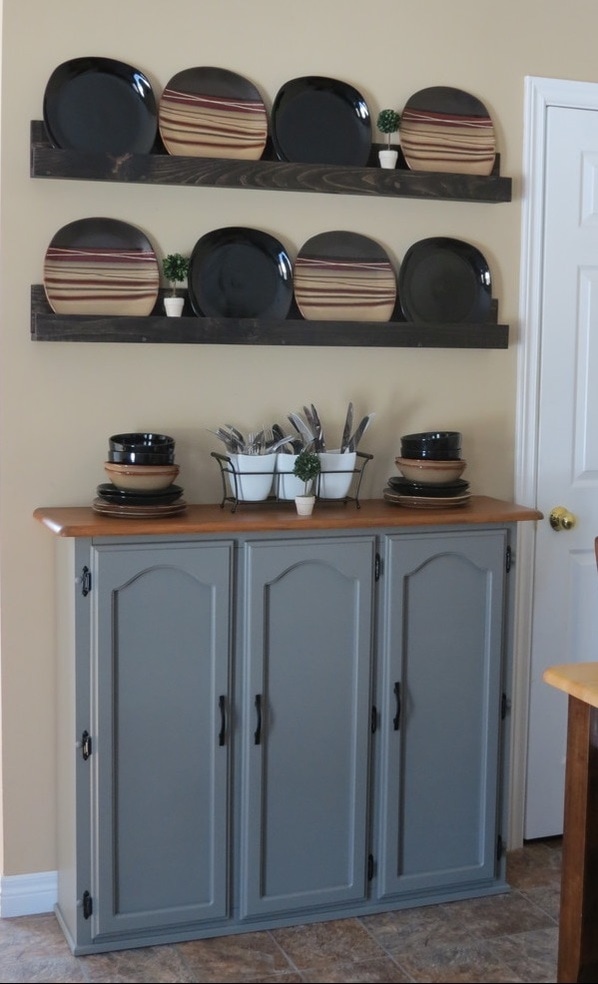
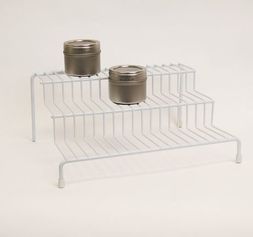
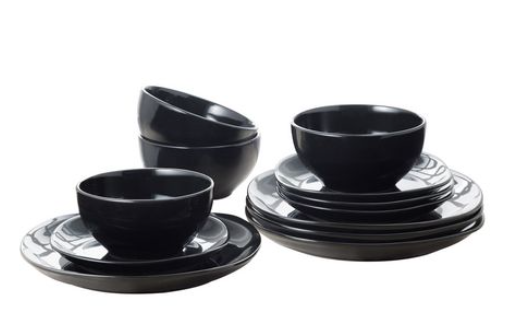
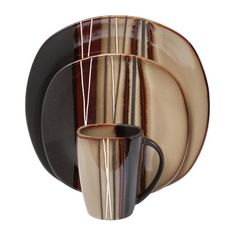
In the post about my Mom's kitchen island, I explained that her island was part of a china cabinet. We used the bottom portion of the china cabinet for her island and she gave the top part of the china cabinet to me because she didn't need it. Well, here is what I did with it! First thing was to remove all the outdated hardware and take out the glass inserts. I bought a 4'x4' sheet of 1/8" hardboard panel (less than $10). My husband cut out panels to insert where the glass was. I washed the cabinet down carefully with a vinegar/water mix. Then I quickly hand-sanded the entire cabinet where I planned to paint. I wiped off the sanding dust with the damp cloth from the vinegar/water mix. I decided to forgo using primer and try straight painting like I am constantly reading about others doing. This was a hard thing for me to do . . . not only because of my perfectionism and previous experience but also from my paint training. I had just bought a jar of BB Frosch chalk powder so I mixed up a cup of Benjamin Moore Aura Matte paint in Benjamin Moore color Chelsea Gray according to the BB Frosch directions on the jar and began painting. I was upset, of course, and contacted BB Frosch right away. She was not concerned in the least and simply advised to lightly sand the scratched area and touch up with the paint. She assured me that a top coat would seal it just fine. Since I already had the paint out for the touchup, I decided to give the two ends (the large areas) another coat of paint as they did look kind of streaky in the light. I rolled the coat on this time and then quickly ran a dry brush over it to even it out. Given my past experiences, training, and perfectionism, this was SUPER HARD for me to accept. I just didn't get it . . . and still don't understand this concept. However, I made myself continue on and follow her advise. After 72 hours had passed, I very gently sanded the rough areas. The rough areas occurred due to hand-painting, I believe, as it the small areas took time and the paint dries rather quickly and formed dry lumps in the paint container and on the brush. Had I of taken the time part way through painting to clean the brush out and the container and get fresh paint, this probably wouldn't have happened. Lesson learned. With the gentle sanding, however, it was obvious which areas bonded well and which areas did not. I just kept going and only touched up one obvious area. I used my new favourite top coat, Varathane Nano Defense Matte. It dries super fast and so you have to move super fast in application. I used my favourite Dulux paint brush and worked quickly, applying as thickly as was possible without creating runs and pools. I waited 2 hours between coats and only applied two coats in total. This product was intended for hardwood floors and is a fast cure. I used it on my wood countertops and LOVE the results. I was able to install the hardware and put the doors on the cabinet only 24 hours later, thanks to this top coat's fast cure. The wood top for the hutch came from another hutch. I had bought a table & chair set off of Kijiji and it came with a hutch. I used the wood top from that hutch and had my husband cut it down to fit this one. I cleaned it with my usual vinegar/water mix and then began stripping it with Citri-Strip. After stripping it and cleaning that up well to remove any leftover Citri-Strip, I sanded the top with my rotary sander first and then my mouse sander and then finishing up with hand sanding. It sounds like a lot of work but it really wasn't. I thought I had completely stripped the top down but when I began applying the gel stain, in became immediately obvious that I had not. I decided to roll with it. With gel stain, you have to wait at least 12 hours between coats and 24 hours is much better. It took 3 coats to get it where I wanted it to be so that means it was a 3 day process! I applied the gel stain with a sponge brush fairly thickly like painting and then I used a dry brush and vigorously/gently (I know that sounds dumb but thats exactly what I did) brushed it following the grain pattern. After the third and final coat, it then had to set for 72 hours to cure before I could clear coat it. You guessed it, I used Varathane NanoDefense Matte and used just 2 coats. After the cabinet was painted and waiting to be sealed, I built my plate shelves. I bought the knotty pine boards at Kent Building Supplies. To build these two shelves, I used 4 of the 1x3x4 and 2 of the 1x5x4. Using a clean rag, I stained each individual board with one coat of Old Masters Spanish Oak gel stain then left them out to dry for a day before building the shelves. I drilled pilot holes before screwing them together using regular drywall black screws. There was only one stud in the wall that I could screw to so I used those heavy duty plastic anchors to screw the other screws into the wall. These two shelves cost me under $20 in boards to make. So here's the other story behind this hutch & plate shelves. Originally, I had planned to put a breakfast bar there. However, two factors changed that plan. One being that there wasn't a plug in on that wall and I didn't want the bother and expense of getting one added. The other factor is that this hutch isn't very deep. In fact, the inside shelf is only 9" deep! So, it simply wouldn't work to be able to set up the coffee maker and toaster, etc. I then came up with this plan. You see, I really only have 2 large cupboards and both are corners. So in these two cabinets had to be my dinnerware, mixing bowls, and pots/pans and frying pans. It was definitely squishy and irrititating. I decided to display my dinnerware and thus have 'functional decor'. In the hutch itself, I put my canned goods (and will add other things as I get cleaning out my pantry). This freed up space in my cabinets and my pantry. Now I can have my bowls, etc in easy reach where my dinnerware was and the pots/pans and frying pans can go in the pantry where my canned goods were. I'm rather proud of myself for coming up with this idea! LOL I am super happy with the finished look! Each picture below is a direct link to where I got my things:
4 Comments
Sophia
3/26/2017 08:54:06 pm
What an amazing job! It looks beautiful!!
Reply
4/6/2017 12:09:21 pm
I have a China cabinet just like this! I do have a question: did you replace the glass with wood?
Reply
4/6/2017 12:23:51 pm
Yes, I did. I bought a small thin sheet of hardboard at Home Depot and cut it the same size of the glass panels. I painted them separately and once they were painted and sealed, I put them in with the tabs just like the glass panels were.
Reply
Leave a Reply. |
Follow me!
Categories
All
Archives
April 2020
|

 RSS Feed


