|
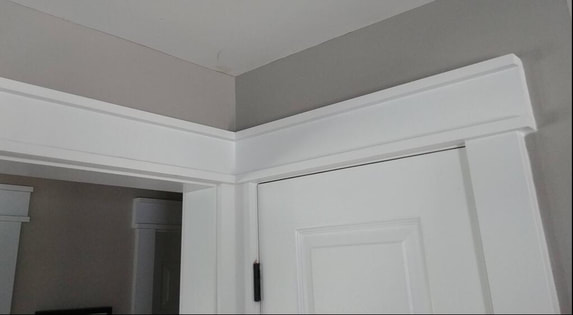
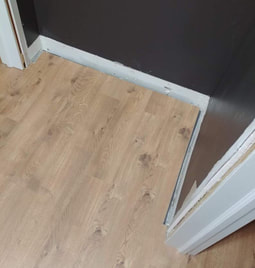
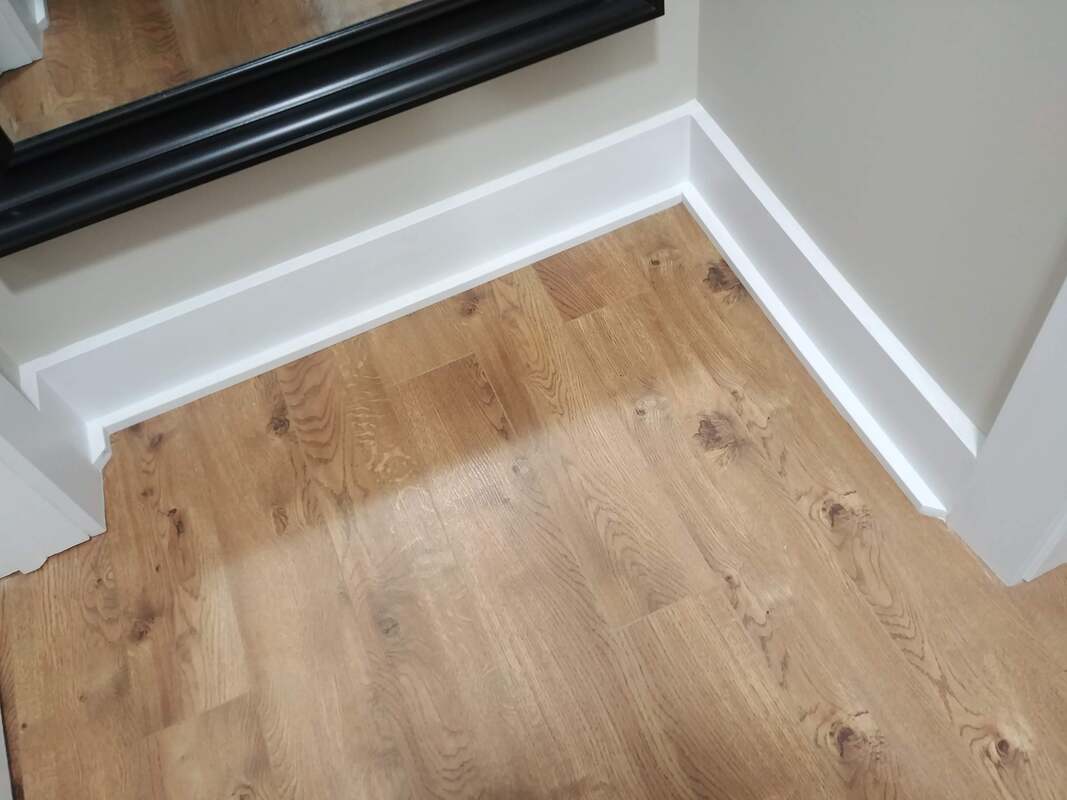
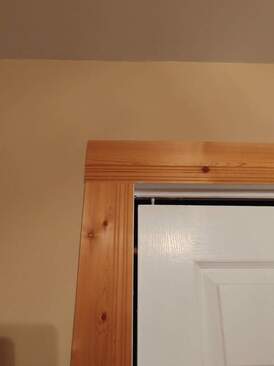
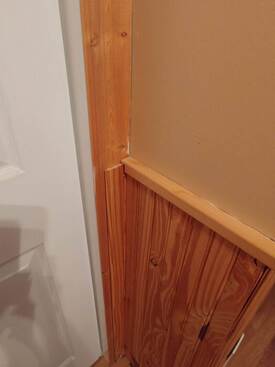
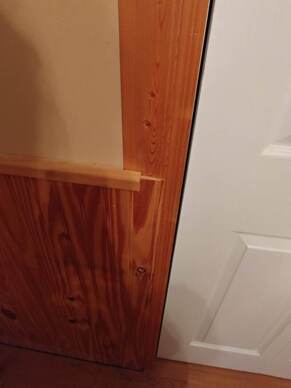
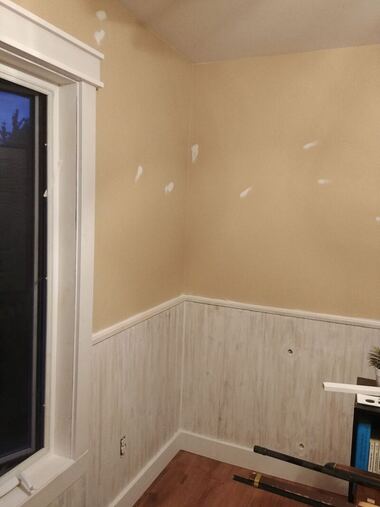
The previous trim was badly damaged in a lot of areas, presumably from the large dogs the previous owners had. When Mom & Dad bought the house, they had the trim repainted which camouflaged the damage. Me . . . well, I'm a bit of a perfectionist. Surprise! LOL Because I needed to list the house for sale, I needed to finish up the projects that were not yet finished. The trim was one of those unfinished projects. This is a simple job, not requiring mitre cuts. I personally love simple clean lines so this style was not chosen for its ease (although it IS easy to do), but rather for its look! Tip: DO NOT leave your finger in the way of the air nailer . . . like I did on one of the headers. OUCH! The subsequent tetanus shot hurt worse than the nail shot in my thumb. LOL Some doorways didn't line up perfectly and did require some adjustment. The one above? One header ended up being closer to the opening so that the headers could line up. The guys who installed the flooring, when my parents still lived here, didn't do the greatest job. They left the existing trimboards on (which is common) but they didn't install the flooring up closely and evenly around the edges. Some gaps were so huge and jagged unevenly that a second trim had to be used to cover those gaps. I went with installing the 2" x .5" boards flat against the floor first and then putting the 6" x .5" boards vertically on top of those. But, I angled the bottom board away from the ends as shown in the picture below. The third bedroom, the one with the tongue & groove wainscotting, didn't have any baseboards at all. The good part was that in this room only, the flooring didn't have as large of gaps on the sides so I was able to avoid that second floor trim.
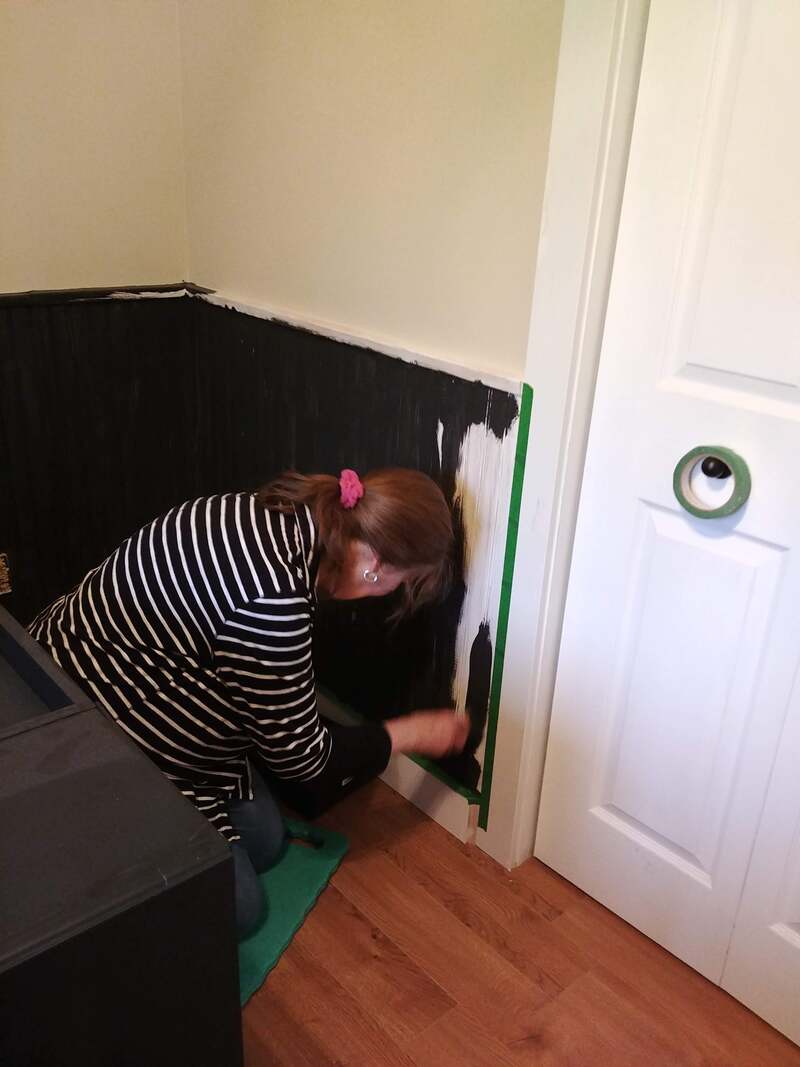
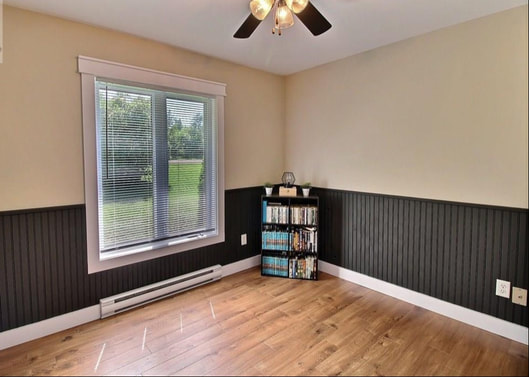
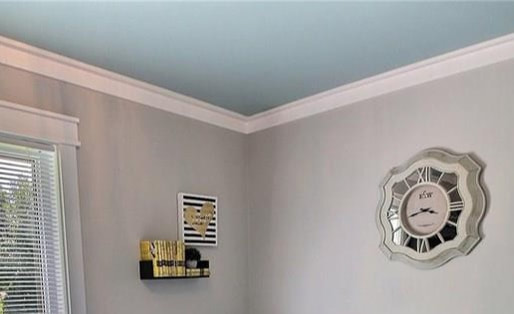
At first, Mom & I decided that we were going to paint the tongue & groove white. That required a coat of primer/sealer so that there wouldn't be any bleed-through. Then, the next day when we went back to do the actual painting, I suggested we go dark instead. Uh huh. Why? Because there were two knot holes missing and I figured it would be easier to hide holes with dark paint rather than white. Mom agreed and so we painted over the WHITE primer, a dark color. We love the new look! It all turned out beautifully, though! Thanks for your help, Mom!! This next bedroom was done last year. I went a little more special on this room because it was for my baby girl (she's a teen now, but still my baby girl). The ceiling was painted and I invented this style of crown moulding to match the style of the rest of the moulding. It was the same moulding used to do the floor moulding, just reversed in the ceiling corners. I'm very happy with how it turned out! Materials & method:I used plain flat 1/2 inch primed trim boards. For the side pieces for the windows & doors, I measured from the floor to where I wanted the header to set. I used 4" boards for that. Then, for the headers, I measured from outer edge to outer edge of the side trims and added 1.5" for overhang. I used the 2" boards on either side of a 4" board to create the header and nailed those together first before installing over the window & doors. To create the baseboards, I used one 2" wide board laying flat against the floor butting up against the wall and then the 6" laying flush against the wall but on top of the 2" board. Before nailing the bottom 2" board down, I set the 6" up on it to measure & mark where it sat and then did an a 90" angle cut from that outer edge mark away from each doorway, to create the slant.
0 Comments
Leave a Reply. |
Follow me!
Categories
All
Archives
April 2020
|

 RSS Feed


