|
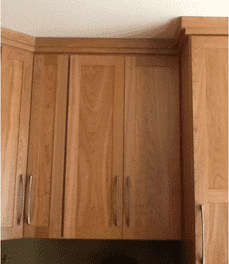
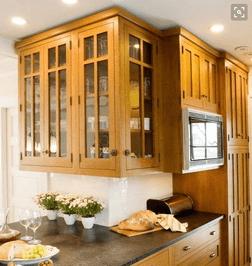
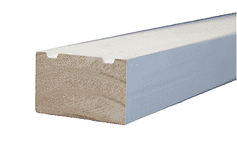
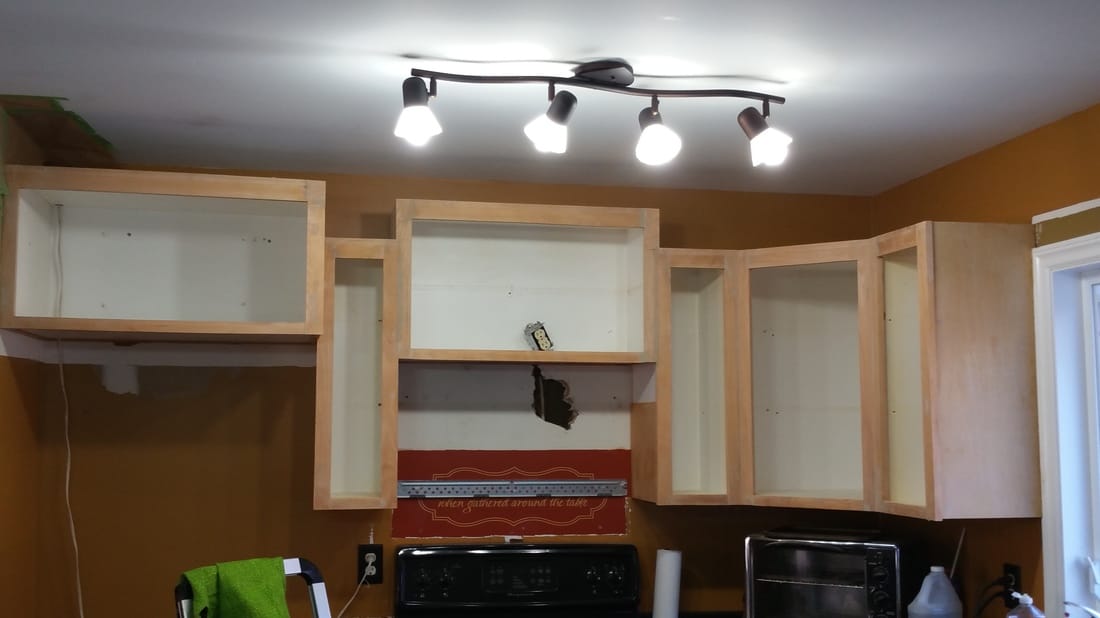
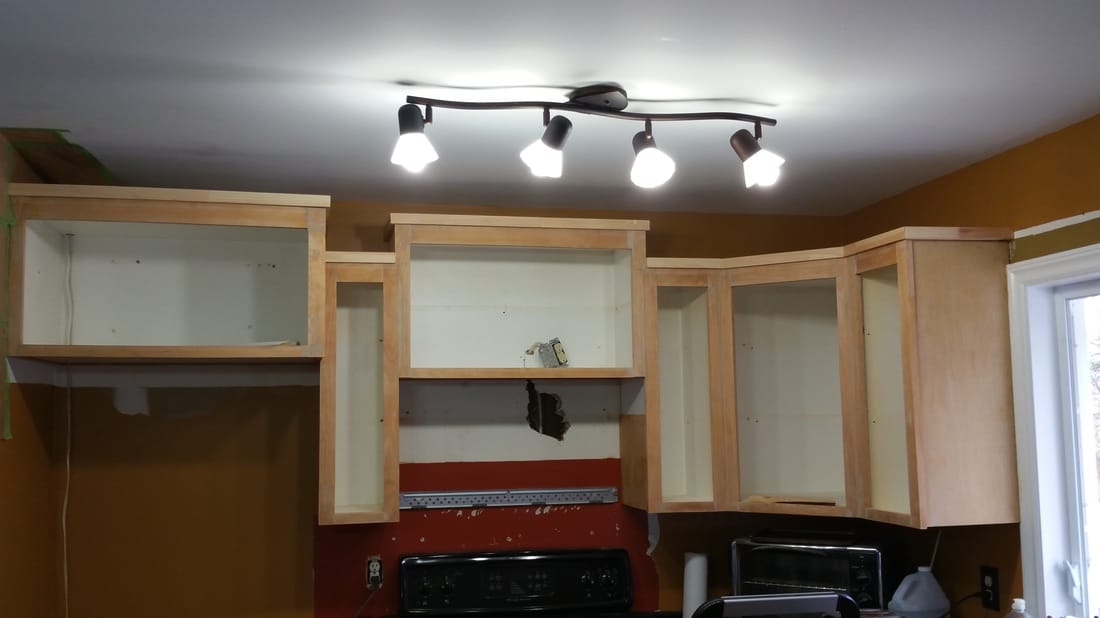
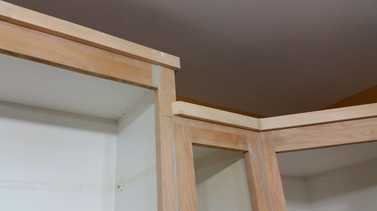
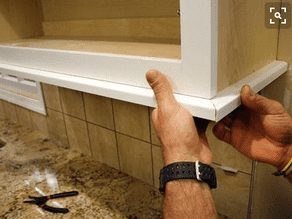
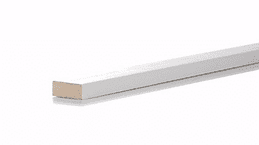
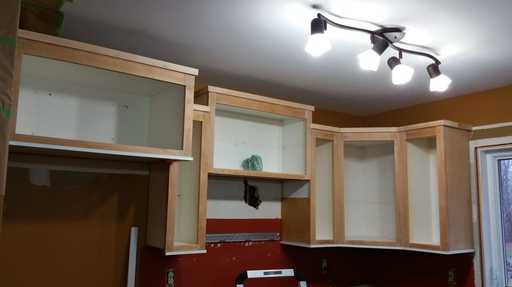
I like simple clean lines when it comes to interior design and I love finding ways to get the look I want as inexpensive as possible without compromising quality. Our kitchen cabinets originally had a fancier style of crown moulding when my parents lived here. However, when we had to move the cabinets higher to accomodate our fridge and microwave/hood, that left a gap where we needed more crown moulding. #1, I wasn't fond of the fancier moulding look. #2, my husband & I are beginner DIY'ers and mitre cuts are on our 'dislike to do' list. This gave us the perfect excuse to ditch the existing moulding and start over. I first was shopping only in the actual crown moulding section and did find a simple style I liked, got a good deal on it ($50) and brought it home. It was immediately apparent that 4+ inches was way too tall for our space so I took that moulding back. There wasn't any smaller moulding that fit my budget and style so I began looking at repurposing other materials. Here are some of my design inspirations: Here's a close up We also installed moulding around the bottoms of the upper cabinets, as well. The design inspiration came from here: All the moulding is installed! I got both the 'crown' moulding and the 'light' moulding for around $50 . . . the same cost as the least expensive actual crown moulding I had bought and returned!
For tools, we used a compound saw and air nailer.
0 Comments
Leave a Reply. |
Follow me!
Categories
All
Archives
April 2020
|
 RSS Feed


