|
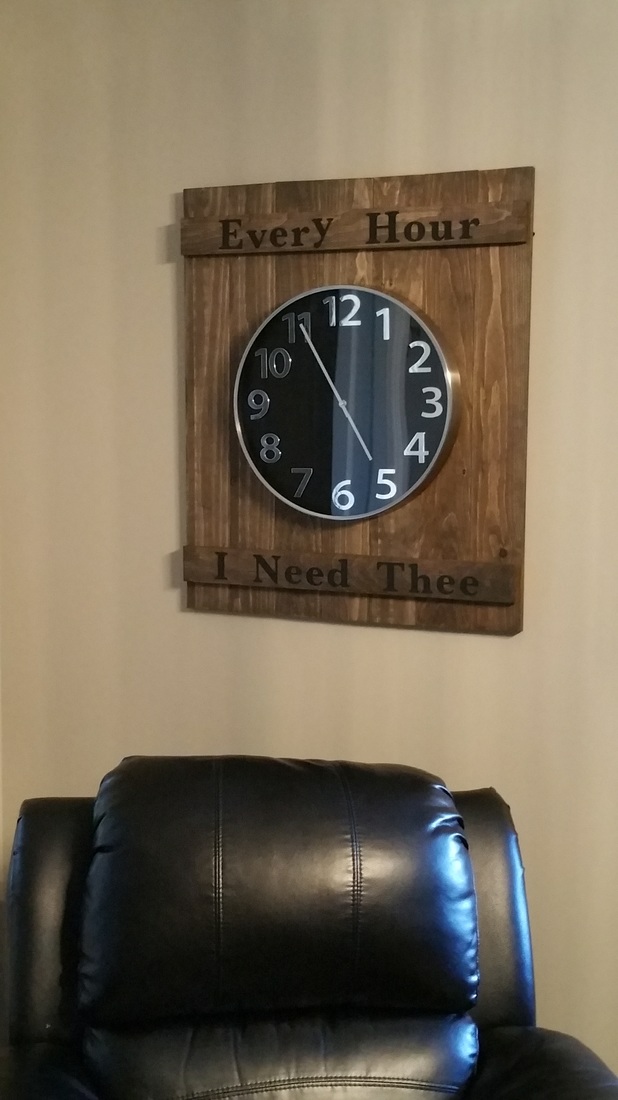
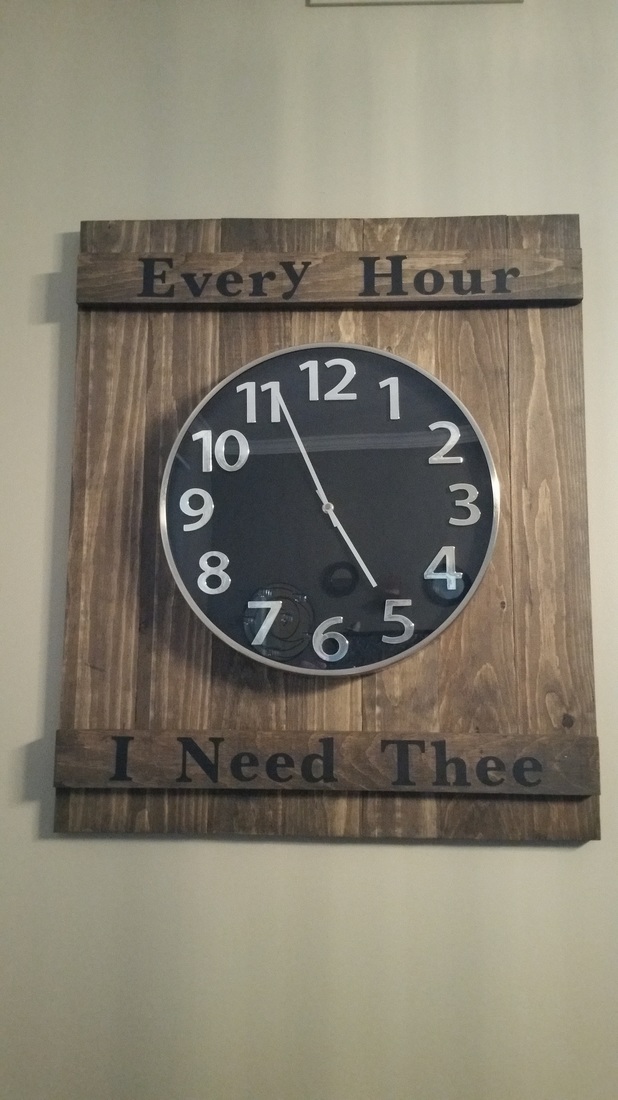
While browsing on Pinterest last fall, I came across this pin and fell instantly in love with the look! https://www.pinterest.com/pin/487233253405939985/ Supplies needed: * Kreg Jig * electric drill * screws * vinyl letters * clock * pine select boards * wood stain * varnish Cost: approximately $60 (for the boards, clock, and letters) I played around with the idea for the last several months of where I would put it and how I would design it, etc. I finally decided I would keep it simple for now and put it in my living room. I have been looking for the perfect clock for this project over the last several months and then about a month ago I found the perfect one on clearance at Walmart and nabbed it, using a gift card I had. I also found black vinyl letter stickers at the same Walmart trip.
Finally having the clock and thus its measurements, I drew the plans for the board backing on graph paper to get my exact measurements and then calculated the cheapest way to buy the boards needed. I bought pine select at Home Depot and had it cut there. (They are supposed to charge per cut after the first 2 but each time I have been lucky and haven't had to pay yet.) It came to nearly $30 taxes in. Early last week, I finally got the chance to stain the boards. I used a wood stain called 'smoked ebony' that I received free awhile ago and gave it two coats. I only stained the face of the boards and the two long sides. Last night, with my husband's help we drilled pocket holes with my handy Kreg Jig and screwed the boards together. Then, with a few quick punches from the air nailer, the cross boards were on. After this was all done, I stained the top and bottom sides (still leaving the backs untouched out of pure laziness). I had left the tops and bottoms undone as I was going to run it through the table saw to even off the edges after we screwed them all together but decided to leave them as is. (The saw at Home Depot was malfunctioning and therefore the cuts were a tiny bit off.) This morning, I carefully measured and applied the vinyl letter stickers (very time consuming) then applied a thick coat of Benjamin Moore Stays Clear flat varnish to protect it all. I could hardly wait for my husband to get home to help me hang it! I LOVE it and he likes it, too! UPDATE: March 5, 2016 The vinyl stickers I painstakingly applied . . . didn't work out. They lifted in places and refused to lay flat. With the whole selling and moving houses process, I've just gotten the chance to remedy that today. I bought an oil based Sharpie (so it won't wash off nor fade off) at Michaels today and carefully traced the letters and then removed the vinyl lettering. Finally, I thickened the outline of the letters and decided to leave them like that and not fill them in. UPDATE: April 22, 2016 I painted in the letters this morning. Now it looks like it did originally. I think it looks best that way.
0 Comments
Leave a Reply. |
Follow me!
Categories
All
Archives
April 2020
|


 RSS Feed


