|
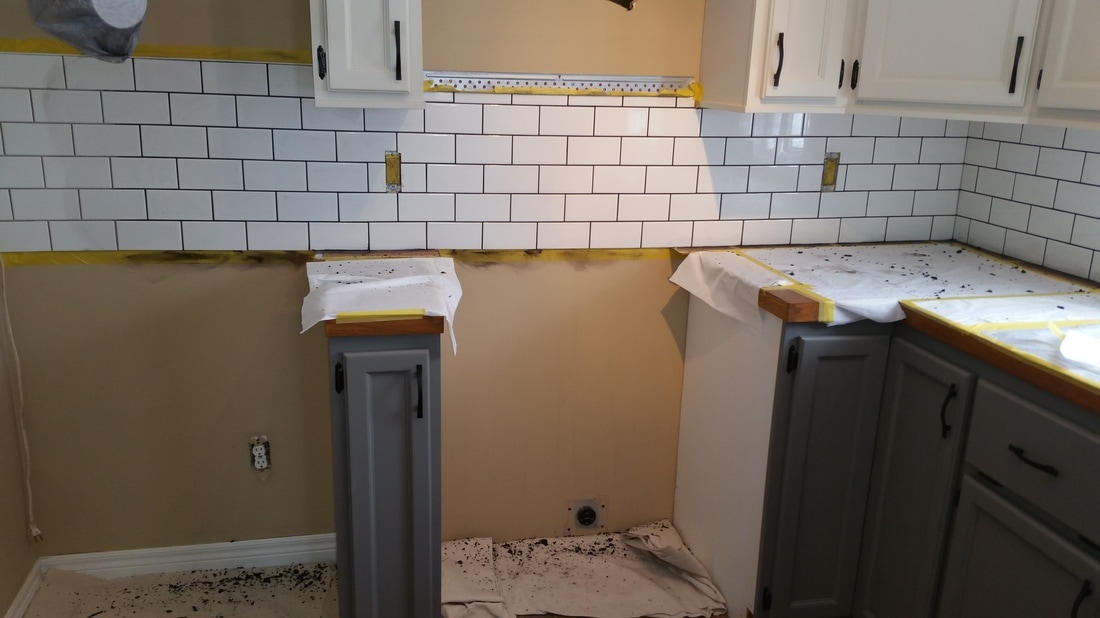
This was our VERY FIRST TIME tiling! So what is the verdict? We both liked installing the tile. Grouting was a whole different ball game. I did that when Ryan was away working. If it hadn't been for my 15yr old son right there helping in whatever way he could, I couldn't have stuck with it. It was NERVE WRACKING.
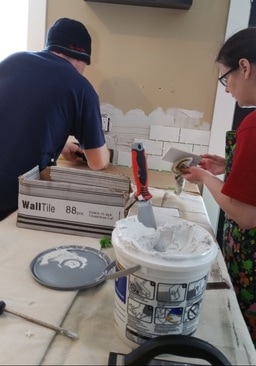
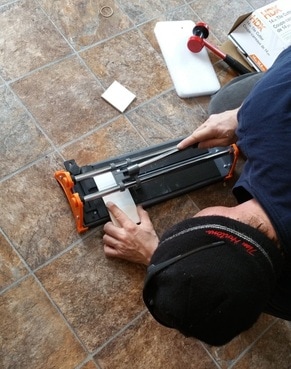
Tiling. Well. Subway tile was what I really wanted but thought it was completely out of range for me. I knew how expensive it was to hire it done, having done this in my previous house, and that was completely out of the question this time around. Don't get me wrong, the tiler was/is an awesome guy and I consider him a friend, and yes, he did a wonderful job. It was just the costs. I didn't have that in the budget this time. Then . . . the unthinkable happened! An ad came up in my Facebook newsfeed from the local buy & sell group of a lady not far from me selling her leftover subway tile! Yes! I got a full unopened box plus some of the subway tile I had been wanting for an excellent low price! I was so excited! My husband was completely on board for the idea but not so on board to actually start. LOL. It took some convincing but finally we headed off to Home Depot to get the supplies . . . and a handy cousin lent us his wet saw. I didn't get any pictures using it, but it sure came in handy.
Here is a list of things I got from my local Home Depot:
That was what the Home Depot guy recommended for our space. However, we only used less than 1/3 and probably closer to 1/4 of the tile adhesive. 1000 spacers was definitely way too many. And I didn't like the trowel and float at all. I found them too big and awkward to use in such a small area as a backsplash. I used the little putty knife you see sticking out of the bucket of adhesive for applying the adhesive to the wall and then used the smallest end of the trowel with the teeth to scrape it back. I ended up returning the gallon of grout for a quart and you will see in subsequent pictures where I ran out. We did end up needing to buy one box of tile at Kent Building Supplies (and used half of it). All in all, I spent around $150 for everything, tile included!
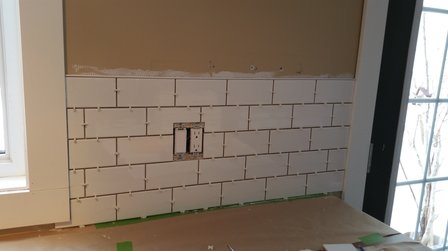
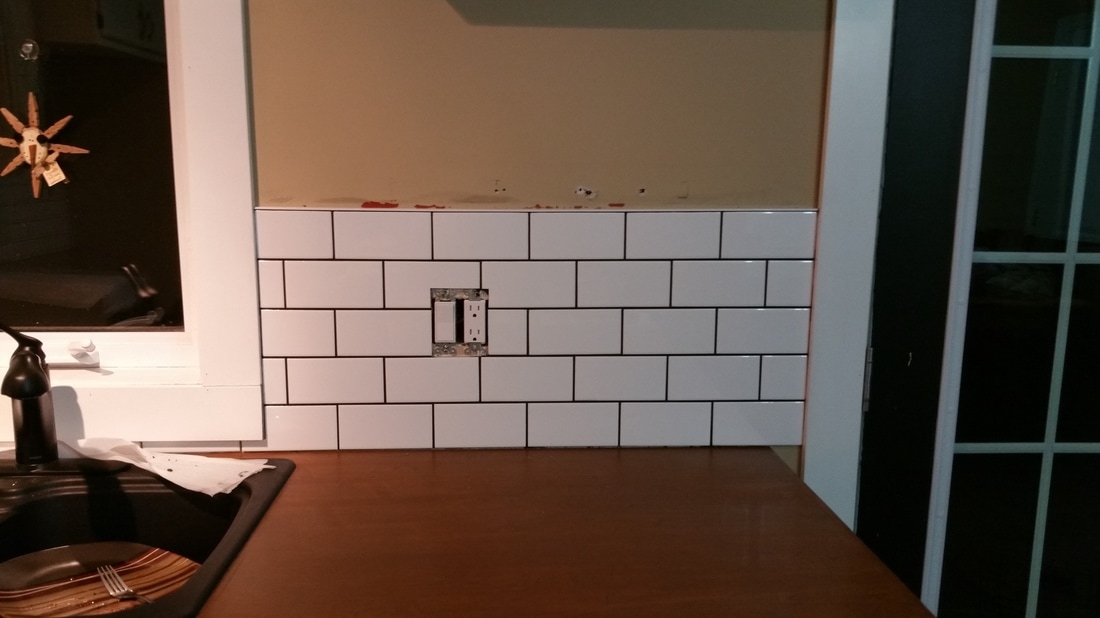
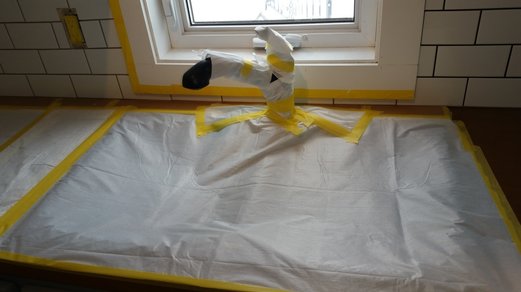
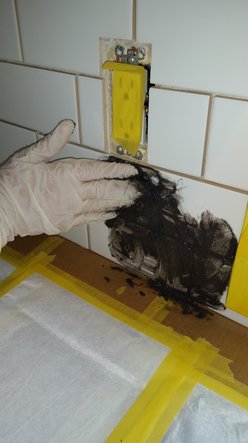
We finished the tile on a Saturday night and this was Monday night, after lots of cure time for the adhesive. I had made a trip to the dollar store and gotten rubber gloves, a waterproof drop cloth, and microfibre cloths. I was all ready to start grouting . . . and quite excited about it! Oh, the naiveness. LOL.
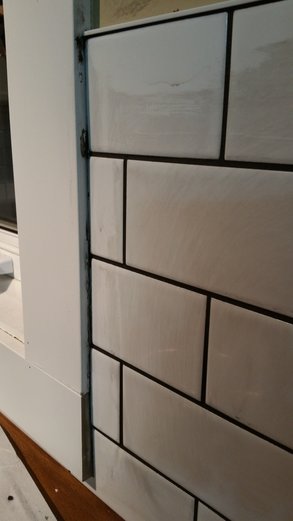
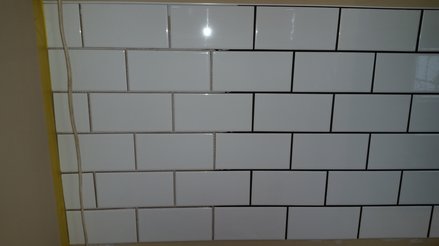
After I had the mess cleaned up, I stepped back and took a deep breath before grabbing a clean microfibre towel and began to rub at the tiles once again in hopes I could rescue it. Much to my surprise, I was able to rub the film all off! It was hard rubbing, but it worked! I was so relieved!
All in all, it looked great! But I was definitely DONE. I was not going to do anymore period.
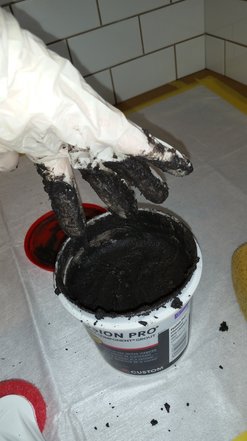
The next day I called my friend, the tile guy for help. He was away and too busy but referred me his friend, another tile professional, who happened to live not too far from me here in the country. He came that night. He said my hassles were due to the type of grout I had bought. He definitely does not recommend Fusion Pro and said it truly is a hassle to use. However, since I had started with that product and matching the color would be a challenge . . . AND . . . he said I had done a really good job so there was no reason I should not just continue on and finish it! Imagine! Although the compliment really felt good, I was disappointed that he didn't say he would finish for me. LOL. But, I didn't push it because he clearly felt I could do it and that boost plus the fact that I wouldn't have to spend out anymore money if I did it myself, made me step up to the challenge once again. The next day, I prepped. REALLY prepped.
Did I mention that I REALLY REALLY prepped! LOL
My son was right there with me. He was quick to rinse out my sponge and cloths, change the water when needed, clean up messes behind me, help wash the tiles . . . he was a HUGE help. I couldn't have done it without him for sure! (He is camera shy and strictly forbade me to post pictures of him.)
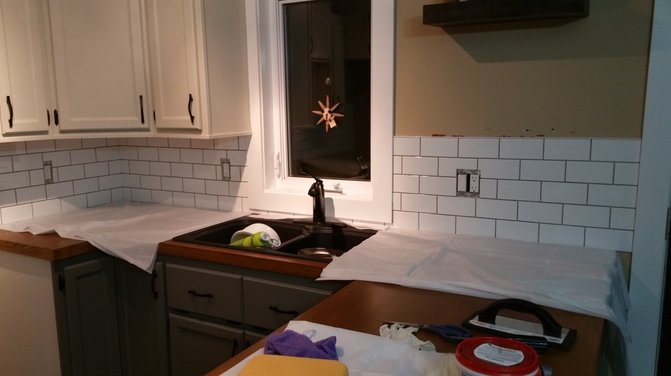
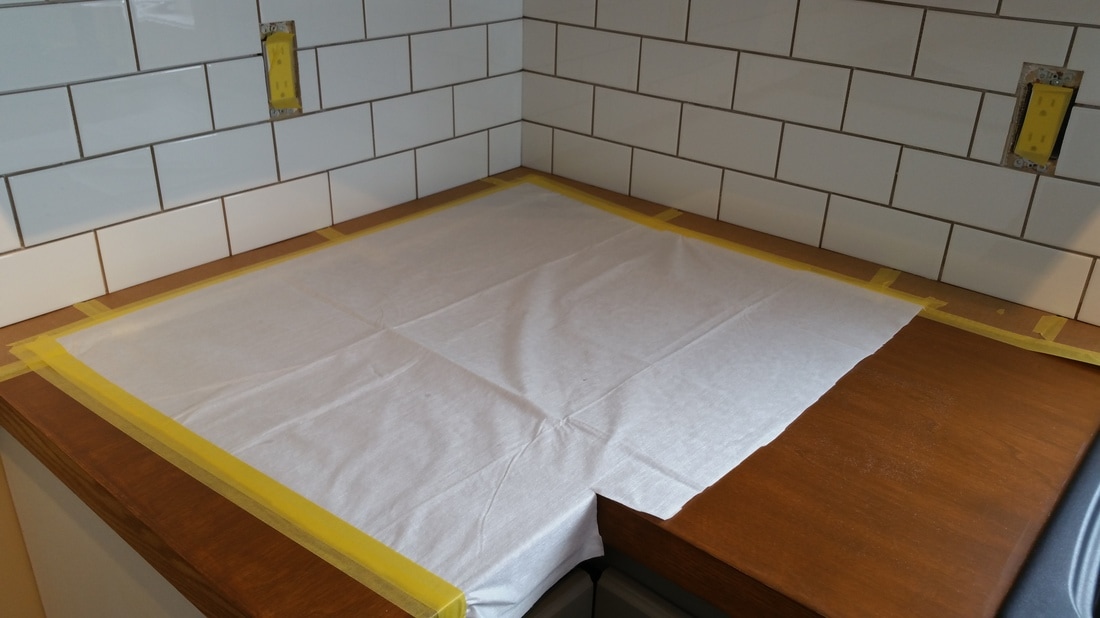
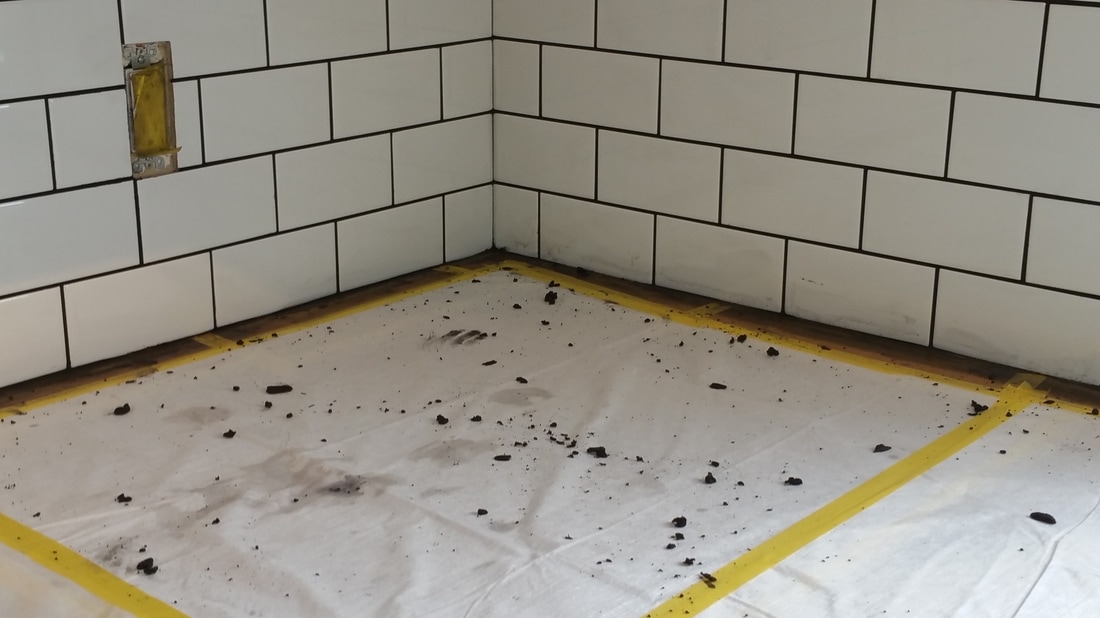
A contained mess this time around.
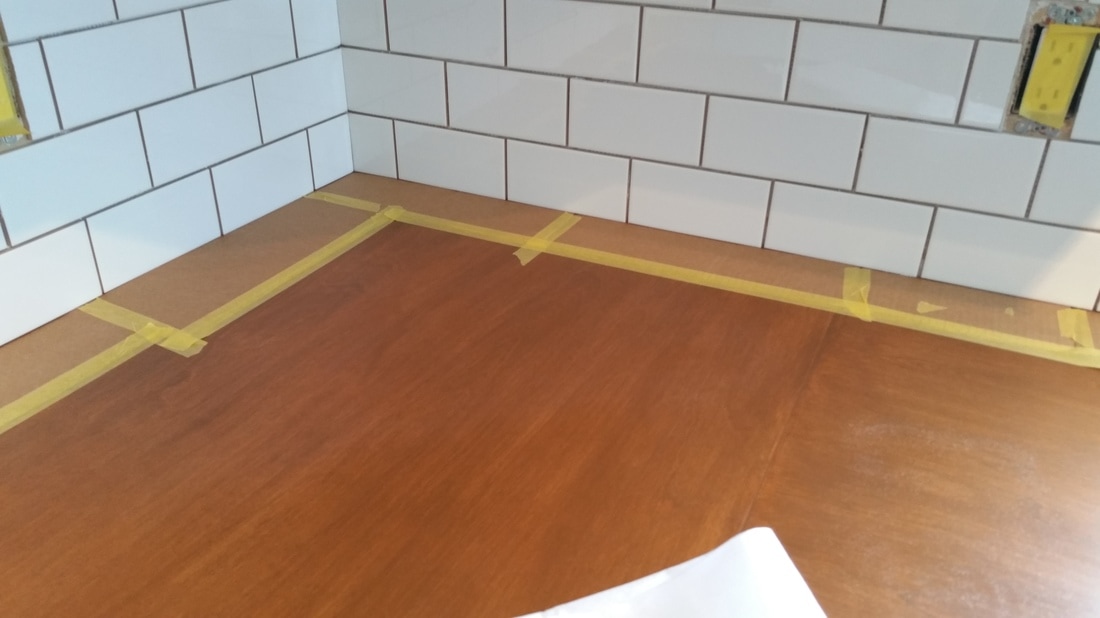
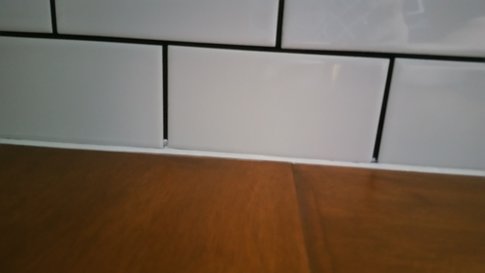
The last thing to do was to caulk all around the base of the tile, by the window & door trims, and in the one corner. We carefully taped off all around these areas to give us perfect straight caulk lines. I had seen a tip about using a baby wipe on your finger to smooth the caulk and that worked well. I got 100% waterproof caulk that cured the quickest that I could find. In my focus on getting quick cure, I failed to notice that I was getting one that is 'unpaintable'. Why is that an issue? This:
The reason I blog even the not-so-pretty details is that I hope that I can help someone else avoid the same issues.
Since most of my readers are from the US, here is a list of supplies available to you from Amazon.
0 Comments
Leave a Reply. |
Follow me!
Categories
All
Archives
April 2020
|


 RSS Feed


