|
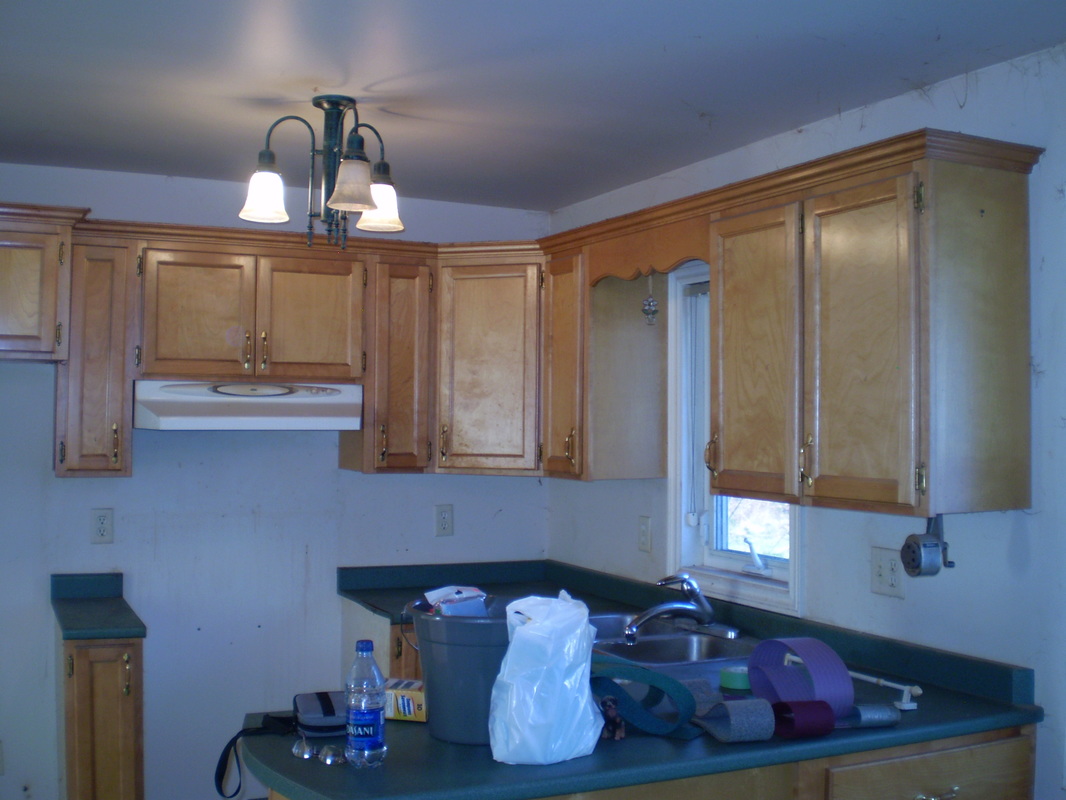
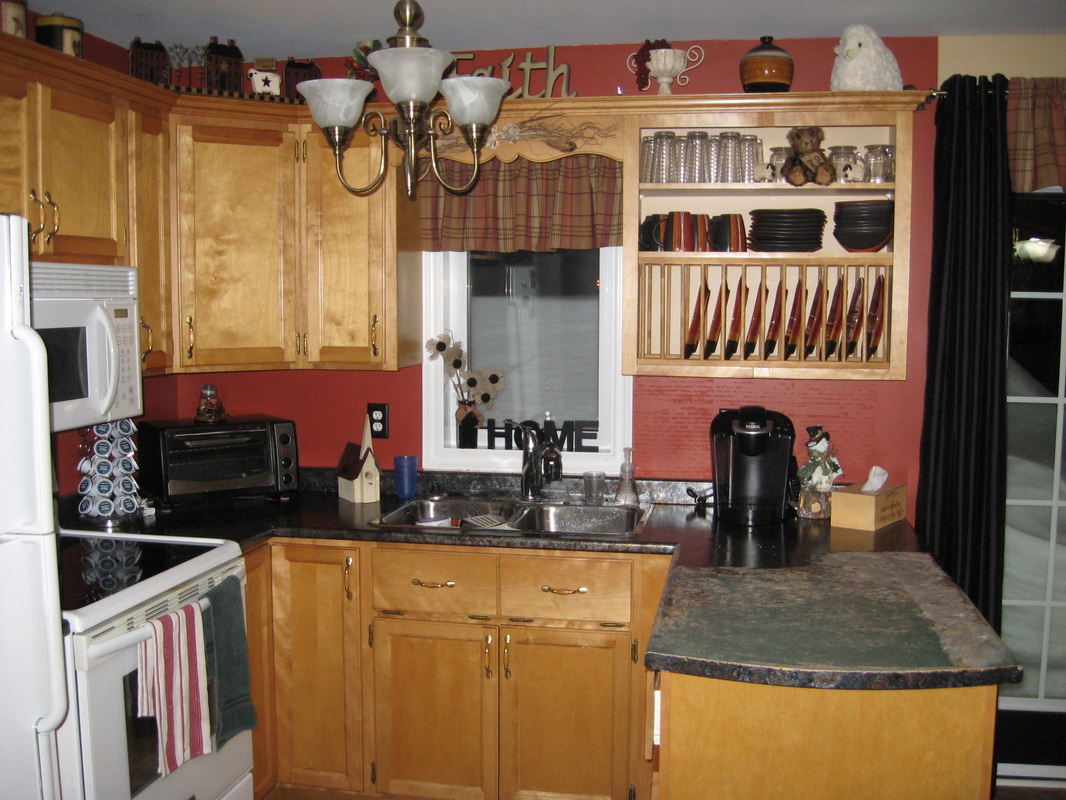
My parents bought this house in a 'as is, where is' state. After an intense and thorough cleaning, they had new flooring installed all through and the whole interior repainted. She had chosen a neutral beige color throughout the house at first and after a year or so she painted an accent wall in the kitchen in a nice brick red color. The original kitchen had outdated green laminate so Mom used the Giani countertop kit and refinished the countertops. But as you will see in this picture, that didn't hold up. However, she only used 2 coats of topcoat and I've heard that 4 coats gives it more durability. One of the big changes they made to the kitchen was to take off a set of double doors and build in a plate rack. Doesn't it look awesome!!
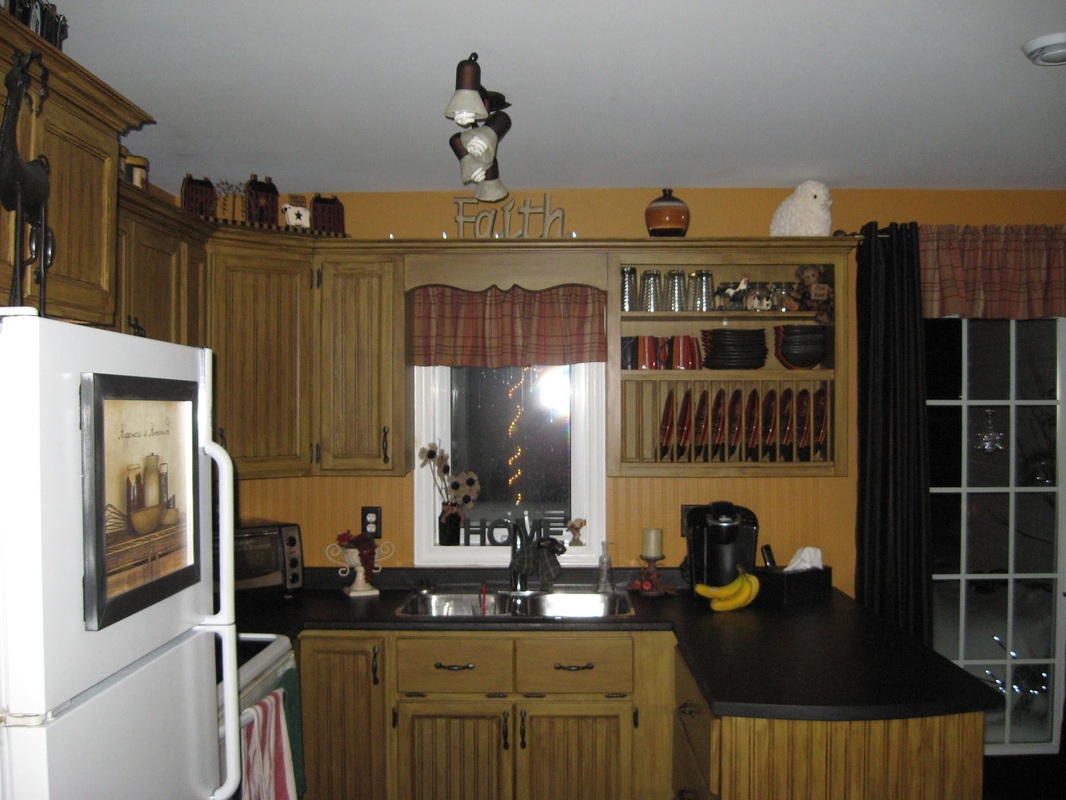
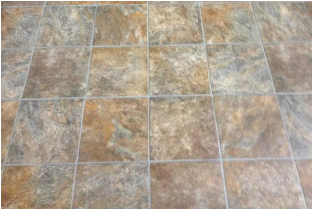
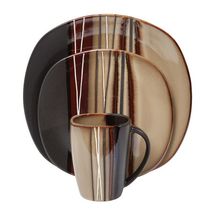
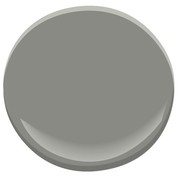
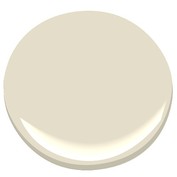
In January 2015, I told my mom that I would give her a kitchen makeover for her birthday. Since Mom loves the primitive look, that's the look we went after. The cupboards needed refinished. The finish had wore off and the wood was beginning to crackle. We chose to go the route of painting. Mom loved the look of beadboard on cupboards so we used paintable wallpaper and 'installed beadboard on the cupboard doors'. We also added it to the plain portions of the peninsula. It was a pain to work with. Its super thin when wet and tears VERY easily. However, we were planning on the distressed primitive look anyway so this all just added to the appeal. After installing the beadboard wallpaper, we then painted the cupboards in a customized color I had created at Benjamin Moore and named "Its about Thyme". (Its very similar to the original Benjamin Moore color "Thyme".) We used Benjamin Moore Aura paint. The finish already being worn off, all I did was give it a sanding with a sponge sanding pad and after cleaning them off with vinegar and water, began applying the Aura paint. It took 3 coats, if I remember correctly. After a couple hours of curing, we then began the process of glazing. We used General Finishes Van Dyke Brown glaze. Its very simple to use, we just followed the company instructions. The one thing I will note here, though, is that each individual ends up with a totally different look even when working side by side and following the same methods. Make sure you only have one person do this process until that particular project is complete. Although I had started the glazing, we didn't notice that we were producing different results until the next day and by that point, Mom had done the most so we had to redo the cupboard doors (repaint so they could be reglazed) I had done so Mom could be the one to do the glazing so the whole look stayed cohesive. The nice thing about this glaze is that you can create different looks with it. You can have it leave its mark all over your project (as Mom chose to do with her cupboards), or you can just leave it in the crevices for a more modern look. Its fun to play with. The final step required a clear coat of some kind. Now if you are simply painting cabinets with Aura and NOT glazing, you do NOT need a clear coat if you use Aura in Satin or Semi-Gloss. But, the glazing DID require a clear coat according to General Finishes (yes, I called, cause I really didn't want to do this step lol). The thing is, primitive looks aren't shiny so that ruled out a lot of clear coats. Yes, there is flat finish clear coats but most of them say in their fine print that they don't stand up to a lot of wear and tear. Some said you had to use a satin clear coat and then finish up with a flat. We didn't want to create extra work at that point as we were tired of the whole process. LOL. So. Upon a friend's recommendation on using car wax, I began researching using car wax. Now she had said to use Mother's car wax, but when I researched that, I couldn't find anywhere anyone having used it and also discovered that they had changed their formula since she had done this. I did, however, read that people had 'successfully' used NuFinish car paste on cabinets so thats what we went with. Yes, water beaded up and wiped off great. We also installed the beadboard wallpaper as a backsplash. Then we painted the wall with Benjamin Moore's color Turmeric in Aura matte (my favourite finish). The "Primitive" MakeoverNow for the good, the bad, and the ugly details of this DIY kitchen reno. 1. There are a few places where the paint did scratch off and I can assure you that my mom is not hard on things. Lesson learned. Never paint existing cabinets or furniture without first using a proper primer REGARDLESS of how much you feel you sanded. 2. NEVER use wax of any kind but especially an automotive wax or paste on something you may not want to live forever with. 3. Spray painting hardware is a big DIY fail. I majorly prepped the hardware. I soaked it overnight in a vinegar, water, and baking soda solution then scrubbed them with a toothbrush. Then, I sanded them vigorously and cleaned them again thoroughly before spray painting with Rustoleum Oil Rubbed Bronze spray paint. They still peeled and thats the sad true facts. 4. Peeling the laminate off and using Benjamin Moore's Porch & Floor paint on the countertop base also doesn't hold up at all. The first two coats looked amazing and very much resembled soap stone. However, soon gouges and scratches appeared and required touch ups. The more touchups, the more sticky-like the surface became and the results are just . . . bad. Maybe a different kind of paint and clear coat would have been successful? I don't know. So. Now to give this kitchen another Fresh Perspective touch and make it fit MY decor style. The first thing I did, was pick up an awesome deal off Kijiji for black appliances and sold the white ones on Kijiji. I love the black! I've sent off measurements to a good friend of mine who runs a kitchen refinishing business and I've got my fingers and toes crossed that I'll be able to afford to hire her. She's looking into getting all new drawer and door fronts for me because she found out that the process to remove this automotive paste is super time-consuming and involves a lot of chemicals (hazardous to health) and there still would be no guarantee that a new paint job would adhere properly. Thus, new doors are needed. I have chosen the colours for my new kitchen and I've made a decision on the countertop, too. I got small samples at a hardware store and then ordered free large samples of the only 3 that I liked. However, I don't like the price tag that accompanies even laminate so I've decided to bite the bullet and do what I've been wanting a long time . . . wood countertops! I will either use a solid wood door or will use planks. Yes, this will be a DIY project. Thing is, I have nothing to lose at this point. If the DIY wood countertops don't hold up over time, then I will replace them with laminate. I'm not expecting this one to be a fail, though, as too many others have had success with it. The countertops I will stain in whatever color more closely matches the flooring in the rest of the house. Its a light-to-medium color, maybe provincial? Ready to hear the color choices now? The lower cabinets will be done in Benjamin Moore's Secret and the upper cabinets will be done in Benjamin Moore's Creamy White. I plan to paint the kitchen walls all in PPG's Armadillo. I'm keeping the existing flooring and so I worked my color scheme off of that and my dinnerware. Unfortunately, these shots don't do the real colours justice. The Armadillo is simply a lighter version of the beige color in my dinnerware. PPG14-17 Armadillo
0 Comments
Leave a Reply. |
Follow me!
Categories
All
Archives
April 2020
|

 RSS Feed


