|
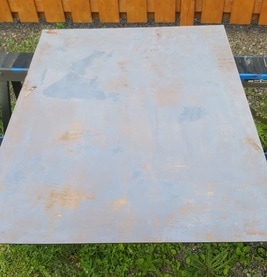
Oh the life of a DIY'er! LOL. What I'm about to tell you, I'm sure most of you can relate to and can get a chuckle out of . . . at least we can chuckle about after the frustration & tears subside. LOL Here is the beautiful mirror I bought off our local buy & sell website, Kijiji. It was gorgeous on its own and I did strongly consider leaving it in its original condition as it was the perfect stain color and was in perfect shape. BUT. I'm a DIY'er! My vision for this was a cream distressed finish on the frame with that gorgeous stained wood peaking through all over and then a greenery wreath hanging in the middle from wide black & white gingham ribbon. 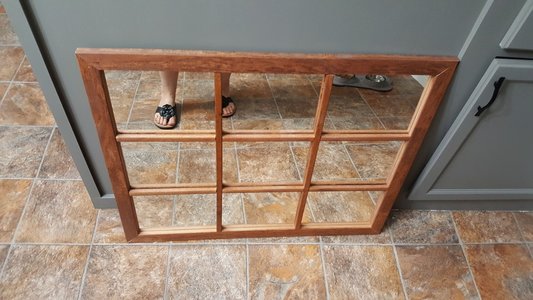 Mistake #1: I did not remove the mirror nor tape off before beginning to paint. I did wipe it down with vinegar & water, though. I painted it with 2 coats of Heirloom Traditions Paint in French Vanilla. I DO love that color! Method? I used the HTP brush and brushed on paint and then immediately while the paint was still wet, stippled. I did this for both coats of paint. Mistake #2: I should have just used one coat of paint and then wet distressed. It would have been a much easier process. But since I did not do to that and left it a day after painting and the wood was still porous, it wouldn't even hand sand off! I had already carefully scraped the paint off the mirror before discovering that I could not hand sand the frame. Mistake #3: I pulled out my mouse sander and . . . . yup, I didn't remove the mirror first. Why? One reason was because the back had that nice brown paper backing that looked so professional and I didn't want to remove it, and secondly I was working late at night when I was really too tired. I had to use pressure to sand this down and doing that in the insides of the frame heavily scratched the mirror. I know, I know! Totally stupid of me!!! So, I decided that I wanted to antique the mirror anyway so thats no biggie. I removed that nice professional backing and took the mirror outside and set it on two sawhorses and applied Citristrip heavily. Went back out about 20 minutes later and began scraping. I've used Citristrip quite a bit and its always lifted whatever finish very well. Not this mirror! It did absolutely nothing! I then decided to try something I had read and recoated it with the Citristrip and applied plastic wrap (supposedly to keep the stripper wet) and it instantly melted. LOL Since Citristrip wasn't working on this at all, I got out my Circa 1850 heavy duty stripper and poured that on and let it set. I was able to scrape off A LITTLE bit so I used what little I had left and recoated the mirror and left it longer this time . . . and was able to scrape off a little bit more. Folks, this was HARD work for such little gain! I figured I would be working on this for days and so I decided to not invest in buying more stripper and gave that idea up and just cleaned up all the residue.
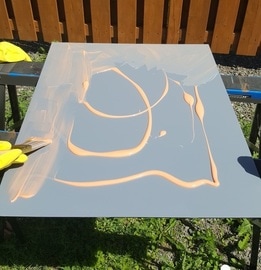
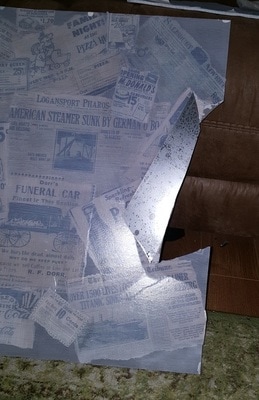
The next thing I decided to try was to decoupage on the back. First, I chalk painted (using my leftover mix that I used on my bottom cupboards) the back, giving it a fresh clean surface to work with. Then, I selected all of the prints I wanted by doing a google search and then printing them off. I tore around them, tearing towards myself to create the right kind of tattered edge. I then arranged them according to how I wanted it to look. I liked how it was looking! 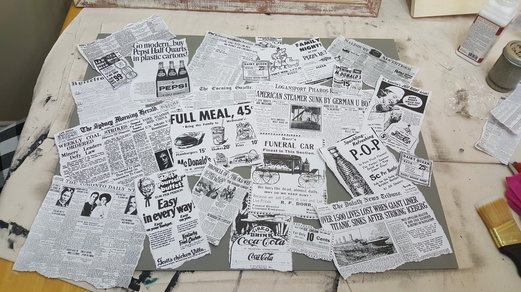 I wadded up each piece before brushing on the Heirloom Traditions Sepia 1Gel on the backs, laying them down where I wanted them, then brushing more 1Gel on the fronts to seal them into place. Problem #1, it darkened the black print to a greenish hue on a lot of the prints. Problem #2, it applied streaky whether I used a soft brush and a light hand or whether I used a sponge brush. If I tried stippling to get rid of the streaks, it applied too dark. 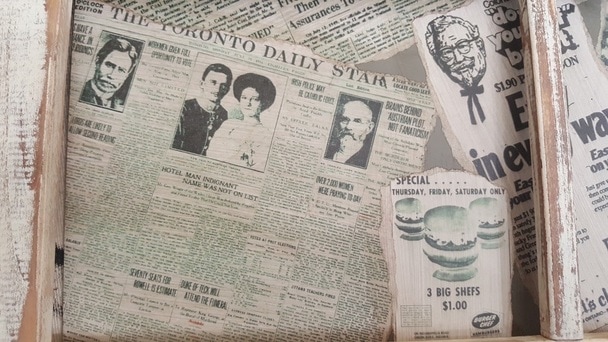 I left it for the night and the next day I lightly sanded it, hoping to take down any ridges the streaks may have caused and then tried lighting it up by brushing over it all with Saman One Step Wood Finish in Chalk. I did two coats, trying to level the whole thing out. Another fail. It STILL looked streaky. 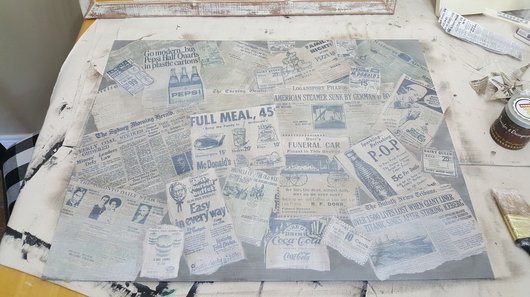 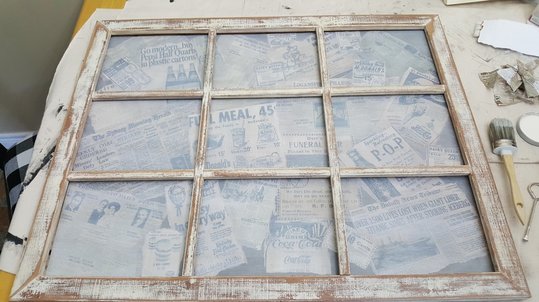 Although it doesn't look too bad inside the frame, I felt that the colouring did not complement the frame itself. I think the decoupage would have looked better with a black frame. So, I ditched the idea of using the decoupage back and decided to try something else on the front of the mirror. I was just blindly going at it this time without a real plan in mind and began painting the HTP French Vanilla on the front and after I was painting, I realized how stupid that was and immediately grabbed a clean damp microfibre towel and began washing it off. It created a milky swirl that gave me an idea! While the milky swirl was still wet, I laid the microfibre cloth out flat on the surface, patting it down all over before carefully lifting it back off. It was beautiful!! So, I finished doing that to the whole mirror!
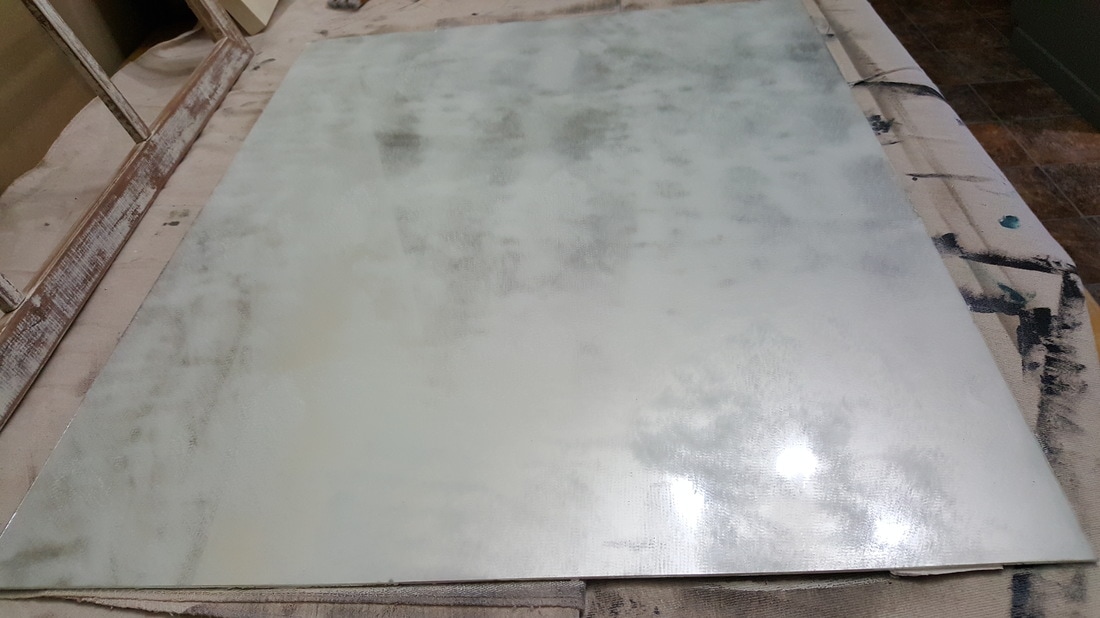
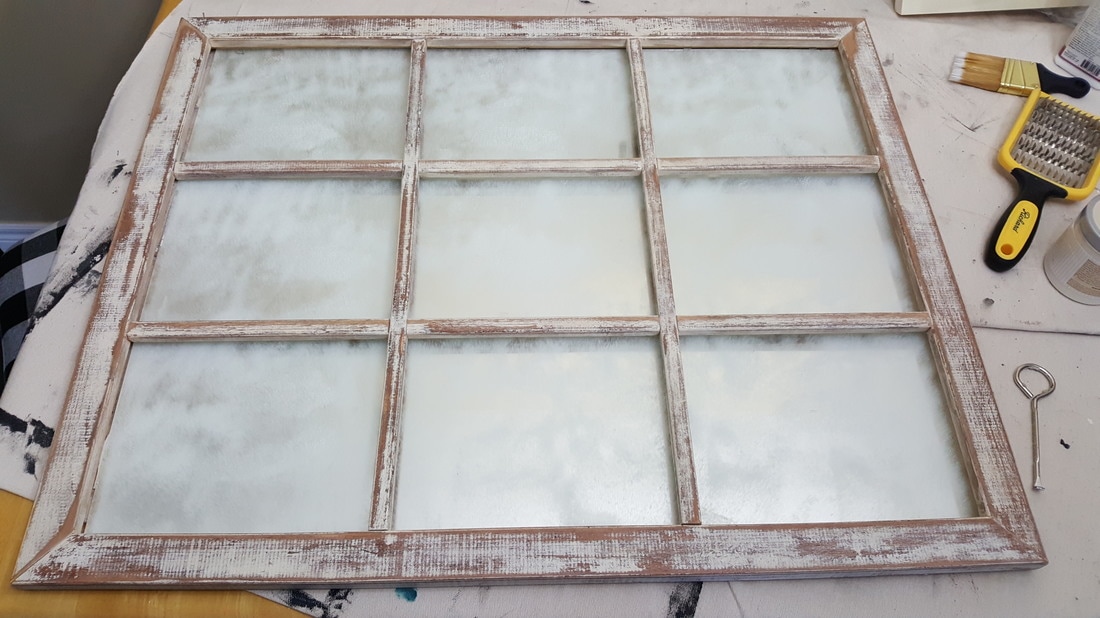
I thought I was done but the next day I went to gently wipe off some black dust particles and it SUPER easily scratched right off the surface!! This was bond-to-anything chalk paint! Only me. LOL. So, I thought I would add a top coat to the paint as I've been told that will 'seal' in the paint and make it stay stuck. I added more top coat than paint for added measure. I redid the whole mirror the exact same way with this new mix and left it for a day. I loved the look! I decided to test a corner to see how well it bonded and again, it scratched off easy. Grrr!!! So, I washed it all off and went to town and bought Krylon Looking Glass spray. I decided it was time to try another tutorial I had read about antiquing. I followed that process exactly. I cleaned the mirror front, then sprayed a half & half mix of water & vinegar to the mirror before spraying the Looking Glass all over. You then within a few seconds blot the mirror with a clean dry rag. I was so done with this whole thing!
So, yeah. No mirror. No worries. LOL I bought a wire 18" floral ring at Michaels and my Mom (while I was working on other DIY projects) strung my greenery garland from Hobby Lobby around it (also available on Amazon). She is amazing like that. I added the black and white gingham ribbon I had on hand and we hung the wreath on the no-mirror frame. When I am able to find wider ribbon, I will replace it. Yes, this mirror itself had the last laugh . . . but I still have beautiful decor in the end. AND I love how it looks! 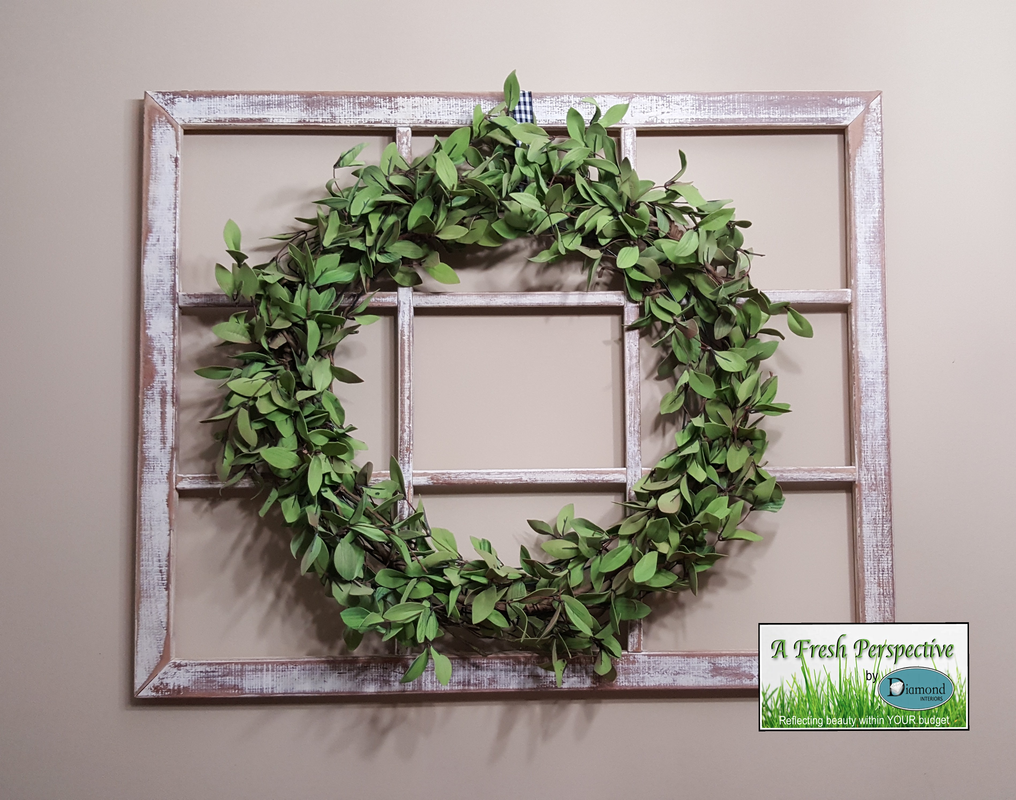 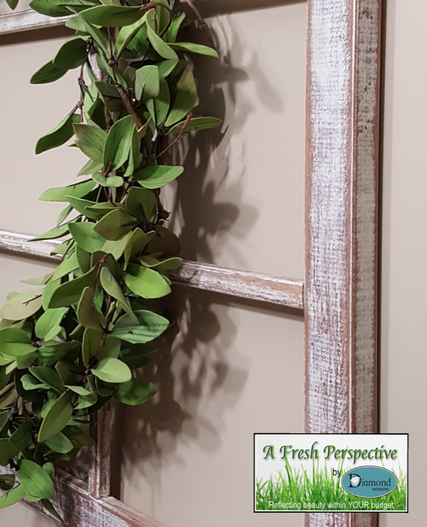
2 Comments
Susan
7/6/2017 02:10:12 pm
In spite of all the frustration you may have endured while doing this DIY, I think you found a "Diamond" in the rough. This turned out gorgeous! Leave a Reply. |
Follow me!
Categories
All
Archives
April 2020
|

 RSS Feed


