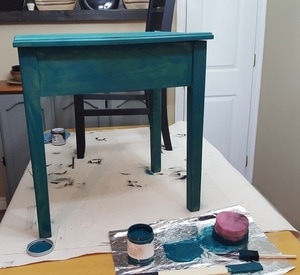
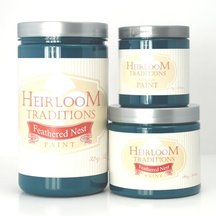
I used Heirloom Traditions Paint in the color, Feathered Nest. It is important to stir the paint VERY well. I then poured some out onto some tinfoil and used the paint from there, rather than dipping straight from the jar. This prevents any contaminates from getting into your jar of paint and shortening the shelf life. Using tinfoil makes for quick clean-up, too!
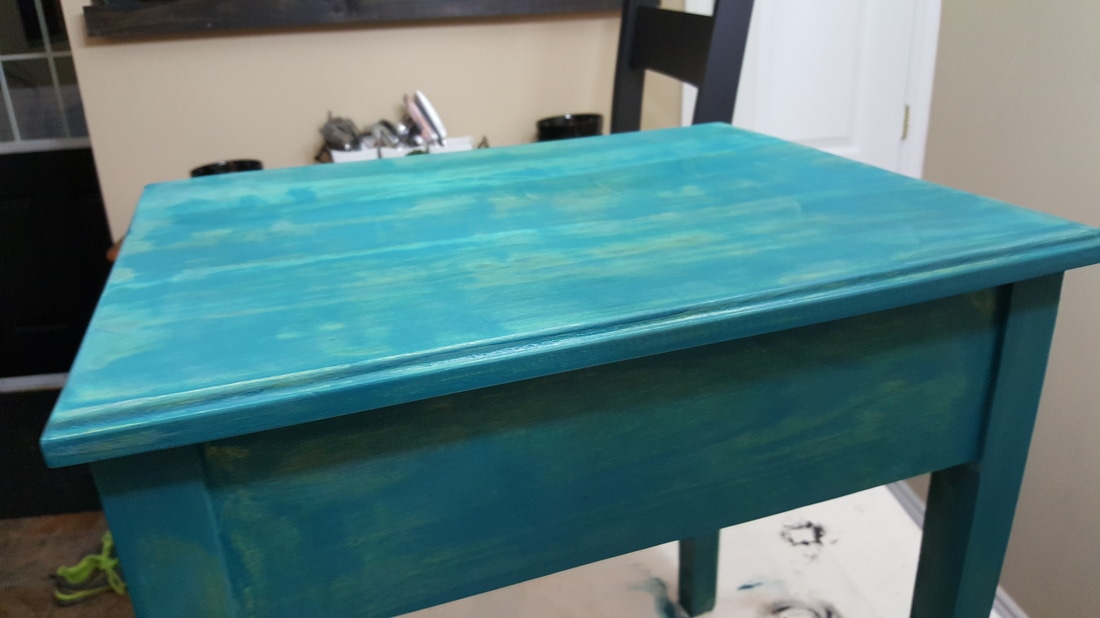
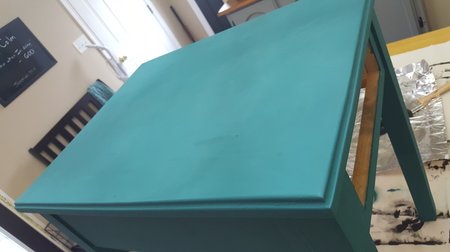
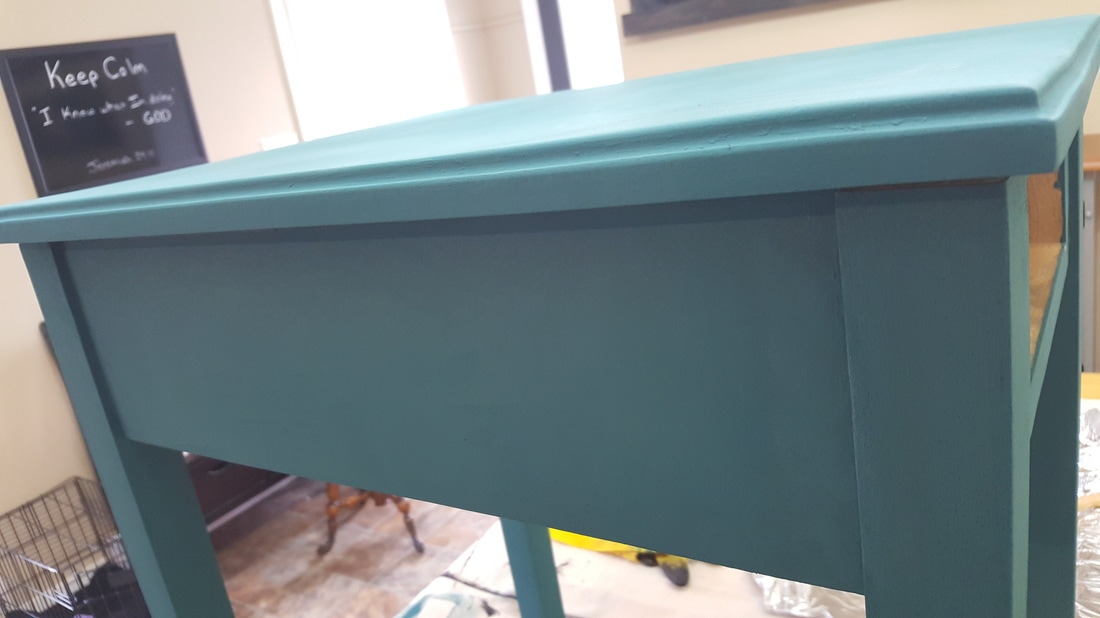
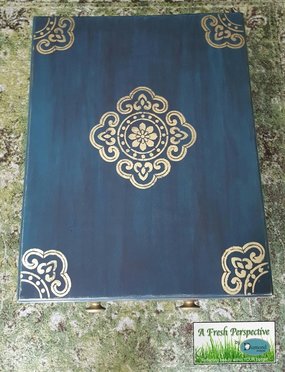
The second coat took a little longer to dry but since it was late at night, I didn't stay up to find out just how long it did take to dry. These next pictures were taken almost 5 days later, when I finally had the chance to do the waxing. Isn't the coverage amazing? Not to mention how pretty the color is!
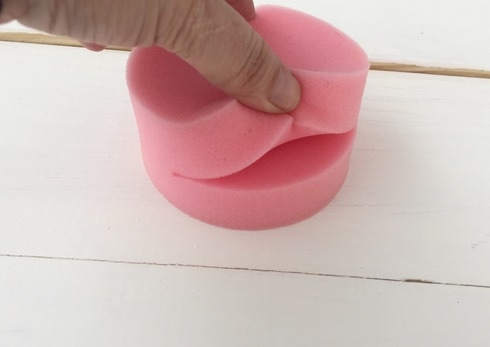
Before I go any further, here are the Heirloom Traditions products that I used: Painting with the sponge is quite unique, to say the least. It goes on smoothly, leaving no marks behind at all. It covers fast, too. It holds a lot of paint, which is why it covers so well, yet, for small projects such as this one, I will hesitate to use it again because it seemed like I washed a lot of paint down the sink while I was cleaning it out! Yet, it covers so well . . . For the wax, I shook it thoroughly before squirting some out onto fresh tinfoil. I then used a regular good paint brush to apply it to the table, coating generously. Then, I used a dry cloth to wipe the excess off gently. This is a trial & error process. At least it was for me because I generally don't do 'antiquing'. I really think I could have done the whole table bottom before wiping the excess off but I did it in four sections and ended up going back and reapplying in areas where I took off too much. But, thats the beauty of this wax. You can work with it. I kept a damp cloth handy and used that some, too. I have been firm against wax myself until this product. The reason being is that most companies wax products are natural based waxes that need to be reapplied every 6 months or so. This company's wax is not natural based and is a permanent, one-time application process that acts as a sealant. I decided to accent this piece with gold. I used some spray enamel (Home Hardware brand) and after shaking the can like you are supposed to, I sprayed some out onto fresh tinfoil. Then I used a cheap sponge brush and dry brushed the gold paint onto all the table's edges and then sponge painted the designs on using a stencil I had on hand. I am super pleased with the results! It has a moroccan vibe, doesn't it! 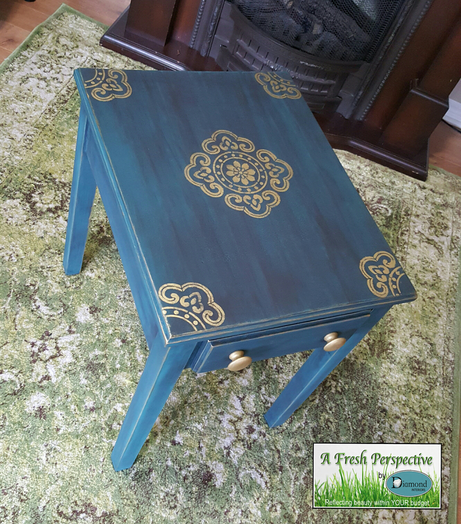
4 Comments
Gracie C
5/11/2017 10:53:08 am
Love this!! I have a similar table that I've been trying to figure out what to do with, your table is perfect inspiration, as well as convincing me to try playing with dark wax. Thank you! 5/11/2017 11:33:04 am
Thank you, Gracie! This is only my second experience with waxing (the first being car wax on cupboards a few years back lol) and I have to say this brand of wax is night & day different to work with! I can highly recommend it, for sure.
Pam
5/11/2017 03:05:42 pm
Hi. Question for you...the paint color before waxing looks more of a green, after wax looks much bluer. I understand monitors (and human eyes) perceive color differently but I was wondering...is the color in reality green? And if it is green, did the wax make it look blue or does it still appear green in real life despite the wax overlay? 5/11/2017 03:24:09 pm
Hi, Pam. The color before waxing is a definite blue teal but very much vivid and bright. The black wax tamed it down considerably. It is kind of like having a strip of paint color chips from a local paint shop where you select one color on the strip and then the one about 3 or 4 shades darker on the same chip. Or like having the navy version of sky blue. I hope that helps. 😊 Leave a Reply. |
Follow me!
Categories
All
Archives
April 2020
|


 RSS Feed


