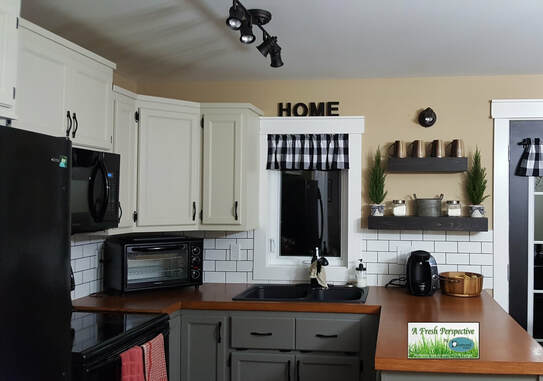
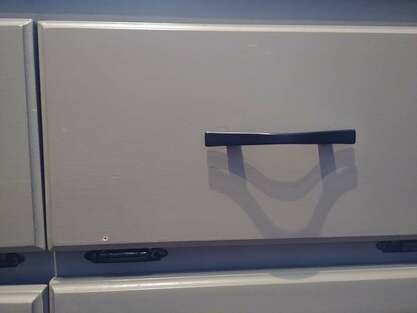
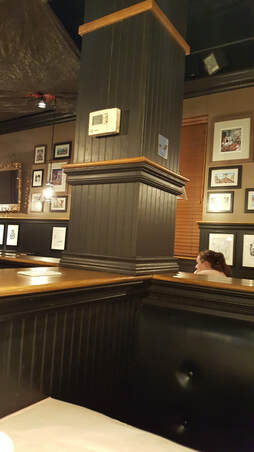
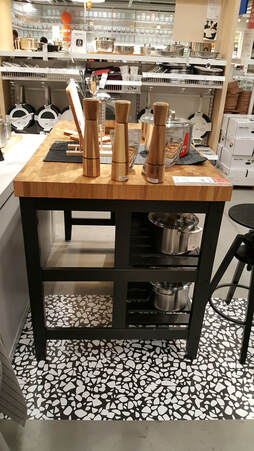
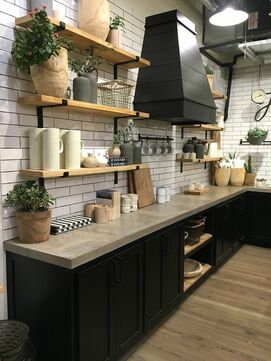
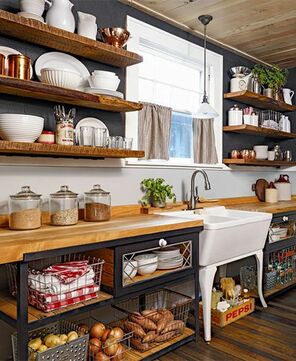
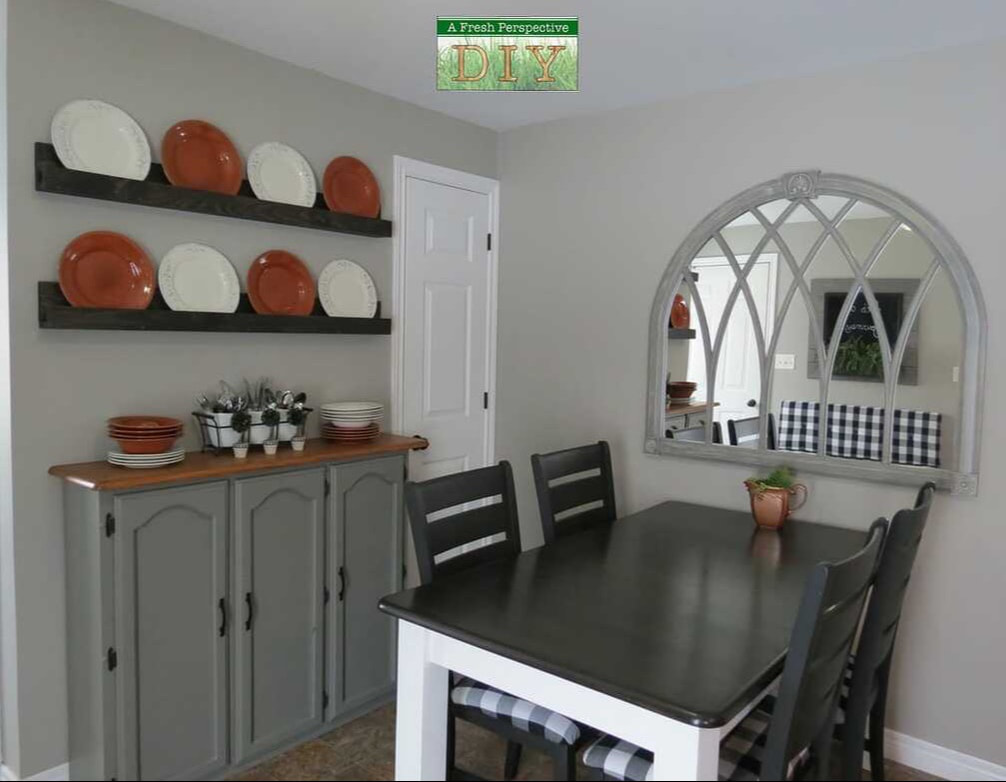
The background story:I may have mentioned it before. I will be repainting my kitchen cabinets this year. When I first chose the color of the upper cabinets, I didn't think that having a white subway tile backsplash was within my means. It was my dream to have it, but like I said, I thought it was beyond my reach. So, when I WAS able to install the tile, the upper cabinets look yellow and dirty against the stark white of the tile. The current color of the uppers is Benjamin Moore's Natural Cream. I purchased the paint to redo the uppers last fall but just haven't gotten to it yet. The lowers are currently Benjamin Moore's Chelsea Grey and I do like that color. When I was installing the hardware on the final drawer, I accidentally drilled the pilot hole all the way through the drawer! Mmm hmm. Yup. So. I had been planning to fix that and just do a paint touch up. That happened the week of Christmas two years ago. I have been very much drawn to the look of black against the orangey oak now for quite some time. I decided last fall that instead of just doing the touch up on the one cabinet drawer, I would repaint the lowers a different color. I don't have a lot of lower cabinetry so why not! Of course that did mean repainting my hutch also, but . . . that needed touched up also due to painting other furniture in my dining room and getting paint splatters on the finished hutch! I figured that I now had full justification for repainting my lowers & hutch! Here are a couple of my inspiration pictures for the look I wanted: I have begun!
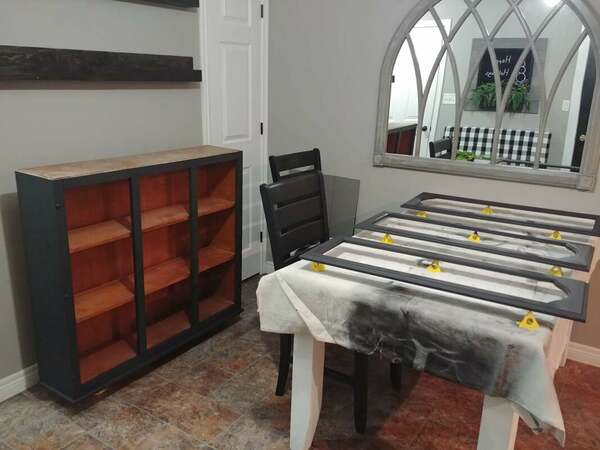
Like I said, I decided to quit the perfectionism and try painting like the majority of the DIY world. I skipped priming. I mixed my paint with chalk powder and began painting.
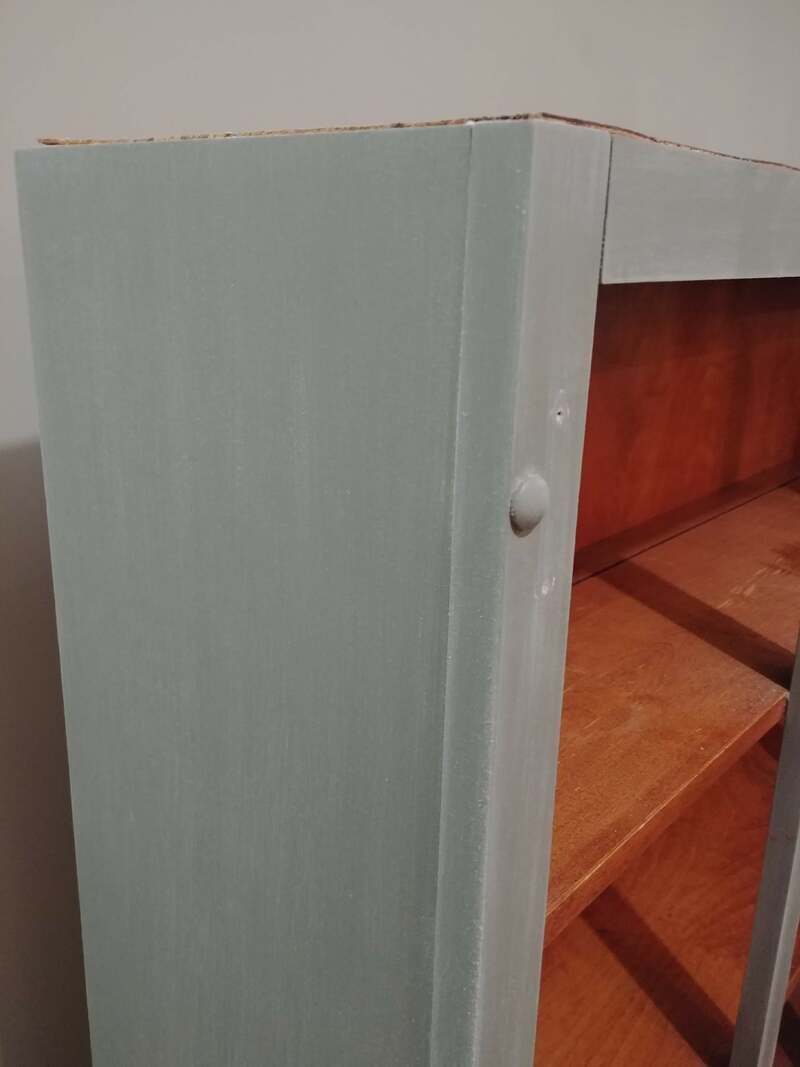
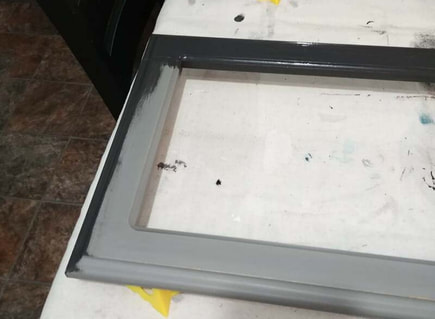
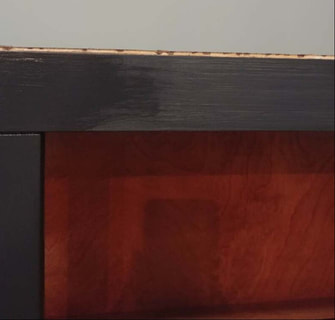
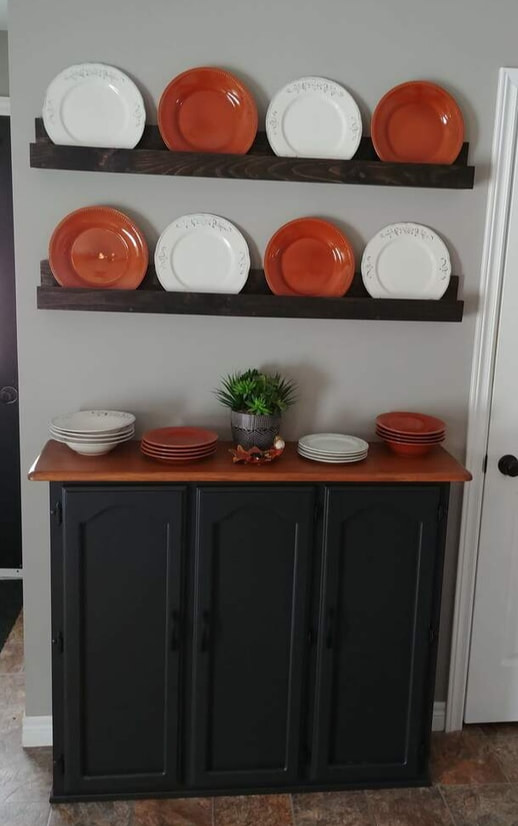
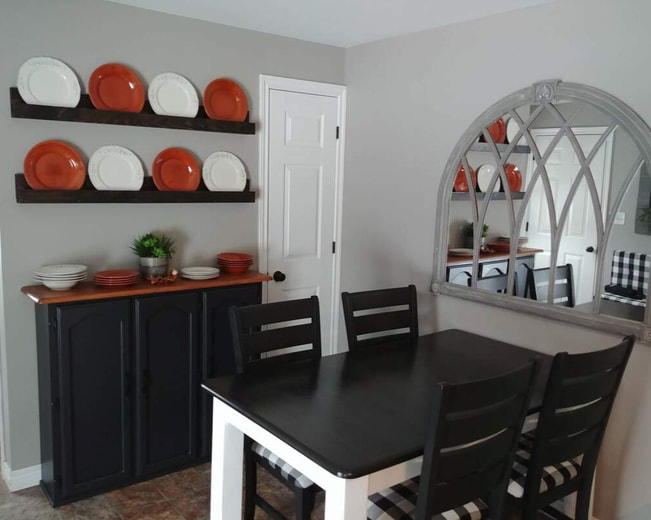
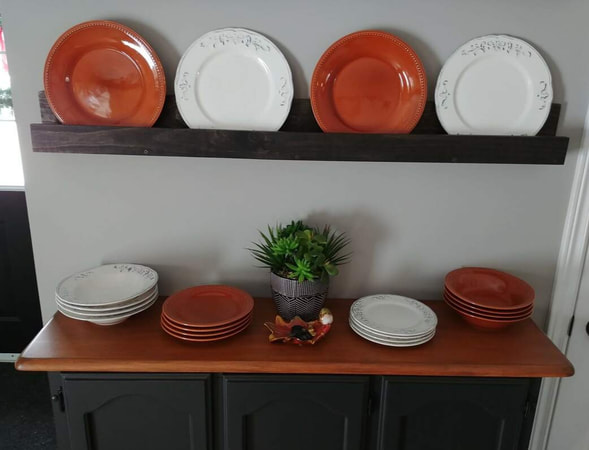
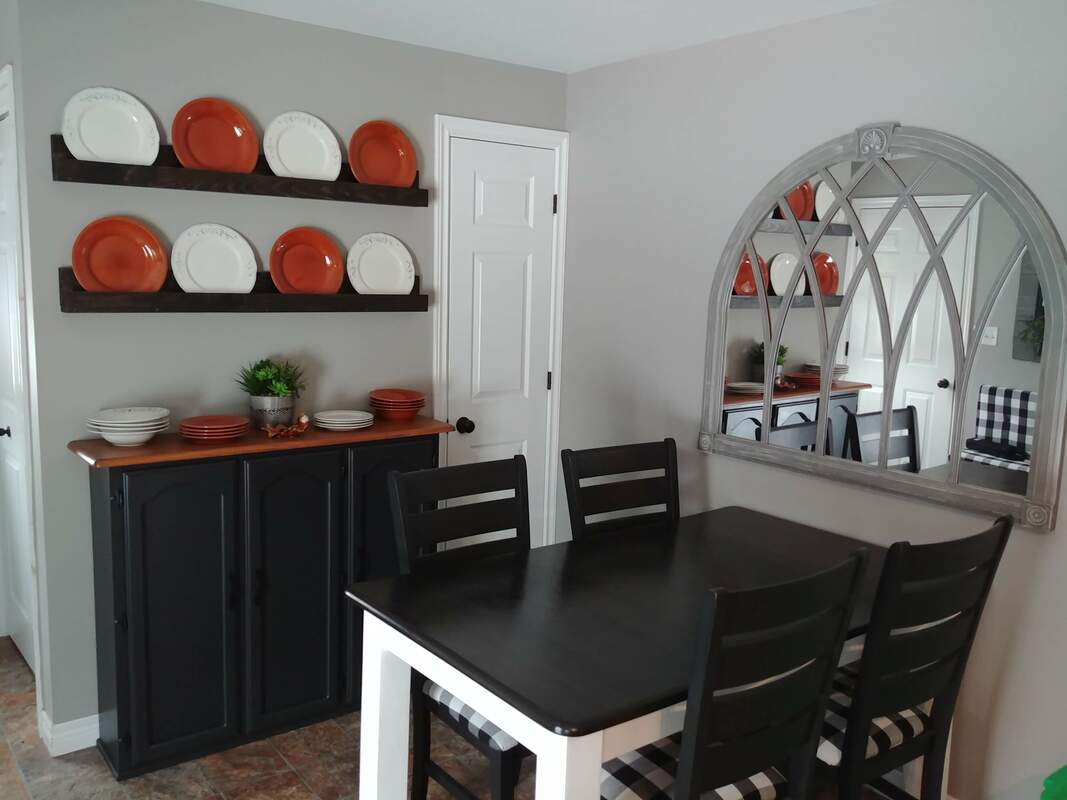
In the next picture, you can see the difference between the first and second coats of paint. I only did two coats. The first coat is on the right and the second coat on the left. I recommend a very light sanding, with very fine grit sanding sponge, after the first and second coats. It will eliminate brush strokes . . . even though the Cling On brush delivers minimal brush strokes to begin with. Those painter's pyramids are the handiest! I highly recommend them. You can purchase through Kent Building Supplies, Amazon, or check your nearest hardware store. The final step was to top coat the painted surface for protection. Chalk paint is porous and left unprotected, will easily nick and mar. For this project, I used Saman Waterbased Varnish in Matte. You can purchase this product at Kent Building Supplies, also. To apply, I used a combination of the Cling On Brush and a dense sponge. Varnish is finicky and tends to streak as it dries so fast. I didn't have much of a problem on the cabinet and doors, but I had a very hard time with the door inserts. The key is to work very fast keeping a wet edge and to not go over the spots you just finished that have dried so fast it looks like you missed spots. Another little tip is to mix a bit of your paint in with your varnish. It really helps level out what looks like color variance. The final product!!Before & After
0 Comments
Leave a Reply. |
Follow me!
Categories
All
Archives
April 2020
|

 RSS Feed


