|
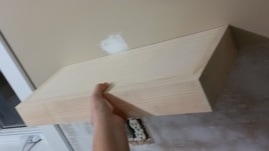
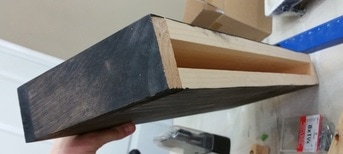
In the last post, I told you about how I repurposed one of my two 'discarded' floating shelves. Well, here is the story of the other one. Just to give you a quick little recap, I had built and installed two floating shelves in my kitchen early this year. I had modified them to be as narrow as possible. They looked great, however, due to only having one stud to anchor them to and the fact that these were deep (12"), the weight made them pull forward off of the wall. So, a couple months ago, I reinforced the wall by creating a 'super anchor' and then built & installed new floating shelves . . . that are functioning beautifully. That left me with two 24" x 12" boxes to repurpose somehow. I immediately thought of planter boxes but didn't get around to working on them until this month.
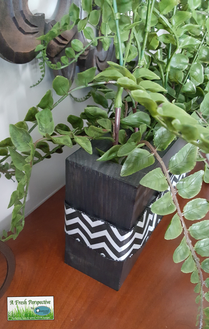
I got my husband to run them through the table saw to be 5" instead of 12". Then, I sanded it with my Milwaukee rotary sander. 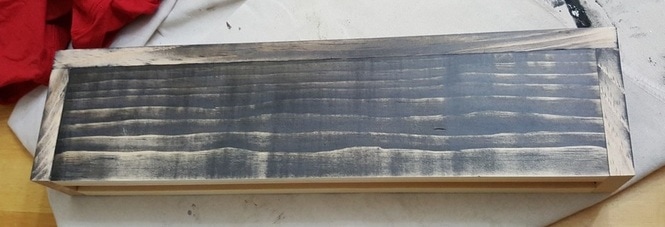 Previously, I had stained these with Old Masters gel stain in Spanish Oak, which is an oil based stain. I didn't worry about sanding clear down to the bare wood because I was going to use the new Saman One Step Wood Stain & Varnish. One of the beauties of this product is that it doesn't have to be on fresh wood. You can use it over existing finishes! I chose to use the color Ebony on this. Now you may ask why I would have to even restain if I was only going to go with the same colour. Glad you asked. LOL. There was also 2 coats of General Finishes Flat Out Flat top coat over that stain so that the shelves could be more easily cleaned when necessary. If I had of used the OM gel stain to touch up where it was splintered from the new table saw cuts, I would have had to wait 3 days before I could touch up with the water-based GF topcoat (going over oil-based products, you have to wait 3 days before applying water-based topcoats). PLUS, I was anxious to use the new product. :) As I said in the previous post, the one about the first repurposed shelf, Saman provided me with the product free of charge in exchange for blogging/advertising for them. I am VERY happy to do so as I LOVE these products. 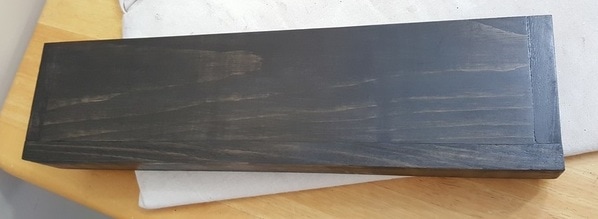 I don't remember if I did 2 coats or if it was 3 coats. I used my heat tool to speed up the drying time between coats so I could just get it all one fairly quickly. 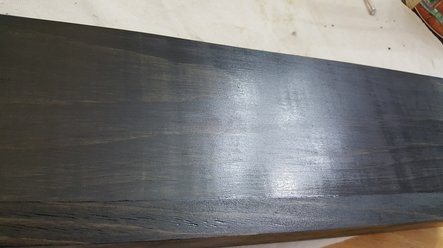 As you can see, the finish ended up being quite shiny. Because I'm not a real fan of shiny . . . and because I had another Saman product I was anxious to try, I began top coating it. I used Saman Waterbased Dead Flat Varnish. (also donated by Saman) 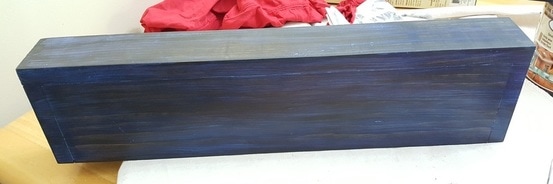 This is what the varnish looks like when you first apply it. 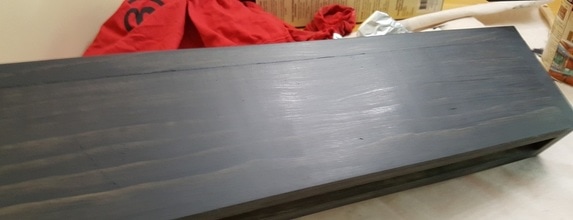 And this is what the first coat looked like after it dried. I only had to apply one more coat to eliminate the remaining shiny streaks that I obviously missed in applying the first coat. The next step was to cut down floral arrangement foam to fit into the narrow interior. Using wire cutters, I cut each major stem of greenery separately off of the bunch. I got 2 fern bunches at Michaels during a buy-one-get-one-free sale. I then just arranged them inside to my liking. I finished it off with wrapping the black & white chevron wire ribbon I had also gotten at Michaels (in a discount bin for only 60¢) around the middle and tacking it in places with a glue gun. 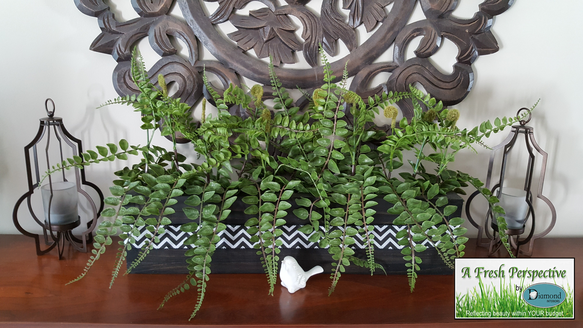 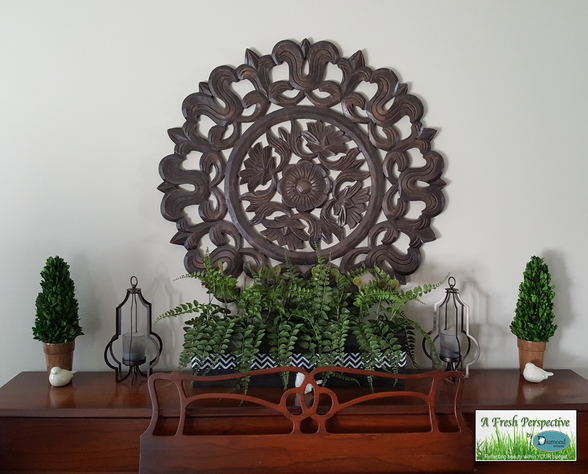
0 Comments
Leave a Reply. |
Follow me!
Categories
All
Archives
April 2020
|

 RSS Feed


