|
A few years ago, I found Saman water-based stains at a hardware store. I bought a tube/bottle of black and used it on a lot of things until it finally ran out. I loved that stuff! Problem was, the local store quit carrying it after that.
Fast forward to 2017. I was at Dieppe Decor, a Benjamin Moore paint store in Dieppe, NB, picking up product for a client and noticed a brand new display they were in the process of setting up. You guessed it! Saman products! They weren't done filling up the display but as of that day, they had already stocked a variety of colors of Saman One Step Wood Stain & Varnish. Water-based stain & varnish ALL IN ONE! I was so excited! I snapped a picture and then when I got home, I googled it and found the company website. I decided to email the company and ask if they would be willing to send me some samples to use and blog about. Imagine my excitement when I received an email saying that although they hadn't done this type of thing before, they would be happy to send me some to try in exchange for a blog post. It was shipped out on a Friday and arrived to me that following Tuesday!
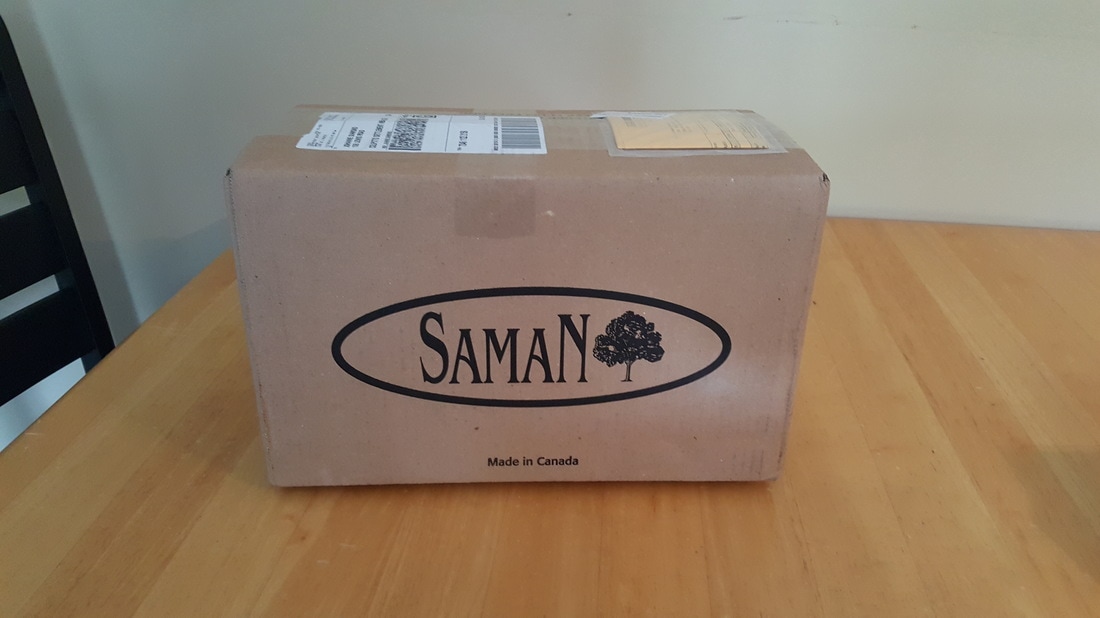
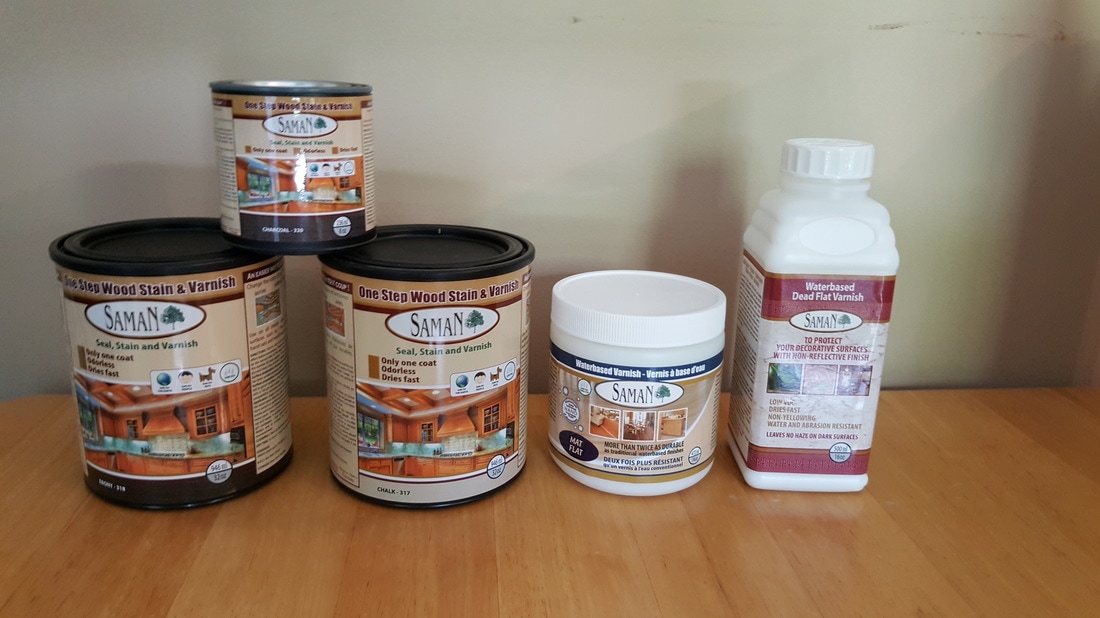
I just HAD to take a picture of the box! LOL. And then look at all the goodies that were IN the box!!
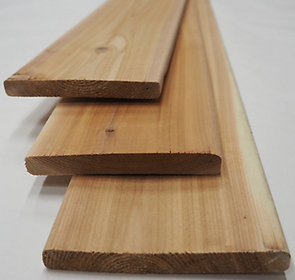
I decided that my first project would be to build a wood background for my chalkboard in my kitchen/dining. Being the bargain shopper that I am, and on a relaxing just-me day, I debated back and forth with myself for a long time on which type of wood to buy and finally decided to try cedar this time. I chose to buy 3 of the 1x6x6 cedar fence boards and had them cut right there at Home Depot. You get to have 2 free cuts and then its 50¢ per cut after that. The guy lined the three boards up and cut all three at the same time so I got all 6 boards cut to the lengths that I needed with only 2 cuts at no charge! Well, I THOUGHT I had chosen the 6' length boards. After I paid $8.80 each for them when I was certain I had read $5.96 each, I got in the suv and looked it up. I had bought the 8' ones! I was supposed to choose the boards ABOVE the sign, not below it. LOL. So, I really didn't save as much as I had thought I was going to, but I did get nice boards.
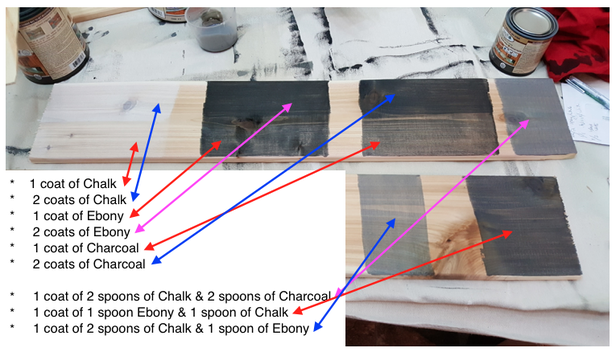
Then at home, I just needed an extra pair of hands to help hold the boards & clamp so I could Kreg Jig them together. My husband helped me that night and I immediately began playing with my new stain colors to see what I would use. I ended up choosing a custom color that I made using white plastic spoons from the dollar store to measure & mix with. To create the grey color I used, I mixed one spoonful of Ebony with 2 spoonfuls of Chalk.
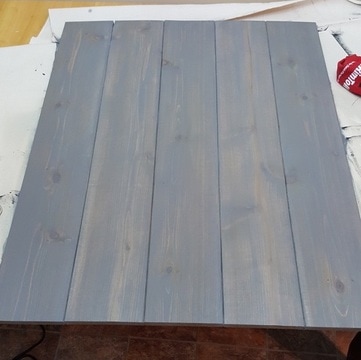
I'm telling you, this stain is unlike any other brand of stain I have ever used. As you know, I do love to stain. THIS product doesn't even feel like stain. It feels like silk and it glides on like silk. There are NO overlap marks. It is truly amazing to work with.
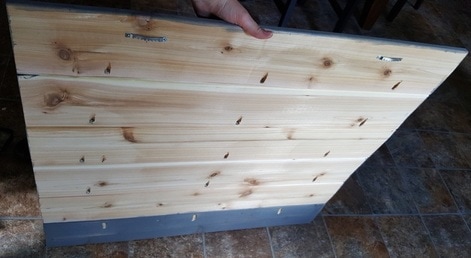
This is after 2 coats of the 2-to1 mix of Chalk & Ebony. Remember, this stain has the varnish built in! No need to mess with a top coat! And did I already mention it is water-based? Thus, easy & quick cleanup of tools! 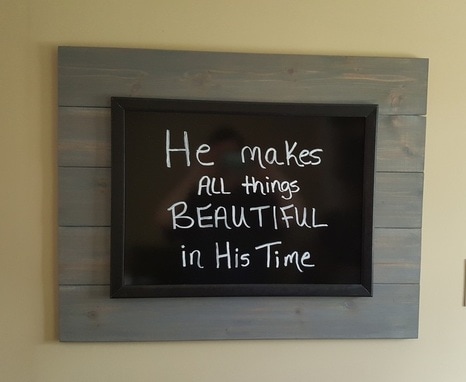
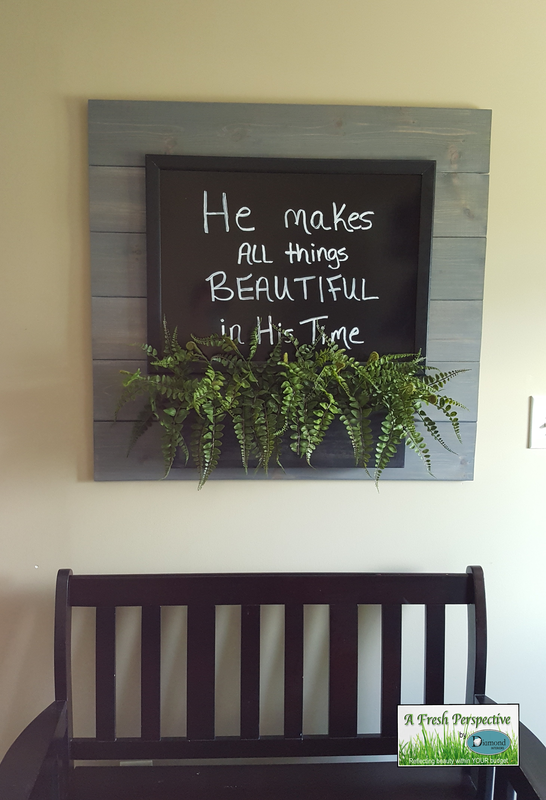
Here she is, looking beautiful on my wall! I just love how the brown tones still come through the grey stain. I bought the magnetic dry erase board at my local Michaels store. I used a white chalk dry/wet erase marker for the words.
Now this is going to seem like a change of subject here, but you will see at the end where it all ties in.
Remember those smaller floating shelves I had built & installed in my kitchen (here) and then ended up having to replace them with sturdier floating shelves (here) a few months later? Well, I kept those smaller floating shelves figuring I would make planters of them someday. As they were 12" deep, I had my husband rip them down to 5" on the table saw. I then sanded the new cut edges. I took one of them and using the chalk paint mixture I had used on my upper kitchen cabinets (Chalk-tique mixed into Benjamin Moore Aura Matte paint in the color Natural Cream), I painted two coats on the shelf and then it sat for several weeks waiting for me to decide what to do with it.
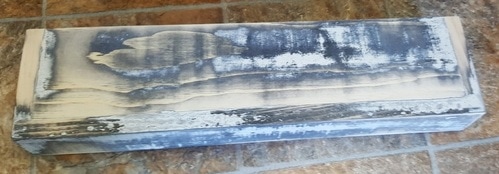
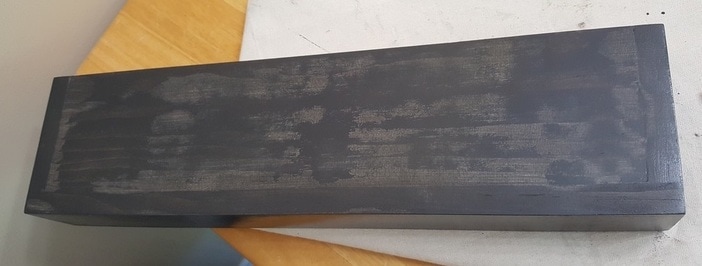
A few days after I had hung my new chalkboard wall decor, I pulled out this painted shelf. I first tried using gel wax on it and then stencilling a design over that. It was a fail. So, I sanded it down to this. I stopped sanding here because I thought this looked so cool! I wanted to try staining over that and see what happened.
I had been online watching video clips and reading everything I could find on the Saman products and I had read where you could use their stain over existing finishes. So, I used Saman One Step Wood & Varnish in Charcoal over this. I used 2 or three coats. Isn't it absolutely GORGEOUS!!!!! I just love how it looks over the layers that were left behind in the sanding process. (The layers were a few coats of Old Masters oil based gel stain and then the two layers of chalk paint.)
I had originally planned to sell the planter boxes when I got finished with them but I loved this one so much I just had to use it somewhere in my own home. Mom was visiting and I was asking her where she thought I could put it and said I wished I could find somewhere in my kitchen/dining room. It was Mom's idea to combine it with my chalkboard wall decor. I know. I have one smart Mama!
I immediately got out the leftover 6th board that was already cut to size and sanded it lightly before mixing up a new batch of stain and staining that board. Then, the stained board sat there a couple days as I needed that extra set of hands to be able to Kreg Jig it to the rest of the boards. (Insert first pity party here. LOL) My husband was away working so I loaded up my stuff and headed to Mom's where she held the board & clamp so I could Kreg Jig this last board onto the rest. Insert second pity party here because . . . I kreg jigged the stained side!!! Yup. I did. So, when I got back home, I mixed up a third batch of the stain mix and stained the other side. LOL I just need to mention here before I forget completely. Before staining the boards and then after Kreg Jigging, I sanded. First of all to remove any mill glaze or whatever and secondly to remove the splinters created by the joinery. I got to use my new Milwaukee rotary sander that I got for Mother's Day. Boy that thing is powerful and gets the job done quickly! I love it!
I do want to mention about the picture hangers I installed to hang it from. As you know, they only come with those small little nails. I was afraid they would pull out of the wood from the weight so I used No More Nails glue around the nail holes and on the nails themselves as I hammered them in. They aren't going anywhere soon!
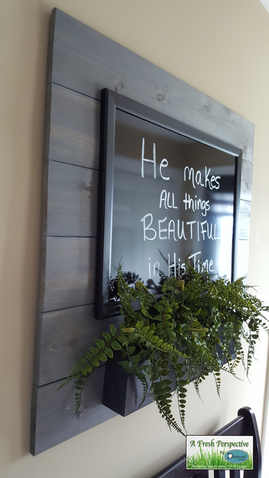
I inserted that styrofoam stuff you use to make flower arrangements into the planter slot and arranged the ferns in that. I bought 2 bunches of it at Michaels during a buy-one-get-one-free sale. I used wire cutters to separate the stems in each cluster so that I could spread them out evenly in the arrangement. Originally, I was going to remove the fiddleheads but hey, I am Canadian after all . . . and living in fiddlehead country! LOL The Finished Product!
Supplies & Sources
* I bought the cedar fence boards at Home Depot. You need 3 of the 1" x 6" x 6' boards cut to 33.5" lengths.
* I got my dry erase magnetic board at Michaels using a 40% of coupon. It measures 18" high by 24" wide. * I bought 2 bunches of ferns at Michaels during a buy-one-get-one-free sale. (I was unable to find a link online to give you.) * The planter box was made from floating shelves gone wrong as stated above. Links to details on making them are highlighted above, as well. * I bought the white dry erase marker at Michaels, too. But, I have included an Amazon link below for a set that I would love to have myself! It includes a variety of sizes that would be awesome. * I have had my Kreg Jig for awhile now but I think I bought it off of Amazon. * The Milwaukee rotary sander was bought at my local Home Depot and it outperforms my King Canada one I also have. I love it! * Last but not least, the Saman products!!! For those local to NB, Canada, here are the three places that I found that carry the products: * Dieppe Paint Shop (Benjamin Moore store) located at 438 Paul St, Dieppe, NB * Moncton Paint Shop (Benjamin Moore store) located at 34 Plaza Blvd until June 24th and reopening at 1528 Mountain Road, Moncton, NB on June 27th * Home Hardware located at 257 Elmwood Drive, Moncton, NB * Home Hardware located at 1106 Cleveland Ave, Riverview, NB -- coming soon! * Kent Building Supplies located at 55 Trinity Drive, Moncton, NB If your local Home Hardware doesn't have it in stock, you can order it through the Home Hardware website and have it shipped to your store.
2 Comments
Sheila Eagles
6/17/2017 07:54:47 am
I thoroughly enjoyed this blog. I'm not into doing what you are but have to say you are as smart as your Momma!! The finished product is beautiful.
Reply
6/17/2017 01:11:28 pm
Thank you for the compliment and for taking the time to comment, Sheila! I really appreciate feedback. :)
Reply
Leave a Reply. |
Follow me!
Categories
All
Archives
April 2020
|

 RSS Feed


