|
I updated my parent's kitchen on a 'dime'. Of course, I didn't do all the work by myself. Mom was my right hand lady and even Dad helped where he was 'allowed'. LOL. These are the things that Mom wanted gone:
She wanted:
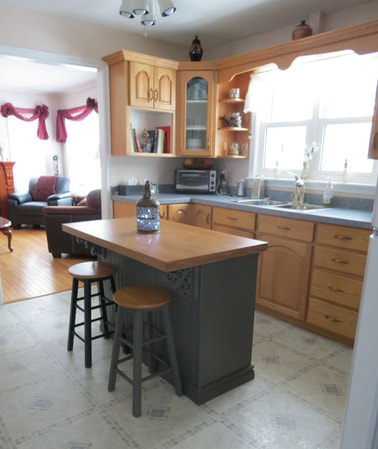
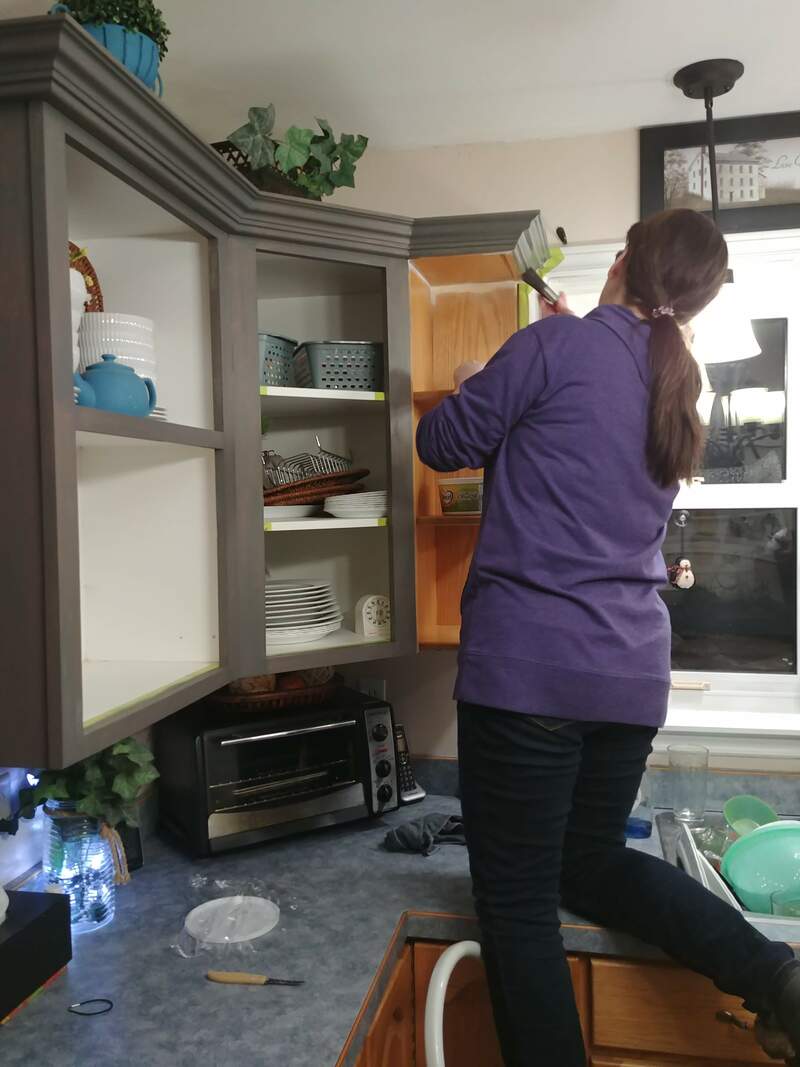
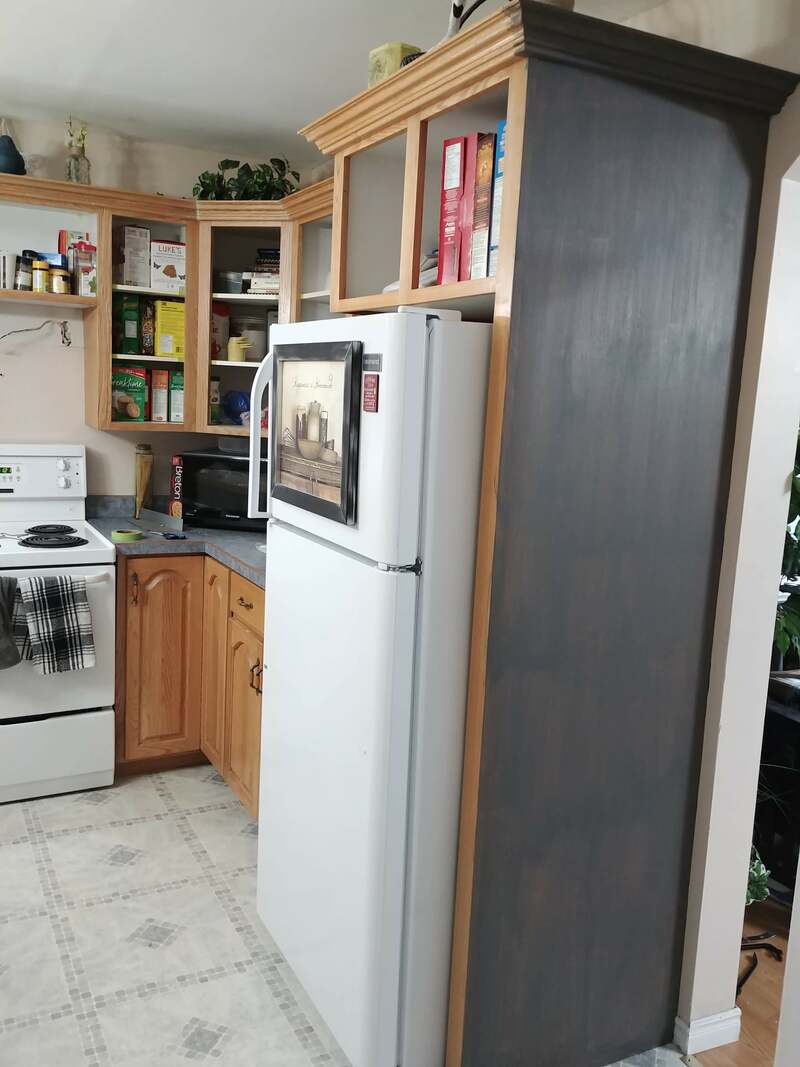
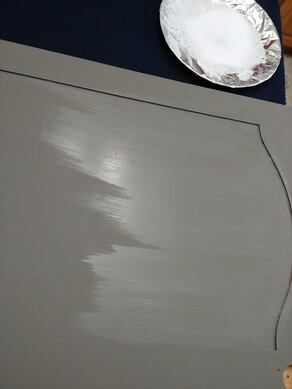
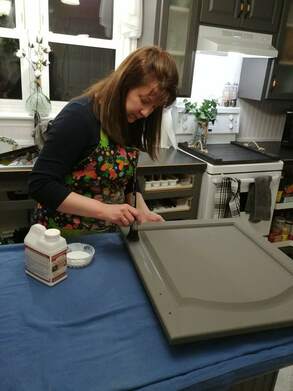
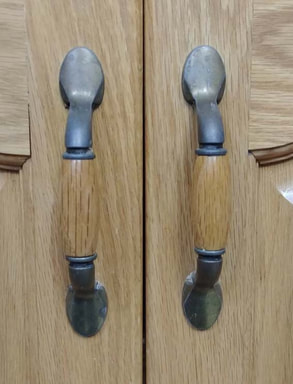
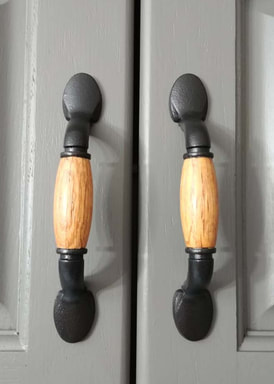
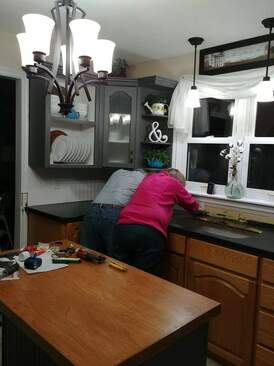
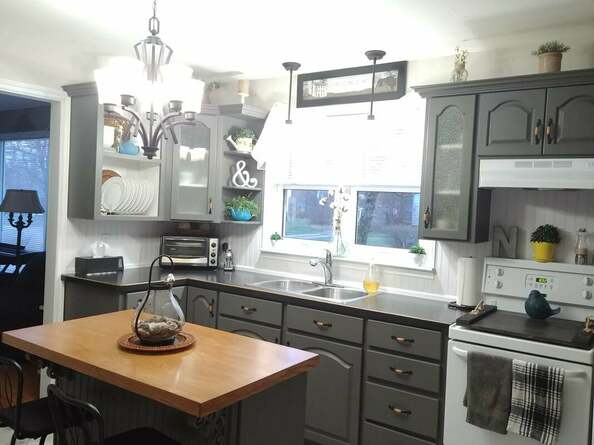
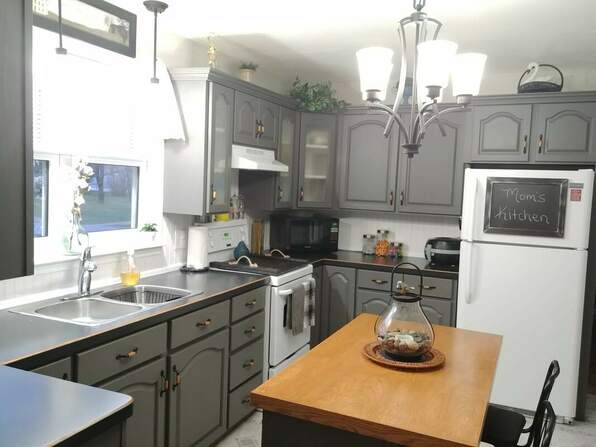
Here is a "before" picture: The design of this kitchen makeover was centered around the island, which was an earlier project that you can read about here. The first thing that went was the cabinet heading over the windows. Dad removed it and did his best cutting and installing the crown moulding to cut back to the wall on either side. When I arrived and seen it, I was frankly overwhelmed. There were huge gaps that needed filled and Mom & Dad thought it would be a simple job to fill the gaps. Oh, my! NOT a simple job at all. Really, we needed new moulding cut right and it just wasn't in the budget. I had to pull the pieces off that Dad had put up and adjust everything, make one new piece, and then glue and air-nail everything back up. It was definitely NOT my area of expertise, either, but you do what you gotta do when you gotta do it. There was one outside corner of the moulding that was completely missing that required many hours of tedious wood filling, carefully molding wet putty by hand to mimic the design of the moulding, and very delicate sanding to try to fill the gaps so they would not be noticeable. I was ready to pull my hair out! The good news is, I survived! LOL Mom cleaned the cabinets for me with vinegar and water and rinsed them well. I didn't have to prime these cabinets because the sheen was mostly worn off and the wood had been starting to crack and was very dry. I mixed up some chalk paint using BB Frosch Chalk Paint Powder I had on hand and Diamond Matte paint from Dulux in the Benjamin Moore color Kendall Charcoal. Then, using my absolute favorite brush for painting furniture, the ClingOn F50 brush, I began to paint. It took two full coats and then some touch-ups. Chalk paint scratches off easily until it has been clear coated (waxed or a varnish) and cured. It takes 30 days for a full cure, but is definitely much tougher after it has the topcoat on it. I recommend a day after the first coat before applying the second coat of paint. I have found that even though it dries within a half hour to an hour, applying a second coat too soon tends to lift parts of the first coat back off. I do like to do a VERY light sand with a super fine sandpaper just before applying subsequent coats (to remove any dust or hairs that may have gotten in the paint and give an overall better smooth finish). Clear Coating For clear coating, I recommend leaving the painted surfaces to 'cure' for a minimum of three days first. Then, I leave one day after the first coat before applying the second coat of clear coat. I only left around an hour between the second and third coats, though. I didn't sand after the first coat, just between the second and third. And, that was with a super fine sanding sponge (so fine that you can even just use a clean sheet of paper instead, if you want). I personally prefer a matte finish, especially when a surface wasn't perfect to begin with. Surfaces with a sheen only shed a spotlight on imperfections. That is why I chose to use Saman Dead Flat Clear Coat. This stuff is literally amazing to use! (Yes, this post is sponsored by Saman. They gave me the Dead Flat Clear Coat to complete this project. However, the opinions expressed in this post are entirely my own!) It needs to be stirred very thoroughly. Not shook, as that would create bubbles and make a mess of your finish. The product is milky looking but dries completely clear and any pooling that occurs in cracks and corners that are unavoidable, dry completely clear, too. It is the easiest clear coat I have used to date and I hope that Saman NEVER gets rid of it! The Dead Flat dries very flat and you hardly can tell you put anything on after it dries. It goes on milky and shiny but dries evenly, smooth, flat, and feels great to the touch. I am a Saman fan, anyway, having used their stains and all-in-one stains, and other clear coats many times. Their products are top quality and very user friendly. For the upper's, I used my ClingOn brush to apply the coats but by the time I got to the bottom cabinets, I was so tired of this project and wanting to get it done that I just used my favourite flock rollers and rolled it on. I have to say, that when I redo my own cabinets, I will be rolling the clear coat on. Its so much faster and easier and does a perfect job. Cabinet Handles Makeover We refinished the cabinet door handles, too! You can read the details on that makeover here.
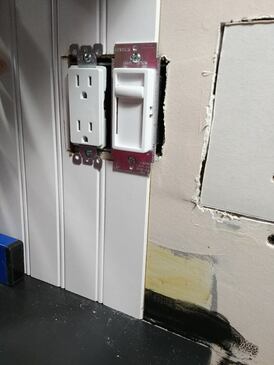
Refinishing the Countertops You can read about this makeover here. Installing Backsplash I had some leftover beadboard panels from a previous project from a few years back that was perfect to use for a backsplash! We had used beadboard panels on the back of the island, so I thought it was perfect to bring that element in another place in the kitchen, too. It was a project that involved all three of us . . . Mom, Dad, & I. We measured, created templates, drew plans, and cut the panels out on my table saw. I used the rotary sander to whittle back edges where needed to fit as perfectly into place as we could. I used my Dremel to cut special corners and the outlet holes. We used No More Nails on the backs of the panels and Mom & Dad held the panels firm against the wall for a few minutes until it grabbed well. I put a couple well placed air nails where they wouldn't be seen. Then, we put small moulding around the base where the backsplash meets the countertops to finish things off smoothly and neatly. Mom is the caulking queen so she did all the caulking. She painted the backsplash, too. It was a real team effort and it turned out beautifully!
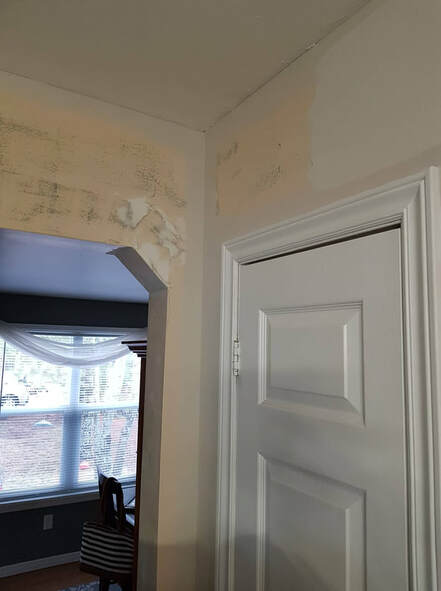
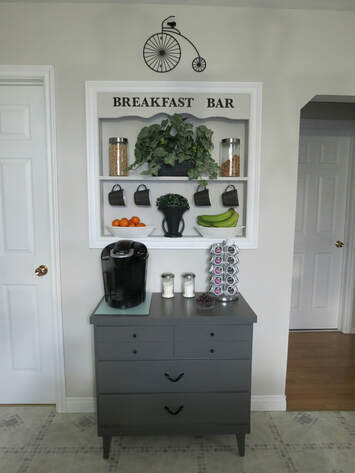
I said painting the walls was the last step but . . . I did refinish the cabinet that Mom uses for the coffee bar, too. The 'New' Kitchen!
2 Comments
Debbie Bansley
10/3/2019 10:04:46 am
How did you take the backsplash portion of the counter off?
Reply
Joanne @AFreshPerspectiveDIY
10/3/2019 10:25:29 pm
Hi, Debbie!
Reply
Leave a Reply. |
Follow me!
Categories
All
Archives
April 2020
|
 RSS Feed


