|
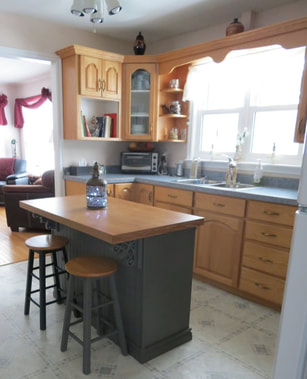
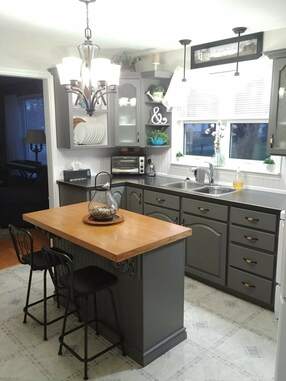
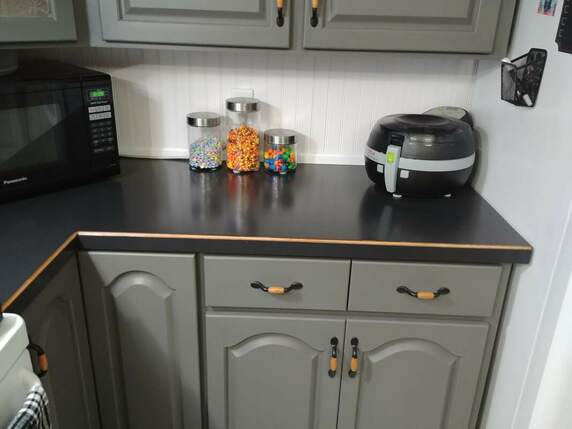
Let's start off this post with a before & after photo of Mom's countertops! A Summary:
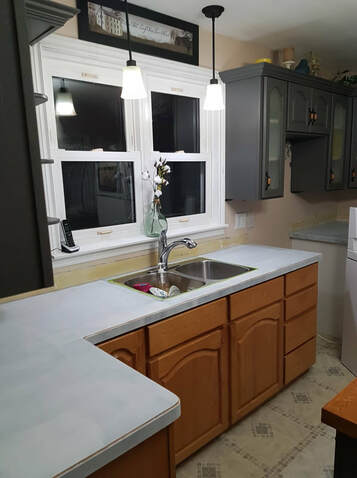
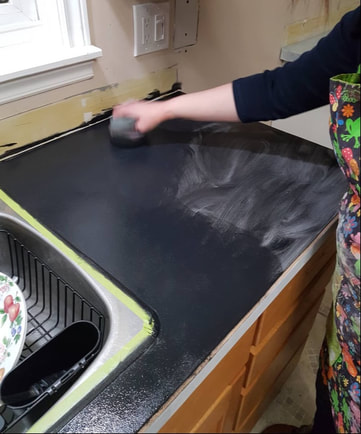
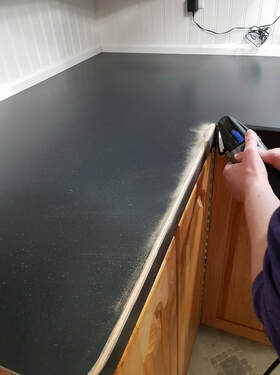
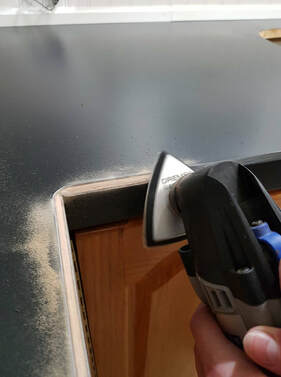
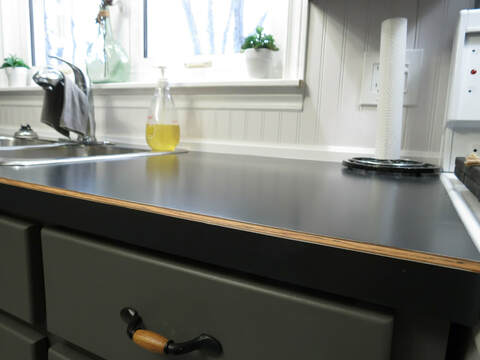
The process . . . exactly how it all went down. LOL One of the biggest things that Mom didn't like about her kitchen was the blue countertops and their thick but short built-in backsplash. The first thing that went in this renovation was that backsplash. Then, Dad used my rotary sander and scuffed up the countertop surface just to dull it down a bit. I rolled on a coat of Stix primer and left that for a day to cure. Then began a lot of trial and error . . . to say the least. It was a frustrating process. I tried applying the paint with my sponge from Heirloom Traditions. First I used the sponge to swipe the paint on . . . like you see on so many YouTube and FB live videos. Well, that does work nicely on smaller surfaces like furniture (I have used that method successfully before), but it certainly did not work on the countertops. Then, I tried sponging/pouncing the paint on. The key word there was 'tried'. The goal was to create a light even texture. It would look good on 90% of the surface but there would be that 10% that would stick out like a sore thumb. It varied in location with each attempt to redo it. After several attempts and much frustration, I gave up that method and just rolled the paint on, using my favourite flock foam rollers. The method that ended up working for me was to roll the paint on in a section of about 3 or 4 roller widths and then very lightly roll rapidly over that section again without reloading the roller (to eliminate roller marks). Then I would reload the roller and continue on with another 3 or 4 roller widths and repeat the process. I first started out using leftover paint I had on hand, a ready mix chalk paint from Dixie Belle, but I ran out while trying the sponge painting methods. I then used some regular Benjamin Moore Aura paint in an eggshell finish that I also had on hand and mixed it up with BB Frosch Chalk Paint Powder and used that. After a couple of coats (I waited about an hour between coats) to get it looking acceptable again, I then left the countertops three days to cure. Then began the next stage of frustration. I used Dixie Belle's Gator Hide, which is a water-proof and very durable clear coat. But the same thing happened where it would look so good for 90% of the surface but there would be that 10% that looked terrible. It was impossible to get it perfect. I ran out of Gator Hide and didn't have time to order more so I ended up buying a jar of Saman Water Based Varnish in Satin at Kent Building Supplies. The reason I chose Satin, instead of Matte as I usually do for most projects, is that the rule of thumb when it comes to clear coats is that the higher the sheen the more durable the finish. Where this was a high use countertop, I decided to go one step higher than matte. I did expect to run into difficulty getting even coverage that is streak-free (like I get with matte) but once again Saman came through. Saman's clear coats are the easiest to use, period! No streaks! The next step in this process was to sand the slanted edges back to the wood. I used the sander attachment on my Dremel and the job went smooth as butter! Then, I put two coats of Saman One Step Stain & Varnish in Cedar on the wood edges with a small artist brush and the job was done! Mom is very happy with her 'new' countertops! Read about the rest of the kitchen renovation here.
5 Comments
10/1/2019 10:53:23 am
You did a great job. Isn't it amazing what a different color can make!
Reply
Joanne @AFreshPerspectiveDIY
10/3/2019 10:32:29 pm
Thank you, Carole! Exactly! I love how just painting gives "a fresh perspective" on a space!
Reply
Joanne @AFreshPerspectiveDIY
10/3/2019 10:27:54 pm
Thank you, Joyce!!
Reply
Leave a Reply. |
Follow me!
Categories
All
Archives
April 2020
|
 RSS Feed


