|
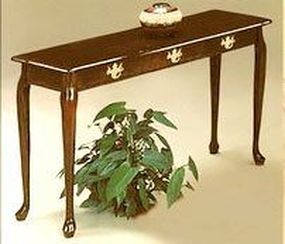
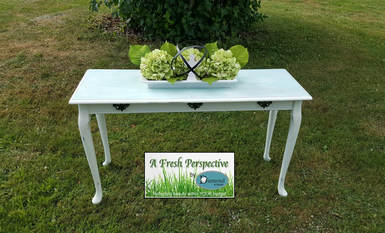
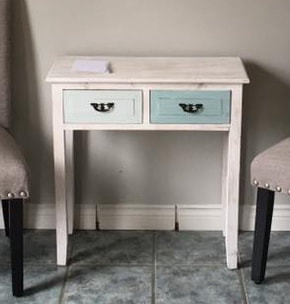
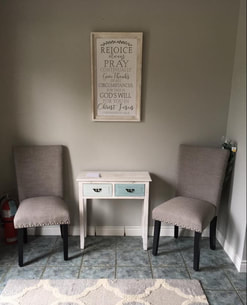
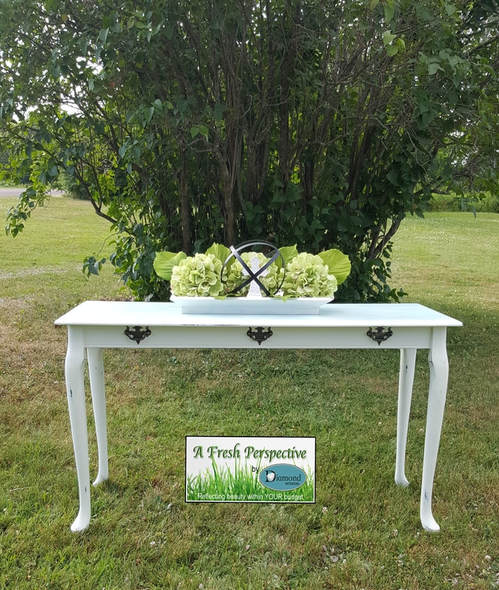
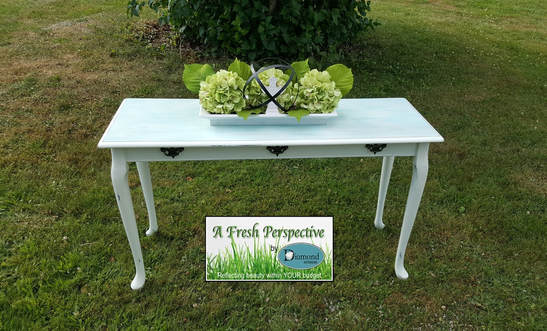
At my church there is some cosmetic upgrades being done. The pastor's wife chose to go with a farmhouse/beachy style and thus the old Queen Anne table that sat in the entry looked very much out of place. Using the new table she bought at Hobby Lobby as inspiration, this is what I came up with for the table makeover!
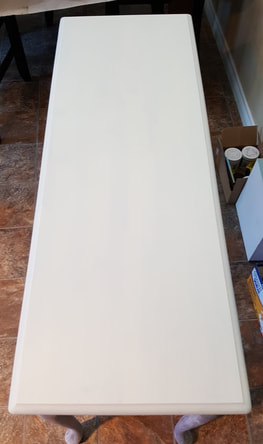
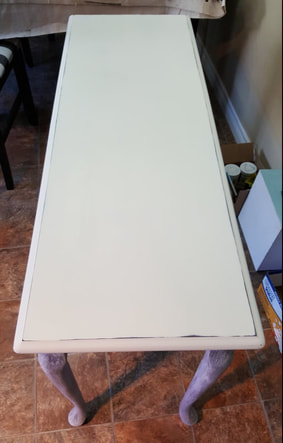
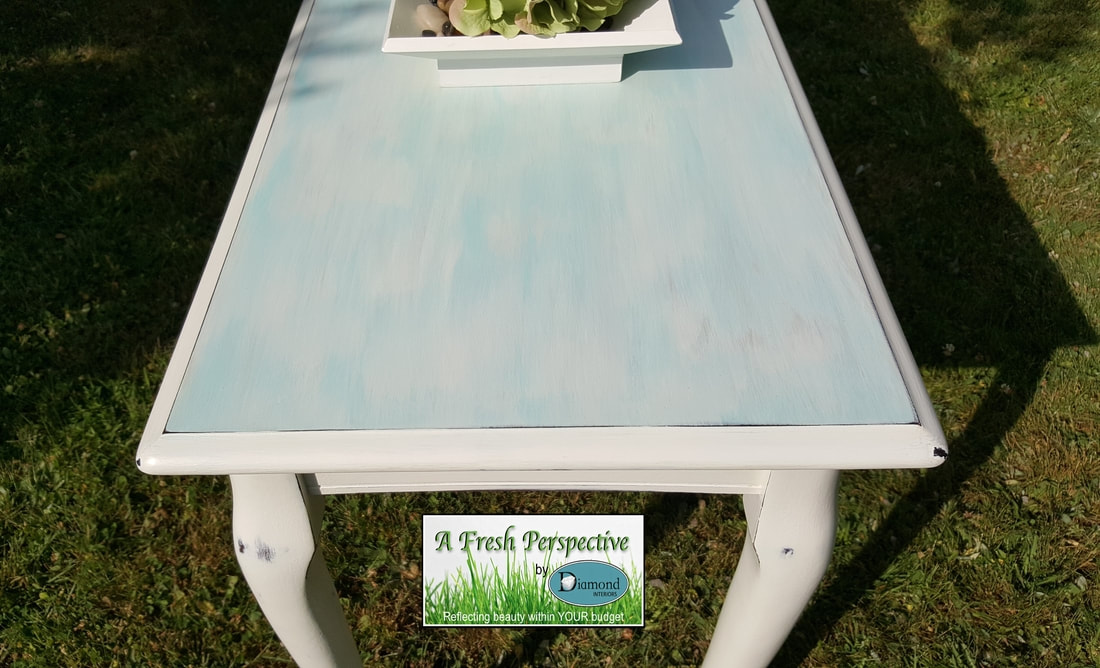
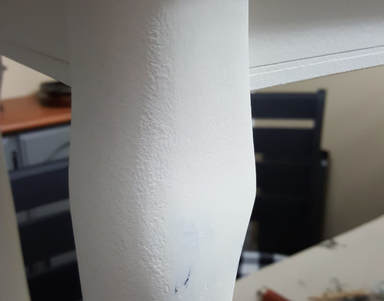
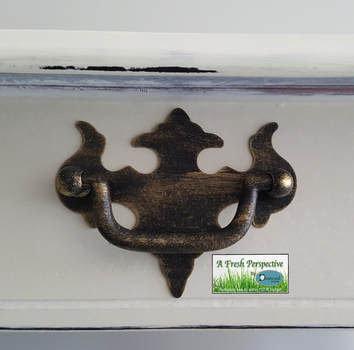
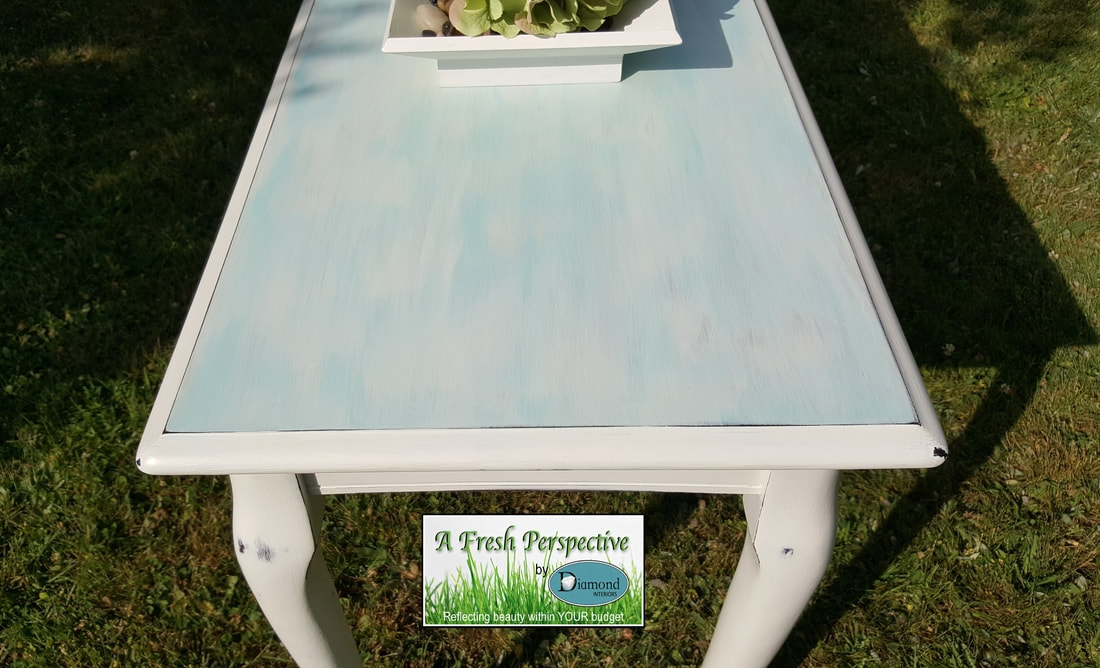
This is the 'inspiration' table: I used ONLY products from Plaster Paint Canada. I was given some product to use and blog about but not enough to complete the table so I had to order more. As usual, this is my honest experience with the products. After thoroughly cleaning the table with vinegar and water, I gave it a light sanding all over and then re-cleaned. Using the 2oz sample size jar of New Surface primer that I was given, I brushed on one coat. It has the same thick, sticky feeling of my favourite primer, Stix by Inslx (a Benjamin Moore company) but spread very easily, much to my surprise and delight. I barely made a dent in the 2oz jar and covered the whole table very nicely! This primer is promoted as being able to start painting in 30 minutes after application and although I didn't have paint on hand to test that theory out, I believe it because I did a light scratch test after 30 minutes and that stuff had bonded already! I have just found my new favourite primer!!!!! With Stix primer, I had to wait between 12 and 24 hours for full bond and for me, 24 hours was what I found worked best for me. This New Surface is a game changer! Due to some complications with Canada Post, I had to wait a week for my order of more paint to arrive. While I was at it, I ordered a large jar of New Surface (of course) and also ordered their brush. I have read a lot of blogs where people seem to love their all natural bristle brush for chalk paints and Plaster Paint Canada highly recommended this brush for a 'smooth finish, eliminating heavy brush strokes and holding a great deal of paint so you're not having to continuously reload your brush". How I used the brush: I loaded the brush up but not to the dripping point and then brushed the paint on. Applying it thickly like that made it cover quickly and easily. However, when I would do that one long last light continuous brush stroke at the end of each 'strip', it would carry over to the edge and mess that up. Then I would have to fix the edge which would in turn mess up the long continuous stroke I had just done on top. This method of painting was frustrating to me. Also, the brush shed terribly on the piece and because I felt I had to work quickly so the paint wouldn't dry on me before I could get done, I had to leave the hair there. I left the table until the next day and then tried the rub-gently-with-your-finger method to remove the hair, which did not remove anything. The paint had dried like cement overnight! Hand sanding did absolutely nothing and I ended up having to sand the table with my high powered rotary sander AND apply pressure to sand the hair and brush ridges off! I couldn't eliminate all the brush strokes completely because I used up my last sandpaper refill doing that. But, since it was a beachy/farmhouse look I was going for, I figured I could live with what was left. Needless to say, this experience made me not love this brush! I cleaned it up and put it away, never planning on using it ever again. Its just not my cup of tea. HOWEVER, as I was getting my reference links together for this post, I see that I clearly confused a few different paint companies tutorials. Thats the problem with working with different paint companies, I guess. All the tutorials you watch gel together in your mind. How I SHOULD have used the brush: When I went back to YouTube to get this tutorial link to add, I watched it again and seen that in this tutorial, she spread the paint thinly like I did with the primer. So, I guess I have to try that 'awful' brush again the RIGHT way, if I can bring myself to. LOL. AND, when I do thin coats, I can easily sand lightly to get a smooth surface. I should probably not leave it overnight before sanding, either. LOL. Just a guess. You know, the paint hardening that much just overnight is actually a good thing! That shows durability. Man, if only I had of rewatched this tutorial right BEFORE I began painting to begin with and not relied on what I thought I remembered from it. (insert an embarrassed face here) Here's what the top looked like after I sanded. Now to finish the top. I mixed a bit of their Liquid Matte Wax with the Original Plaster Paint color Grey Silk and brushed it on with a super soft brush (DecoArt's brush) in random strokes all running lengthwise to create a barnboard kind of effect. Then, I did the same with the color Ocean Breeze from the same line. Lastly, I mixed up some Simply White the same way and did a layer of that. I had a damp clean microfibre cloth handy and ran that over it some with each color to help phase out the colouring. This was a fun and easy process. On the edges, I used the Simply White with a little Liquid Matte Wax in it for spreadability and brushed it carefully on. It took 2 or 3 coats. Once everything dried, I lightly sanded all over to smooth things out and sanded a little harder on edges to give that distressed look. You'll never guess what I did next to further frustrate myself!! You would think that after discovering that thick coats didn't level out and were super hard to sand, that I would not have done this next thing. But I did. On the legs, I used my Heirloom Traditions brush and stippled two fairly thick coats on. My reasoning? The paint was supposed to be self-leveling and the founder of Heirloom Traditions states in one of her video tutorials that she used the stippling method for all paints she used in the past. It didn't self-level AND I left it overnight again. Now I had cellulite legs to fix! Seriously! Thats what it looked like! And due to the curvy legs, I couldn't use my rotary sander on them. So super arm power and hand sanding it had to be. HARD WORK! Here's a picture of one leg where I sanded one side of it and not the other side as of yet. After I had it all sanded the best I could get it, I mixed water with some paint on a styrofoam plate and using my Wooster Short Cut brush (soft bristled), I brushed on two thin coats of paint. This only left very small brush strokes and it was easy to hand sand those off. Once it was smooth to the touch, I used Plaster Paint Canada's Liquid Matte Wax and coated everything twice. On the top, I used the DecoArt 4" brush (so super soft) to apply even coats of the liquid wax. It went on so smoothly. On the legs, due to the small areas and curves, I used a sponge brush. The finished product feels like silk! Lastly, the hardware. The backplates still had the plastic on them so they were bright gold. The rest of the handles were tarnished. My mom suggested that I do the hardware to match the hardware on the 'inspiration' table. So thats what I did. I cleaned and then sponge painted 3 coats of the leftover black paint from the tv stand I had just done and used my heat gun to 'cure' it fast. Then, I sprayed some metallic gold spray paint onto some tinfoil (after spraying onto a styrofoam plate and it instantly melted all the way through! LOL) and dry brushed the gold paint onto the now black hardware. After heat-gunning them once again, I gave them 2 coats of the same Liquid Matte Wax. The table has been delivered and the client is very happy with the results. I have one more table to do and will post about that separately. I will be using the same products, but having refreshed myself with ONLY Plaster Paint tutorials and having that now well established in my brain because of my mishaps on this table, the process will be much more pleasant going forward. Why would I tell you about my embarrassing mishaps? So that YOU don't have to go through them! Learn my dumb mistakes and watch the tutorial right before you start painting and then you will get to enjoy the process! To get your own Plaster Paint products, go to www.plasterpaint.ca and when you enter Diamond10% in the coupon code spot at checkout, you will receive 10% off your order! Hurry! This offer is only good until August 31, 2017! Once again, the products I used on this makeover were: * New Surface This is this MARVELOUS primer I was telling you about, and its ONLY $22 CAD for 16oz! * Original Plaster Paint - Simply White * Original Plaster Paint - Grey Silk * Original Plaster Paint - Ocean Breeze At only $12 CAD for an 8oz jar, it is the cheapest chalk paint on the market! * Matte Liquid Wax This amazing silk feeling, great coverage, liquid wax is only $21 CAD for 8oz. And remember, you also get 10% off with the coupon code I just gave you! I can promise you that you will LOVE the New Surface and Matte Liquid Wax FOR SURE! And you most likely will also love their chalk paint. When I applied it thinly, it went on nicely and sanded easily to smoothness. But again, I will update when I do the next table according to the tutorial above.
0 Comments
Leave a Reply. |
Follow me!
Categories
All
Archives
April 2020
|


 RSS Feed


