|
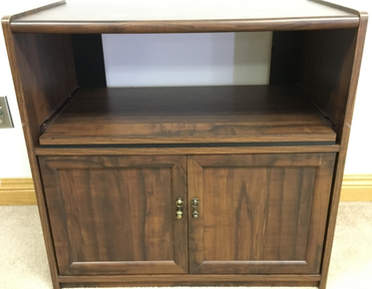
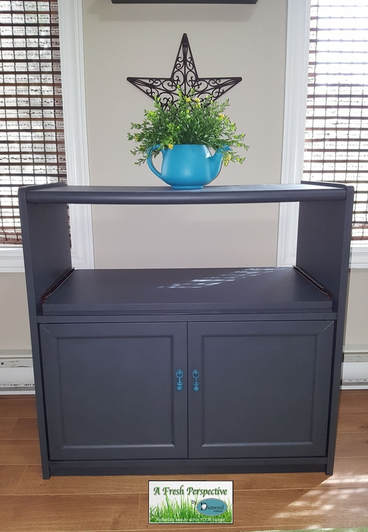
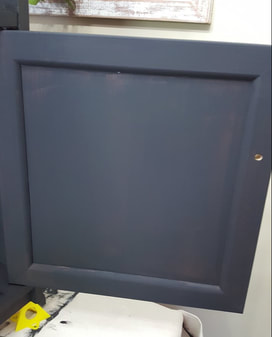
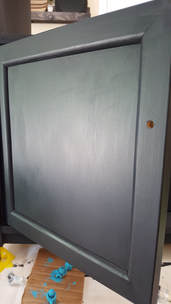
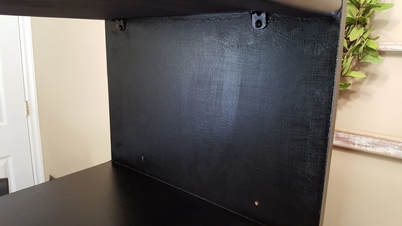
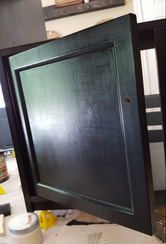
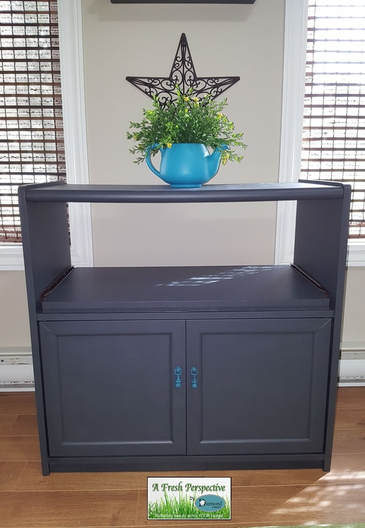
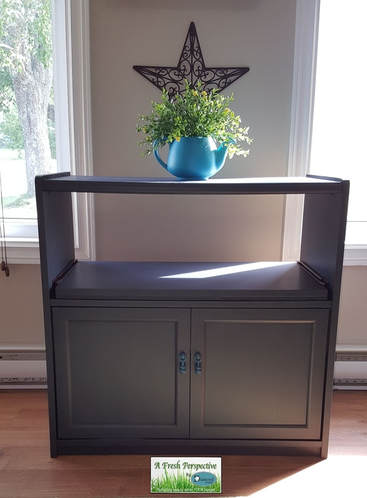
The mom of one of my friends is one of my biggest fans! She has bought 3 tables from me over the past 3 years and asked me to do a tv stand for her. I got the measurements of what was needed and went online shopping at all the local buy & sells. I found the perfect table for her with bottom storage and it even had a slid out tray for accessing any tv accessories! This cabinet was melamine construction but not your cheap construction FOR SURE! It clearly had also been glued when put together because even though I took out the shelf brackets, those shelves refused to budge. Same with the doors. It was impossible to take them off. This made me confident that I was handing over a sturdy product. (However, not being able to take the doors off also made this a challenge to paint!) Just a little heads up. Painting this stand was a total nightmare, so for those of you that just like to see the before & after pictures, I will do that first. The reason I DO include all the 'gory details' is that my goal as a blogger is to spare you the same frustrations I have gone through. If I didn't include all the steps, if you are anything like me, you may think "Well, maybe she didn't try this method." If I'm going to save you hassle, I have to let you know what works and what don't, right? I promise to always be totally honest with my readers, even though that may sometimes mean a negative review for a company's product that I've been sent to use and blog about. My readers come first. And again, for those of you that may not be interested in the gory details, the products that DID end up working on this table was BB Frosch chalk paint powder mixed with quality wall paint and then varnished with Saman Dead Flat Varnish. Before:After:The process:
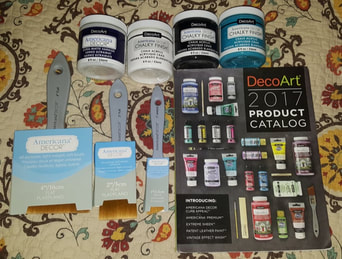
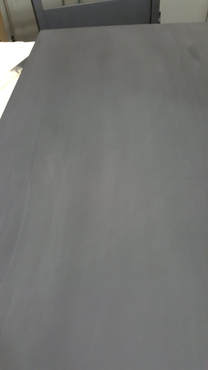
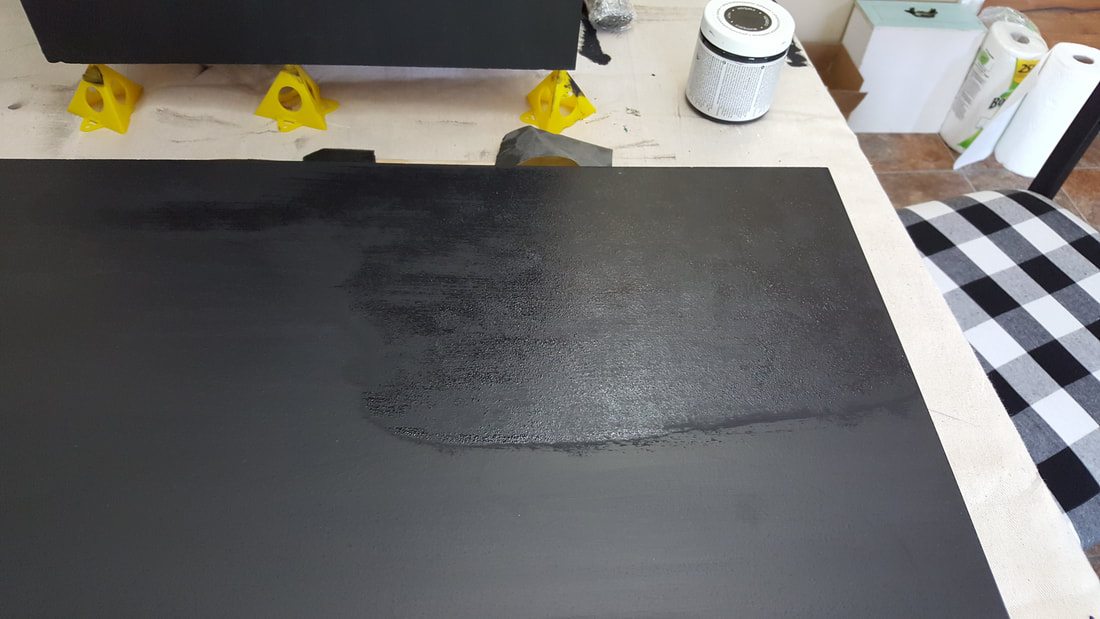
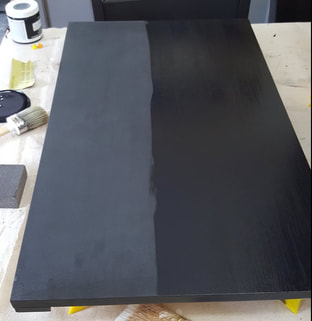
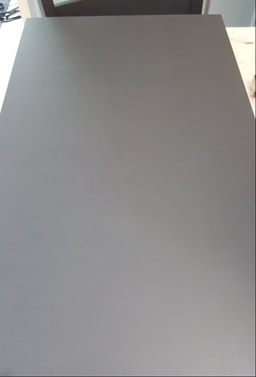
After thoroughly cleaning the stand with vinegar and water, and letting it dry, I gave it a light sanding all over just to give it a little extra grip (even though this paint was not supposed to require this). I was now ready to paint. Frankly, I was rather excited about using those amazing soft brushes! I chose to use the color Carbon, shook the jar well, and then used a stir stick and stirred it as best as I could. That jar was full to the brim!! Day 1: Although coverage was great, the paint itself was very thick and very sticky. It was hard to spread and I had to work very fast because it was drying fast. Even though I worked fast, when I would go to do that final light brush from edge to edge with each 'stripe', it was already drying and starting to pull. This was regardless if I used their brush or the applicator sponge from Heirloom Traditions. I did the pull-out tray in lengthwise strips with the HT applicator sponge and discovered this issue so I figured if I went sideways with the shorter distances on the side of the stand, that it would eliminate this problem. It did not. Because when you would go to do the second strip, the strip beside it already had some drying spots that would pull.
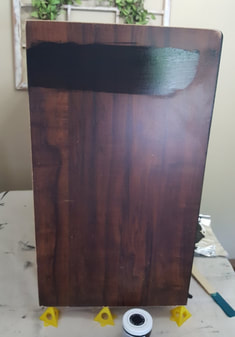
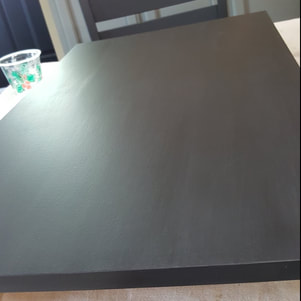
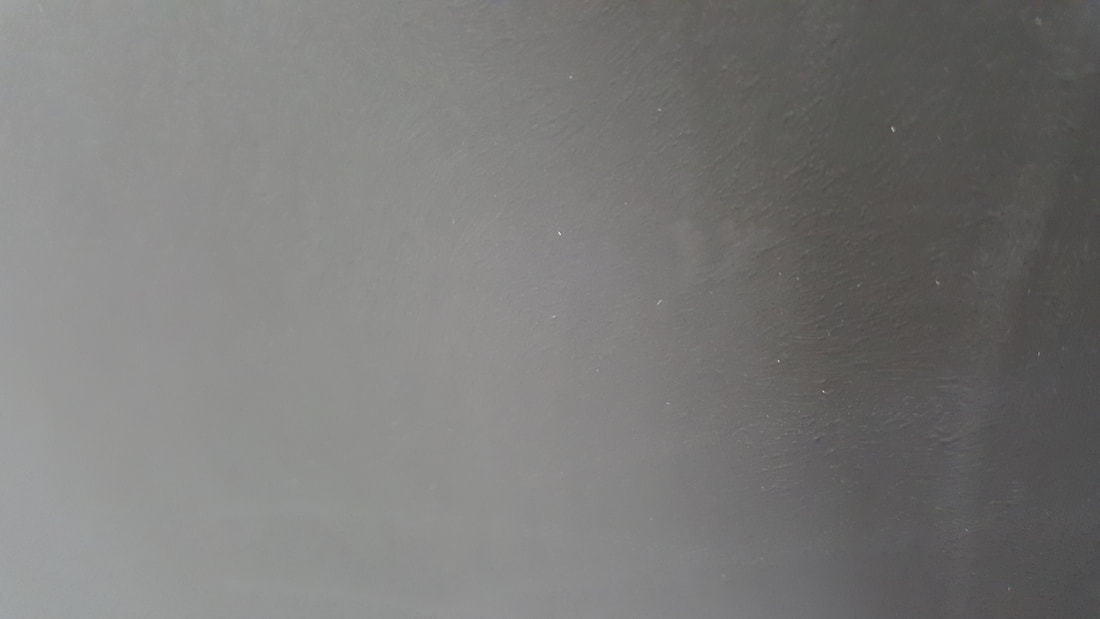
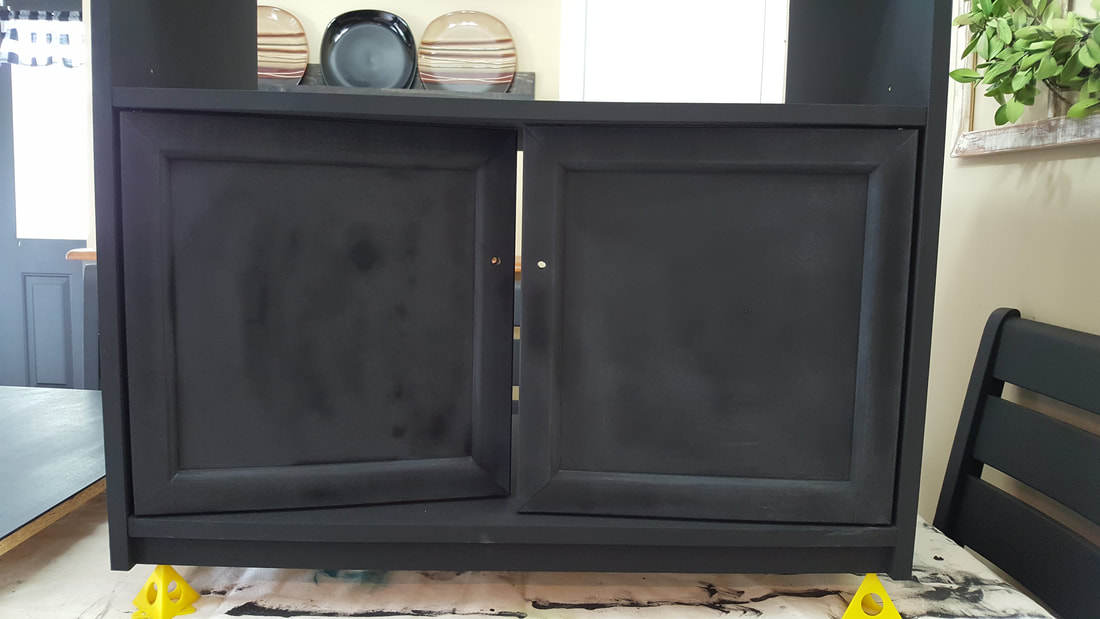
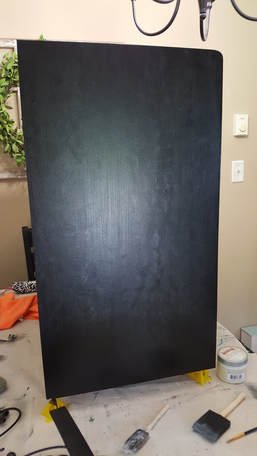
Day 2: Maybe if I apply matte varnish, it will settle it down and be fine. After all, it was just black paint! Wouldn't it stay black? I decided to use Saman Dead Flat Varnish, as it is my current favourite and had proven to me to be easy to use. Did this work? Nope! Still streaky grey and now some shine to emphasize it! This varnish was matte all the other times I used it! Day 7: Got to get this table done! I decided to use my Heirloom Traditions brush, apply it thickly and stipple it . . . just like you do with Heirloom Traditions paints and their paints self level. I had already realized that this paint didn't self level but, hopefully it would simply create an even texture all over in solid black, at the very least! But, I didn't have enough paint left so I sent my husband to Michaels after work to pick me up another jar. It started out good and I felt positive again. But once the whole cabinet was done, it looked horrible. Too much texture and although I did two coats, you could still see a bit of grey peaking through. There was just no point in continuing to try to use this paint. I sanded the texture off, cleaned up, preparing for my second product to try. Hopefully, I can salvage this project. At this point, if it had of looked more even and intentional, it was kinda cool looking. It looked like a worn pair of black jeans! LOL Day 8: Saman One Step Varnish. I have LOVED this product. If anything could salvage this project, it had to be this, right? I got out my can of Ebony, stirred it, and applied it with a sponge brush. Its back to a nice black! Looking good so far! But I guess this being a thin product intended to simply color and protect, it couldn't cover up the mess underneath. Just take a good old gaze at the mess! LOL So. Another sanding and clean up.
I used Saman Dead Flat Varnish to protect it, also rolled on. It took two coats to even out. I did not wait my normal 72 hours to varnish, though, as this project had me plumb wore out and my customer was leaving for two weeks and I don't have room to store completed items like this so the push was on to complete and deliver before she left. She didn't mind the wait, it was me wanting to get it done and gone. LOL For the handles, I used DecoArt Chalky Finish paint in the color Treasure. I applied it in a stippling motion with a sponge brush. It took two coats. After it dried for a day or two, I sponged Heirloom Traditions Liquid Wax in Jet Black over it to antique it as well as protect it. Overall, it turned out great. She loved it, which is the main thing. Up close, it still has a bit of texture and for my perfectionism, it isn't perfect, but my mom & husband think I'm being way too obsessed with perfect. So, for this time, I listened and let it go. LOL DecoArt
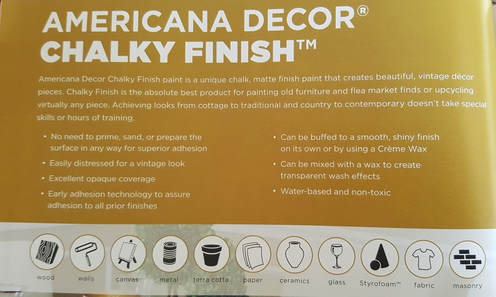
I emailed my contact at DecoArt and told her about my experience. She called me almost immediately. We discussed the whole issue together and she had me speak with a tech in the paint lab. They at first figured I just had a bad batch but when they realized that I had bought a second jar at Michaels (the first coming directly from headquarters) they knew this could not be the case. What it came down to is that they do not recommend using this paint for 'non-porous' projects and when I pointed out that their own advertising found on their website, in their catalogue, an in stores clearly say for ALL sorts of surfaces (see picture below), she apologized and thanked me profusely for bringing this to their attention and said she will notify the advertising department to have that changed. DecoArt is a HUGE company with many lines of paint for many different types of art so she recommended a couple different paints that she says would suit my line of work way better. She literally asked me if she could send me a few other lines of paint that they carry that WILL self-level and is truly intended for all types of surfaces. I will be blogging about those once they arrive and I've had the opportunity to use them. So although my experience with their Chalky Finish paint was not successful, their customer service is top notch!!! And, since I do have Chalky Finish paint left, I will try it on porous things in the future and blog about that as well. The two positive things that I CAN currently say about Chalky Finish paint is that it does bond just as well as any other chalk paint I have used and it did have really great coverage. If you are into heavily distressing items, then I think you would be perfectly fine using this paint as paint imperfections in distressed items are welcome in those situations.
1 Comment
Debby Bulmer-Raby
8/2/2017 07:20:12 am
Looks great!!
Reply
Leave a Reply. |
Follow me!
Categories
All
Archives
April 2020
|

 RSS Feed


