|
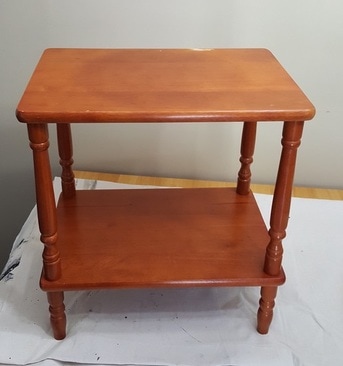
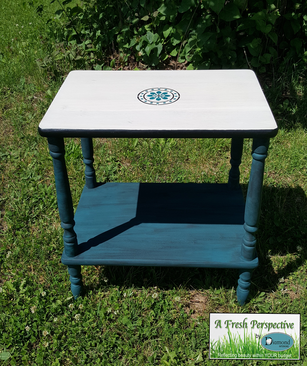
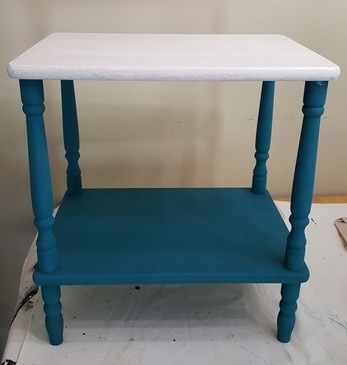
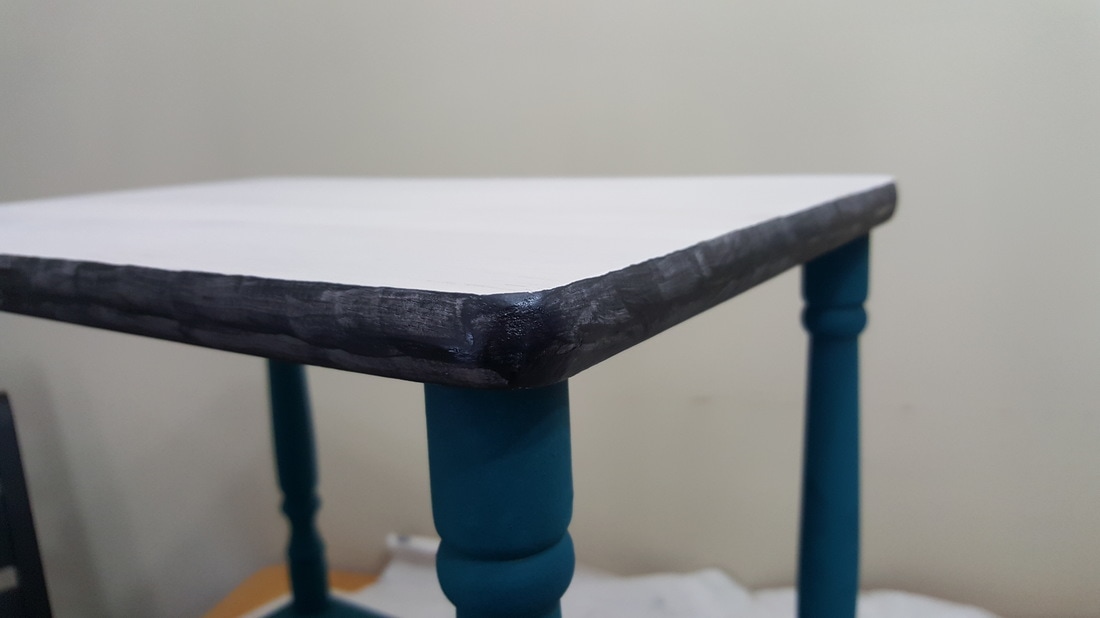
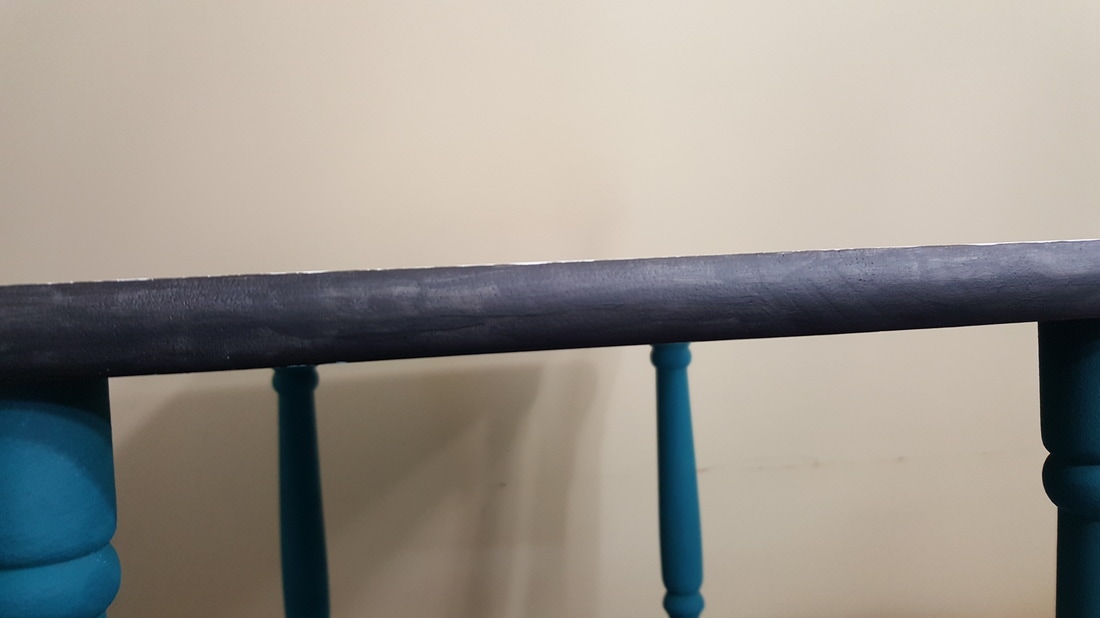
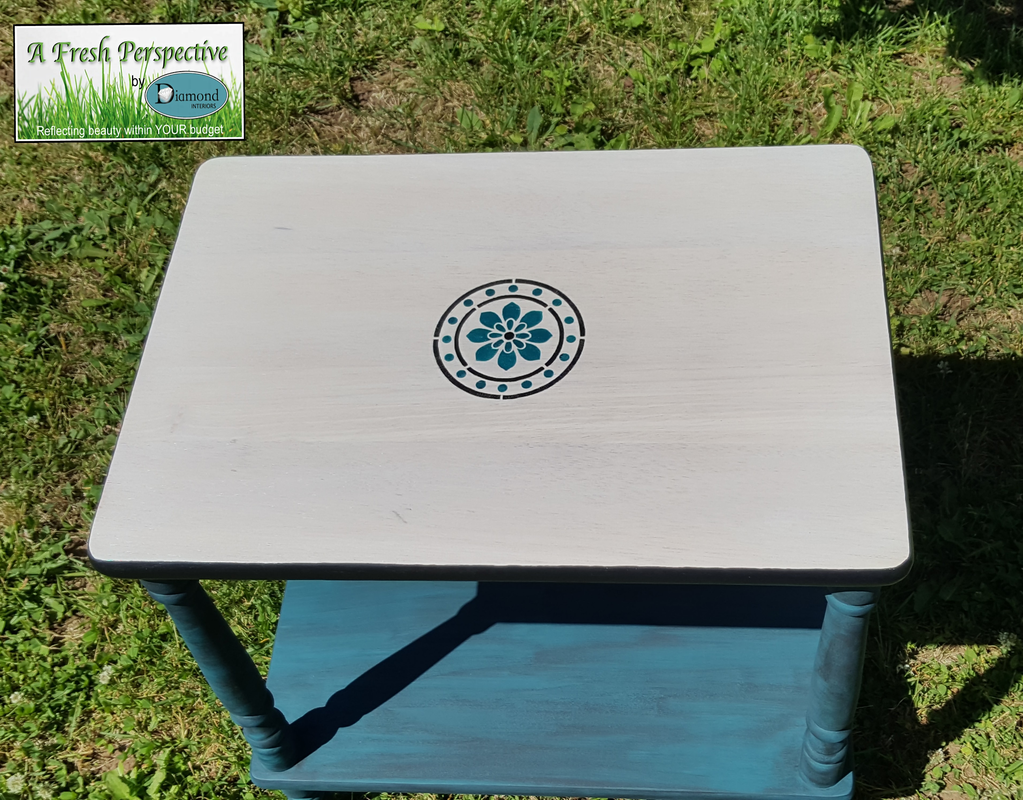
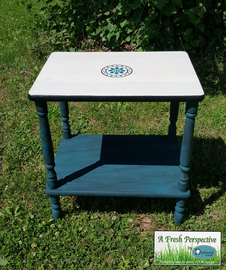
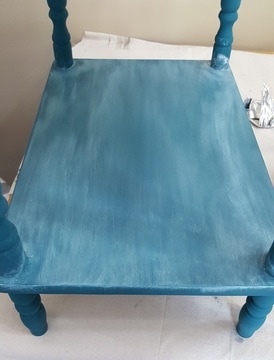
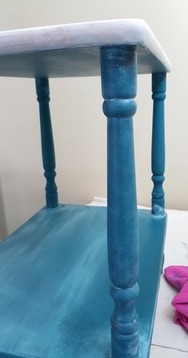
Let's start with . . . a before & after shot! Of course, the first thing I did was clean this table well with vinegar and water. Then, I sanded the top down to bare wood with my Milwaukee Rotary Sander. That thing made short work of the sanding job, for sure! It takes its term "power tool" very literally! After wiping it down again to remove the sanding dust, I got right to staining the top. I used Saman One Step Wood Stain & Varnish in the color "Chalk". I'm sorry. I can't help it. I MUST gush some more about this product! It glides on like silk, folks! No overlapping marks, no uneven streaks. Its simply amazing. I applied it with a sponge brush and did 2 coats, leaving an hour or two in between coats. Then, the next day, I painted the rest of the table with Heirloom Traditions Paint in the color "Feathered Nest". That took two coats, also. I used Heirloom Traditions Paint's applicator sponge to 'paint'. I loaded the paint on the sponge and wiped it on and then pounced the sponge all over (stippling) to create even coverage. I did this for both coats. I should have simply top coated it and left it as is because it really was so beautiful! What happened next, I'll save for the "Blooper" section below. LOL. For now, I will skip ahead to how I achieved the final look. :) After all the 'bloopers', I decided to go with using Heirloom Traditions Liquid Wax in black. I had already used it with this color for the Moroccan table so I was confident I could pull this off. I made this decision right after the 'repaint' so I had to give the table time to cure first. In the meantime, I decided to paint the sides of the top with the Heritage Paint Collection all-in-one paint in black that I had left over from my dining chairs (I haven't posted about those yet, I know. There's a good reason. I promise!). I found with painting my chairs that this paint is rather transparent and takes 3 coats to really cover. This was the case with this, also. I used a simple artist brush so that I could be careful to not get paint where I didn't want it. Then, I decided to stencil a medallion on the top. I used a cheap stencil from either Walmart or Michaels and either its the cheap stencil or I'm just not a good stencil person. I would rather think its the stencil. :) Anyway, paint bled under the stencil and it didn't look so pretty so I took a utility knife and very carefully scraped around each part of the painted medallion until it looked like it was supposed to. I rather enjoyed doing that, actually! Then, as I had scraped some of the stain off in places, I touched those places back up with an artist brush and the Saman stain. The next day, I got to use another Saman product! Their Waterbased Varnish in Flat. I applied that to the entire top (because I wanted to not only seal the stencilled image but also seal the black painted edge) using my Wooster short cut brush and a gentle hand. I was careful to apply evenly and stroke completely from one end to the other without stopping. I used a small sponge brush for the edge. After a few hours, I very lightly sanded with 600 grit paper, wiped off the light sanding dust, and gave it one more coat of the varnish. Even though it does have a sheen (I would say more close to a satin), it went on like a charm and there were no issue whatsoever with it. No bubbles. No gathering on edges and going white. Just a perfectly smooth blemish free surface! Another reason to love Saman products!!! After leaving the table for a few days, and also some hours in the sun, I finally was able to do the final step in this makeover. I applied the HTP liquid wax in black using the HTP brush and found a similar thing happening . . . it was obvious around the spindles in a swirl pattern so I wiped most off with a damp rag and then reapplied the wax in a more dry brush manner and used a sponge brush carefully near the spindles but also in a dry brush manner. Overall, I am pleased with the final product! Another table ready to go on the market! Blooper Section After I finished painting the table the first time, I was anxious to try out the new Heirloom Traditions White Liming Gel Wax. So, I left the table to cure for nearly a week. I even took it out in the sunshine a day or two to help speed the curing time. Then, what I thought would be fun . . . applying the white gel wax. Insert problem #1. I first tried applying it in swirling circling motions as instructed in one instructional video I watched. Removing it with a clean rag in the same swirling circling motion. It was pathetic looking. So, I removed it and started over, applying it in stripes as if following a wood grain. Then, wiped off in the same manner. It still looked awful. It only looked good on the spindle legs. I removed as much white wax as I could, doing my best to be gentle as to not remove paint with it and then set it outside in the sun to dry and went to town. Insert problem #2. It RAINED before I got home! When I got home, I raced to get the table and dry it off. The top . . . absolutely no issues whatsoever. The rain wiped off easily. The table? A blotchy mess! The paint even came off in a lot of places! So. Back to letting it 'cure' for nearly a week before repainting. Insert problem #3. I only had enough paint left to repaint it just enough to make it look half decent but not good enough to be able to simply top coat and be done (being the perfectionist that I am). So that is when I came up with the final plan. The Saman products I was given in exchange for a blog post. My first blog post about the products can be found in the following button link. As well, there is a list of local stores (Moncton, NB) that carry the products, at the bottom of that blog post. Heirloom Traditions Paints also gave me products to use and blog about. In this post, the only donated products used was the white gel wax. It unfortunately didn't work out this time around but I will most definitely try it again on another project. I feel that that product will shine best in something with a lot of detail.
I also want to take this time to thank all of my readers. #1 for taking the time to read & comment/like/share. #2 for making use of the Amazon.com links that I provide wherever I am able to. That is the only company at this time that I am affiliated with and stand to make a small monetary profit from each time you click & buy through one of my Amazon links. It does not cost you to shop through my links. AND, I only do links to products I am using. Thank you for your business! I really appreciate it! :)
0 Comments
Leave a Reply. |
Follow me!
Categories
All
Archives
April 2020
|

 RSS Feed


